
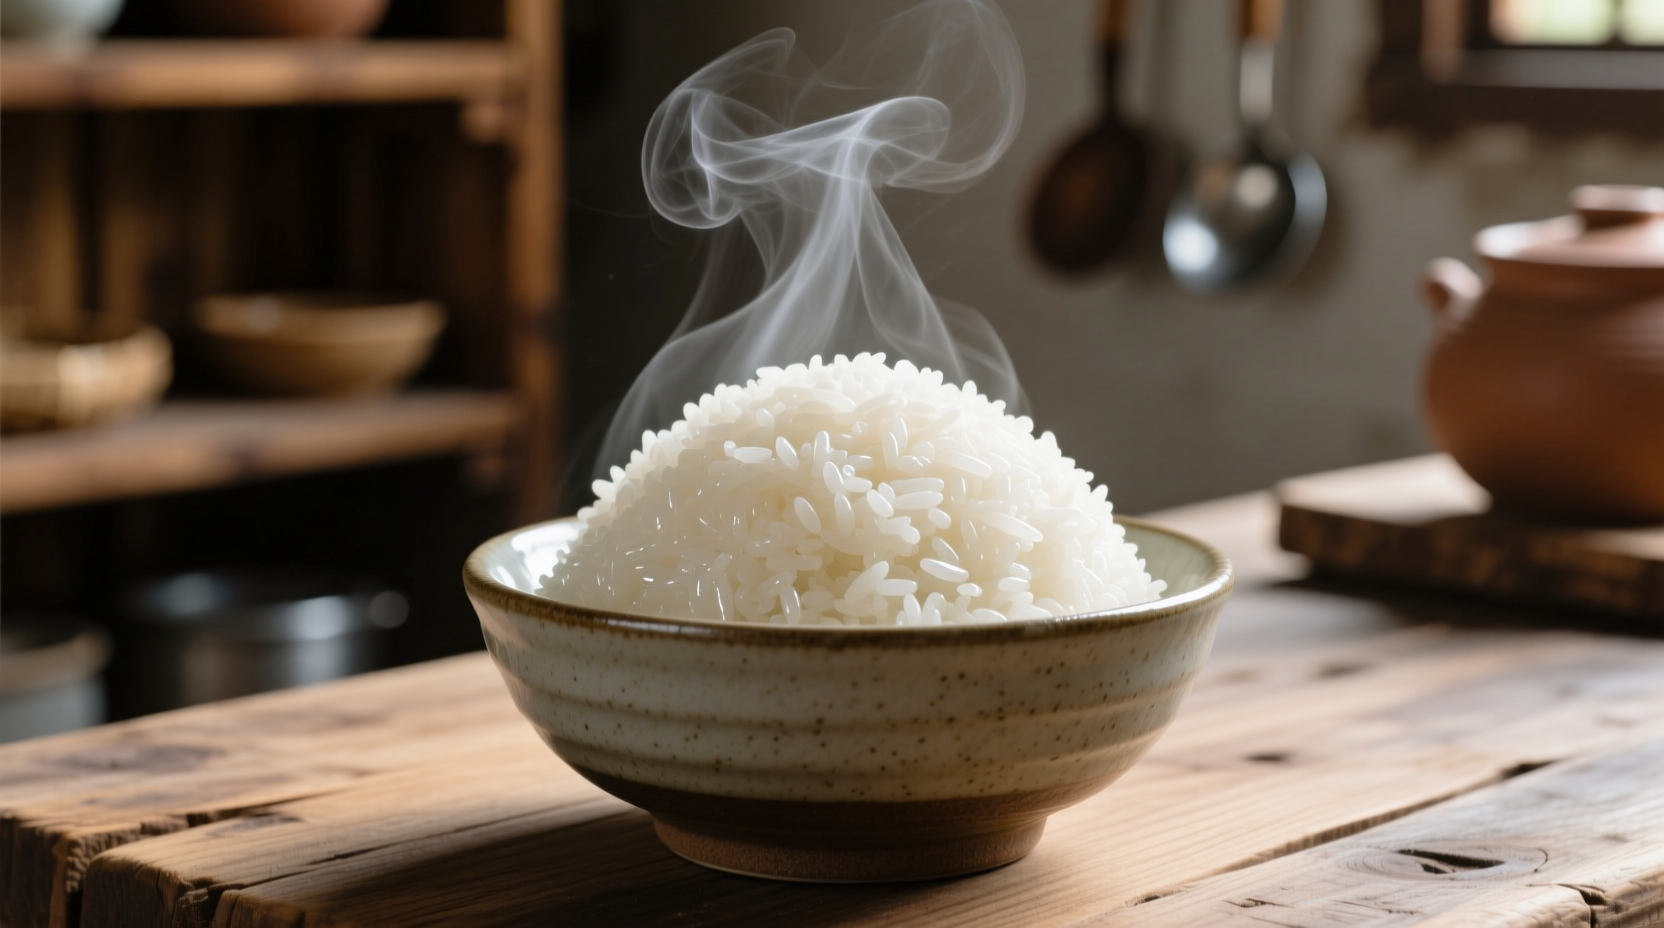
The perfect water-to-rice ratio for cooking white rice on the stovetop is 1½ cups water to 1 cup rice, resulting in fluffy, separate grains every time. This fundamental ratio applies to most long-grain white rice varieties and requires just 15-18 minutes of simmering followed by a critical 10-minute resting period.
Getting perfectly cooked white rice seems simple, yet many home cooks struggle with mushy, sticky, or undercooked results. The secret isn't complicated equipment—it's understanding the precise water ratio, proper rinsing technique, and the often-overlooked resting period that transforms ordinary rice into a flawless side dish. Whether you're preparing rice for sushi, stir-fries, or as a simple accompaniment, this guide delivers restaurant-quality results using just a pot, water, and your stove.
Essential Tools and Ingredients for Perfect Rice
Before you start cooking, gather these basic items that make all the difference in your rice's texture:
- A heavy-bottomed pot with a tight-fitting lid (2-3 quart capacity for 1-2 cups of raw rice)
- Measuring cups (use the same cup for both rice and water for accuracy)
- Fine-mesh strainer for rinsing
- Wooden spoon or rice paddle
- Timer (critical for precision)
For the rice itself, choose a quality long-grain variety like jasmine or basmati for fluffy results, or medium-grain for slightly stickier applications. The FDA recommends storing rice in a cool, dry place to maintain freshness and prevent moisture absorption that affects cooking results.
The Foolproof Stovetop Method: Step-by-Step
Step 1: Rinse Thoroughly (Don't Skip This!)
Place your measured rice in a fine-mesh strainer and rinse under cold running water for 1-2 minutes, gently swishing with your fingers. This removes excess surface starch that causes stickiness. Continue until the water runs mostly clear. Proper rinsing significantly improves texture—a finding confirmed by America's Test Kitchen's extensive testing which showed rinsed rice produced fluffier, more separate grains.
Step 2: Measure Precisely
After draining, return the rinsed rice to your measuring cup and level it. For every 1 cup of rice, use exactly 1½ cups of water. This ratio works consistently for most long-grain white rice varieties. For medium-grain rice, reduce to 1⅓ cups water per cup of rice.
| Rice Type | Water Ratio | Cooking Time |
|---|---|---|
| Long-grain white | 1:1½ | 15-18 minutes |
| Medium-grain white | 1:1⅓ | 14-16 minutes |
| Basmati/Jasmine | 1:1½ | 12-15 minutes |
Step 3: Cook with Temperature Control
Combine the rinsed rice and measured water in your pot. Add a pinch of salt if desired. Bring to a boil over medium-high heat with the lid off. As soon as it reaches a full boil, immediately reduce heat to the lowest possible setting, cover tightly, and set your timer for 15 minutes.
The critical temperature transition happens here: boiling too vigorously creates steam that escapes, leaving rice undercooked, while too low heat prevents proper starch gelatinization. The University of Illinois Extension explains that rice starch fully gelatinizes between 185-212°F (85-100°C), which is why maintaining that gentle simmer is essential.
Step 4: Rest Before Fluffing
When the timer goes off, remove the pot from heat but keep it covered. Let it rest for exactly 10 minutes. This resting period allows residual steam to finish cooking the rice evenly and lets the grains firm up. Skipping this step causes fragile, broken grains when you fluff.
Troubleshooting Common Rice Problems
Mushy or Overcooked Rice
Cause: Too much water, cooking too long, or skipping rinsing. Solution: Reduce water by 2-3 tablespoons next time and ensure you're using the correct ratio for your rice variety. Always rinse thoroughly to remove excess starch.
Hard or Undercooked Rice
Cause: Insufficient water, heat too low, or lifting the lid during cooking. Solution: Add 2-3 tablespoons of hot water, cover, and cook 2-3 more minutes. Never lift the lid while rice is cooking—each peek releases valuable steam.
Burnt Bottom Layer
Cause: Heat too high during simmering phase. Solution: Use the lowest possible heat setting and ensure your pot has a heavy bottom. Placing a thin kitchen towel between pot and lid can help absorb excess moisture.
Advanced Techniques for Perfect Results
Flavor Infusion Methods
Replace water with broth for savory dishes, or add a pandan leaf for Southeast Asian-style fragrant rice. For coconut rice, substitute half the water with coconut milk. Always maintain the total liquid volume while changing components.
Batch Cooking and Storage
You can safely double or triple the recipe, but never exceed two-thirds capacity of your pot. Cooked rice keeps in the refrigerator for 4-6 days in an airtight container. For best reheating results, sprinkle 1-2 teaspoons of water per cup of rice and cover while microwaving.
Alternative Cooking Methods
While the stovetop method offers most control, you can adapt these ratios for other appliances:
- Rice cooker: Use same 1:1½ ratio; most models automatically adjust cooking time
- Instant Pot: 1 cup rice to 1 cup water, 4 minutes high pressure plus 10-minute natural release
- Oven method: 325°F for 25-30 minutes in covered baking dish with same water ratio
Why This Method Works Every Time
The science behind perfect rice lies in starch behavior. When rice heats in water, starch granules absorb moisture and swell. At 185°F, they gelatinize, becoming soft and edible. The resting period after cooking allows moisture to redistribute evenly throughout the pot, preventing the common problem of wet top layer and dry bottom layer. This understanding of rice cooking science from food researchers explains why precise timing and ratios matter more than many realize.
What's the best water to rice ratio for fluffy results?
The ideal ratio is 1½ cups water to 1 cup long-grain white rice. This ratio produces light, separate grains when combined with proper rinsing and a 10-minute resting period after cooking.
Why should I rinse rice before cooking?
Rinsing removes excess surface starch that causes stickiness and clumping. Properly rinsed rice yields fluffier, more distinct grains. Continue rinsing until the water runs mostly clear, which typically takes 1-2 minutes of gentle swishing under cold water.
How can I fix mushy rice after cooking?
If your rice is too wet, spread it on a baking sheet and dry in a 350°F oven for 5 minutes. For future batches, reduce water by 2-3 tablespoons and ensure you're using the correct ratio for your specific rice variety. Always rinse thoroughly to remove excess starch.
Does the resting period after cooking really matter?
Yes, the 10-minute resting period is crucial. It allows residual steam to finish cooking the rice evenly and lets the grains firm up. Skipping this step causes fragile, broken grains when you fluff the rice, resulting in a less appealing texture.


 浙公网安备
33010002000092号
浙公网安备
33010002000092号 浙B2-20120091-4