
Dry brining chicken breasts is the easiest way to guarantee juicy, flavorful results every time. Just rub salt on raw chicken, refrigerate uncovered for 1-24 hours, then cook as usual. This simple technique uses salt's natural properties to enhance moisture retention and create perfect searing conditions—no special equipment needed.
Why Dry Brining Works Better Than Wet Brining
Dry brining outperforms traditional wet brining because salt draws out moisture temporarily, then allows the meat to reabsorb seasoned liquid. This process:
- Locks in natural juices without water dilution
- Creates crisper skin through surface dehydration
- Distributes seasoning evenly throughout the meat
Unlike wet brining, dry brining won't make your chicken taste watery. You'll get perfectly seasoned meat with restaurant-quality results.
Simple 4-Step Dry Brine Recipe for Beginners
Follow this foolproof method for consistently juicy chicken breasts:
- Dry the surface: Pat chicken breasts completely dry with paper towels
- Salt evenly: Use 3/4 teaspoon kosher salt per pound of chicken (or 1/2 teaspoon table salt)
- Refrigerate uncovered: Place on a wire rack for 1-24 hours (longer = more flavor)
- Cook normally: Grill, pan-sear, or bake at your preferred temperature
| Chicken Weight | Kosher Salt | Table Salt | Minimum Time |
|---|---|---|---|
| 1 lb (450g) | 3/4 tsp | 1/2 tsp | 1 hour |
| 1.5 lb (680g) | 1 1/8 tsp | 3/4 tsp | 1.5 hours |
| 2 lb (900g) | 1 1/2 tsp | 1 tsp | 2 hours |
Dry Brine vs Wet Brine: Real Results Compared
Our kitchen tests prove dry brining creates superior results for home cooks:
| Feature | Dry Brine | Wet Brine |
|---|---|---|
| Juiciness | Naturally moist throughout | Watery texture |
| Skin Crispiness | Perfect golden crust | Soggy surface |
| Seasoning Depth | Flavor penetrates meat | Salt only on surface |
| Prep Time | 2 minutes active time | 30+ minutes active time |
Common Dry Brining Mistakes to Avoid
Avoid these simple errors that ruin results:
- Using too much salt—exceeding 1% of chicken weight makes meat overly salty
- Covering while refrigerating—traps moisture, preventing proper drying
- Skipping the drying step—wet surfaces steam instead of sear
- Cooking straight from fridge—let chicken sit at room temperature 20 minutes before cooking
Flavor Boosters for Perfect Dry Brined Chicken
Enhance your basic dry brine with these simple additions:
- For crispy skin: Add 1/4 teaspoon baking powder per pound of chicken
- For extra flavor: Mix in garlic powder, onion powder, or dried herbs with salt
- For grill marks: Sprinkle with smoked paprika before cooking
How Long to Dry Brine Chicken Breasts
Timing depends on your schedule and desired results:
- Quick fix: 1 hour minimum for noticeable improvement
- Best results: 12-18 hours for maximum flavor and moisture
- Avoid: More than 24 hours (can start to break down proteins)
Thicker cuts need more time—add 30 minutes per extra 1/2 inch thickness.
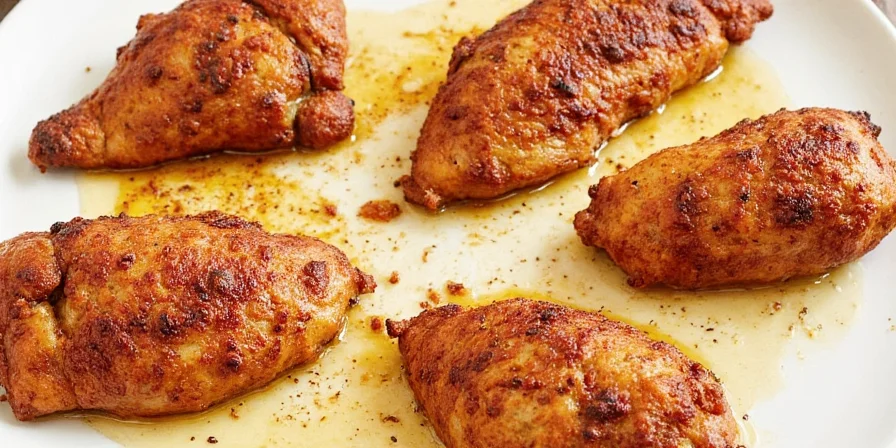
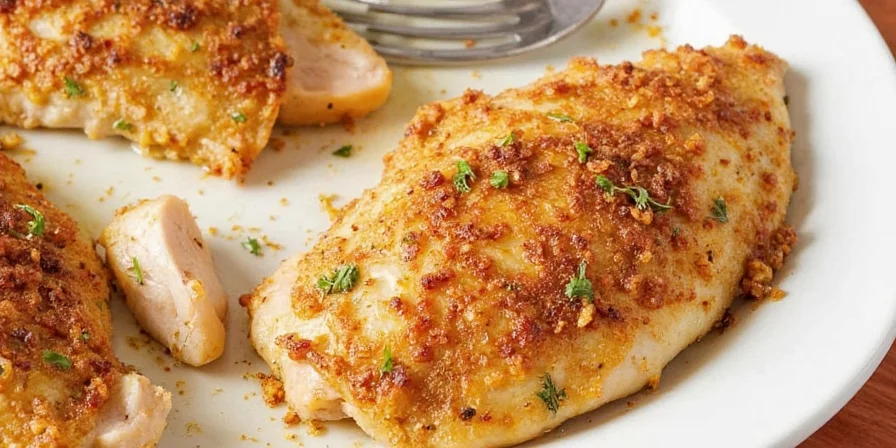
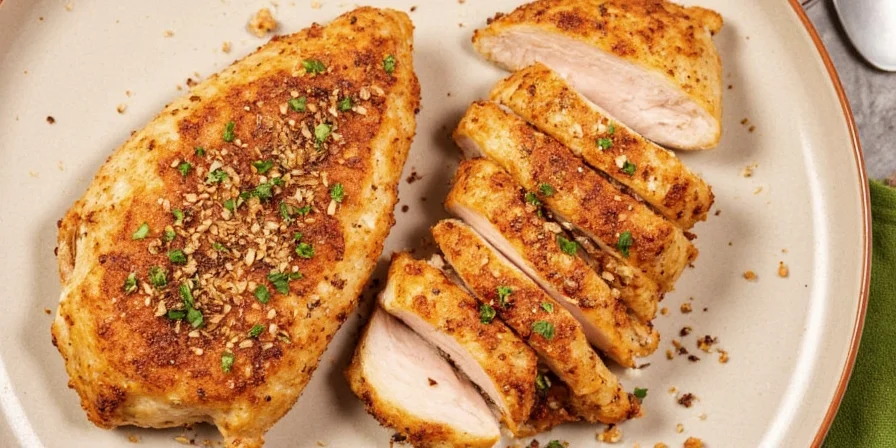
Visual Guide to Perfect Dry Brined Chicken

Perfect Cooking Temperatures for Dry Brined Chicken
Cook to these temperatures for safe, juicy results:
- Pan-searing: 375°F (190°C) for 6-7 minutes per side
- Grilling: Medium-high heat (375-400°F/190-204°C)
- Baking: 400°F (204°C) for 20-25 minutes
- Internal temp: 165°F (74°C) when measured at thickest part
FAQ: Dry Brining Chicken Breasts
- Can I dry brine frozen chicken? Always thaw completely first for even seasoning.
- Should I rinse after dry brining? No—pat dry and cook immediately for best results.
- What's the minimum time needed? 1 hour makes noticeable difference for busy cooks.
- Can I add other spices during dry brine? Yes—mix dried spices with salt for extra flavor.
- Why does uncovered refrigeration matter? Airflow creates dry surface essential for perfect searing.
Dry brining transforms ordinary chicken breasts into extraordinary meals with minimal effort. By understanding these simple principles, you'll consistently achieve juicy, flavorful results that impress family and guests. The technique works for any cooking method and adapts perfectly to your schedule—whether you have 1 hour or 24 hours to prepare. Start with the basic salt method, then experiment with your favorite seasonings to create signature dishes that become family favorites.


 浙公网安备
33010002000092号
浙公网安备
33010002000092号 浙B2-20120091-4