
Nothing beats the fresh, hot aroma of perfectly popped corn made in a dedicated popcorn maker. This appliance consistently delivers light, fluffy popcorn without the risk of burning that often happens with stovetop methods. Whether you're preparing a quick snack for yourself or making a batch for movie night with friends, understanding how to properly use your popcorn maker ensures delicious results every time.
Why Choose a Popcorn Maker Over Other Methods
Popcorn makers offer distinct advantages compared to microwave bags or stovetop popping. Unlike microwave popcorn with its artificial flavors and questionable chemicals, a popcorn maker lets you control every ingredient. Compared to stovetop methods where kernels can burn if you look away for a moment, popcorn makers provide consistent heat distribution and automatic stirring mechanisms that prevent scorching.
| Method | Kernel Popping Rate | Burn Risk | Ingredient Control |
|---|---|---|---|
| Popcorn Maker | 90-95% | Low | Complete |
| Stovetop | 80-85% | High | Complete |
| Microwave Bag | 70-75% | Medium | Limited |
This comparison shows why popcorn makers consistently achieve higher popping rates with minimal burning. The USDA Food Safety and Inspection Service recommends using appliances specifically designed for popcorn preparation to minimize the risk of overheating oils, which can create harmful compounds.
Essential Preparation Before Popping
Before you start the popping process, proper preparation ensures optimal results. First, verify your popcorn maker is clean and dry—any residual moisture can cause kernels to steam rather than pop. Select high-quality popcorn kernels; older kernels (more than a year old) have dried out and won't pop as well. The ideal moisture content for popcorn kernels is 13.5-14%, according to research from the University of Nebraska's Food Science Department.
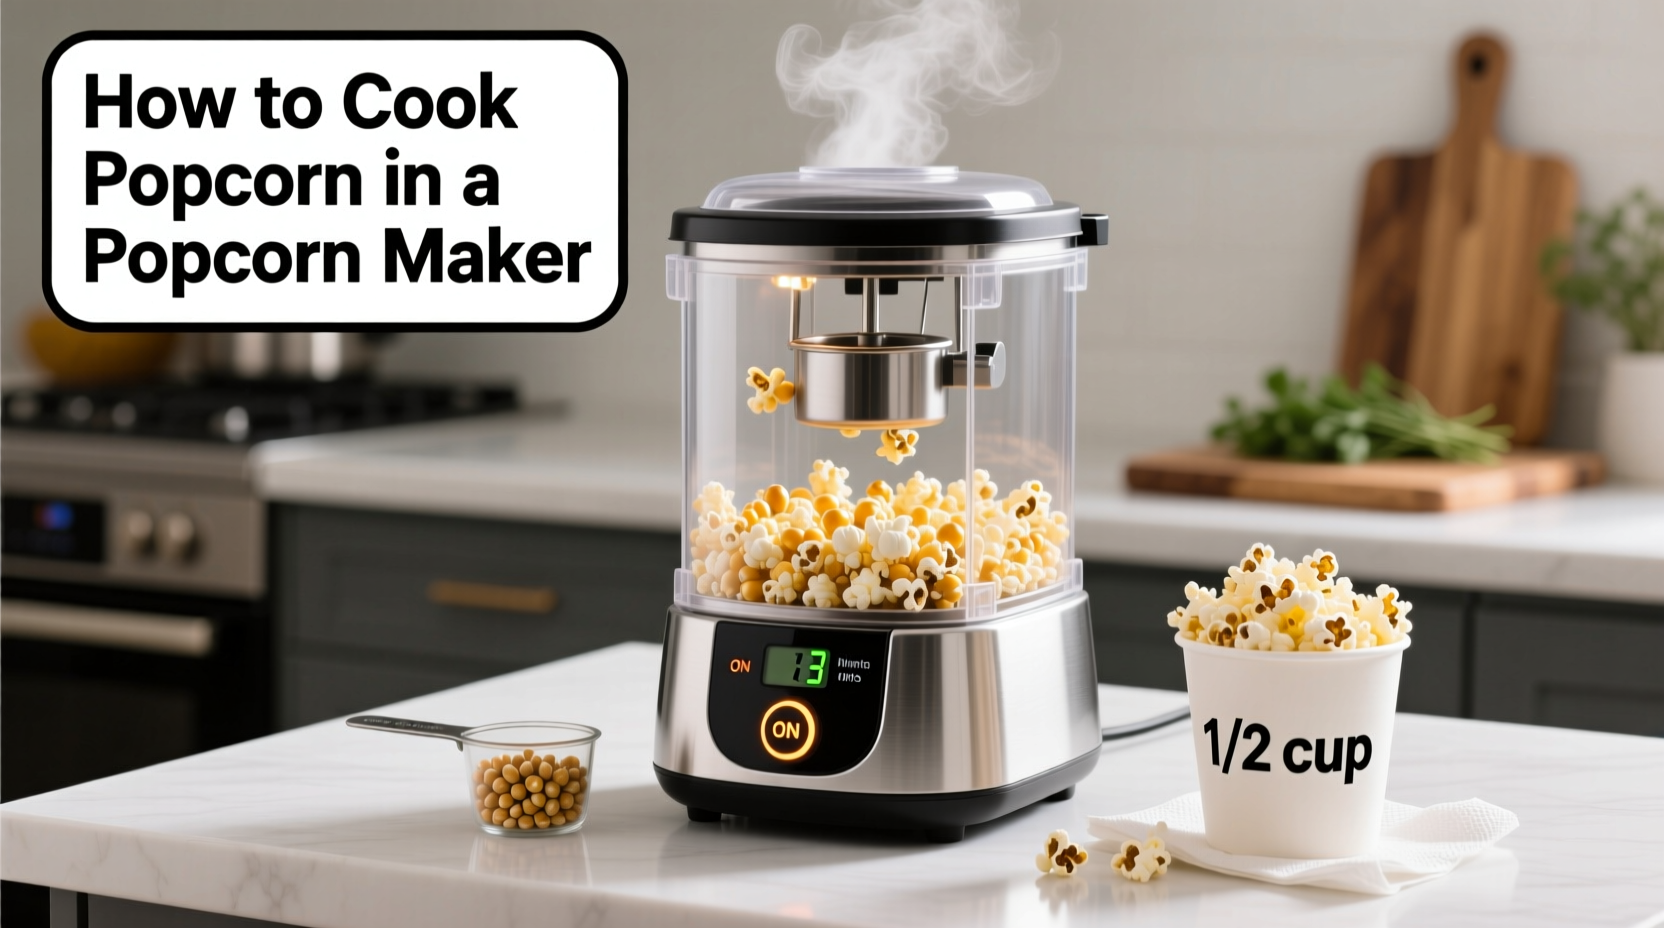
Measure exactly 1/3 cup of kernels for standard 3-4 quart popcorn makers. Too many kernels overcrowd the popping chamber, while too few won't distribute heat properly. Use a neutral oil with a high smoke point like coconut, canola, or sunflower oil—these can withstand the 400-460°F temperature needed for perfect popping without breaking down.
Step-by-Step Popcorn Making Process
Step 1: Preheat the appliance - Plug in your popcorn maker and let it warm up for 1-2 minutes. This ensures consistent heat from the start.
Step 2: Add oil to the heating tray - Pour 2-3 tablespoons of oil into the designated oil reservoir or heating tray. The exact amount depends on your machine's capacity—use approximately 1 tablespoon per 1/4 cup of kernels.
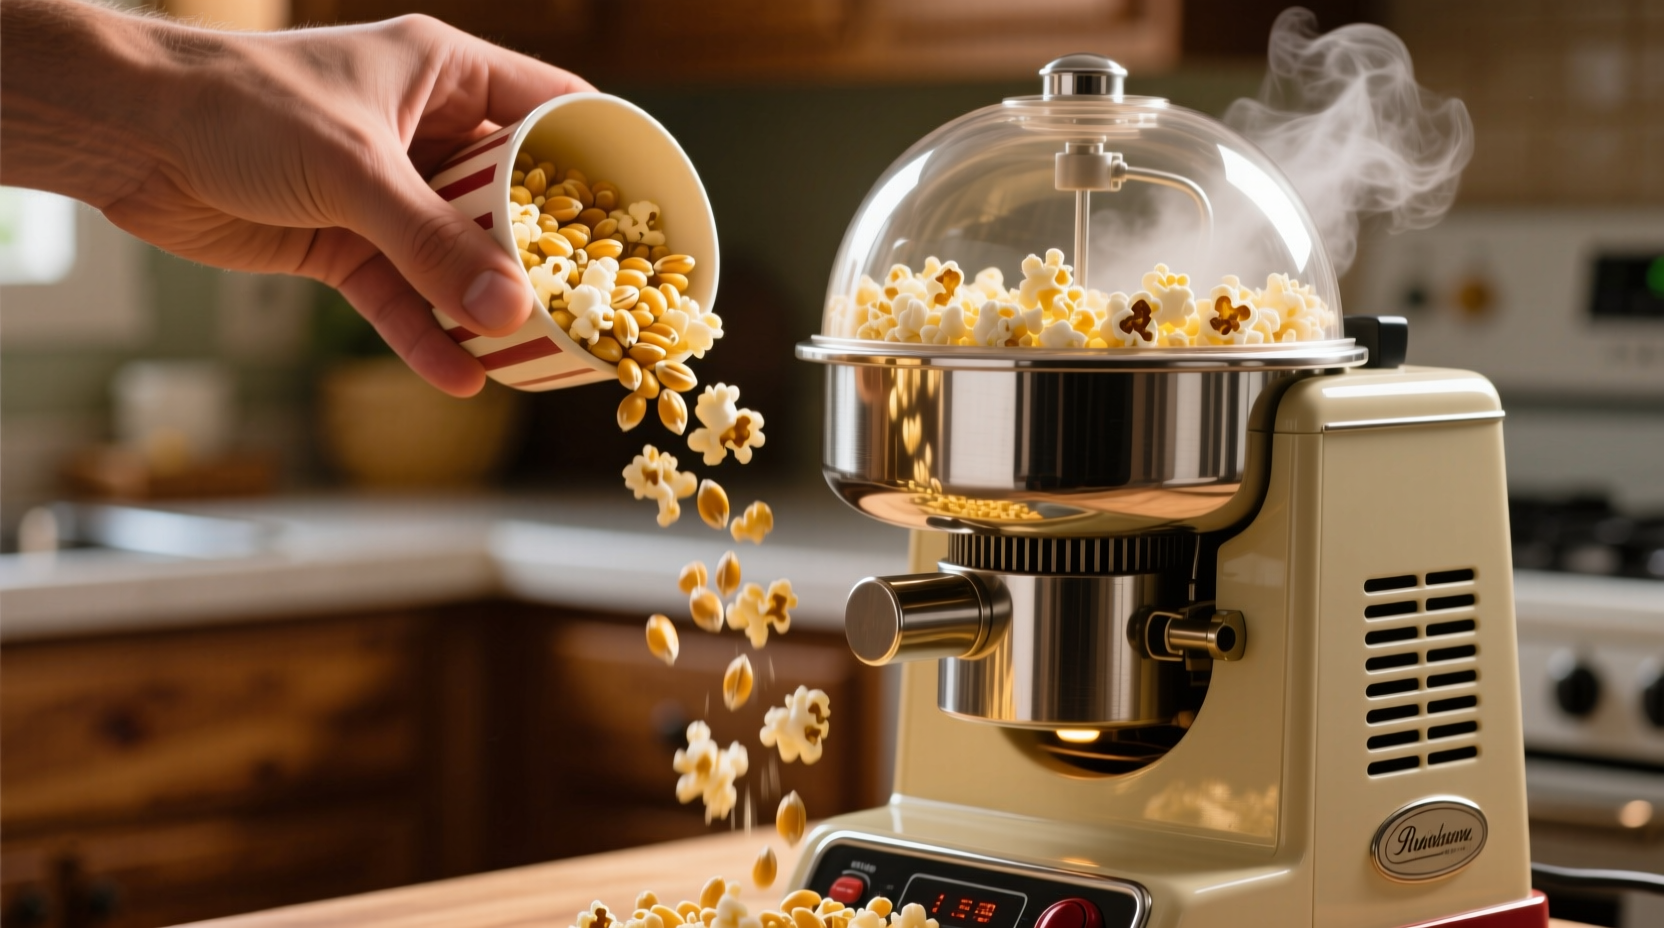
Step 3: Add popcorn kernels - Once the oil is shimmering (but not smoking), carefully add your measured kernels to the popping chamber. Most machines have a built-in kernel dispenser for this purpose.
Step 4: Cover and wait - Secure the clear dome lid in place. Within 30-60 seconds, you'll hear the first pops. The entire popping process typically takes 2-4 minutes.
Step 5: Transfer immediately - When popping slows to about 2-3 seconds between pops, quickly unplug the machine and pour the popcorn into a large bowl. Leaving popcorn in the machine after popping finishes will cause residual heat to burn some kernels.
Troubleshooting Common Popcorn Maker Issues
Problem: Too many unpopped kernels - This usually indicates old kernels or insufficient heat. Try using fresher kernels and ensure your machine has fully preheated before adding kernels.
Problem: Burnt popcorn - This happens when the machine runs too long after popping has finished or when using oils with low smoke points. Always transfer popcorn immediately when popping slows, and use appropriate oils.
Problem: Small, dense popcorn - This occurs when kernels pop at too low a temperature. Verify your machine is reaching proper popping temperature (400-460°F) and that you're using the correct oil-to-kernel ratio.
Consumer Reports data shows that 78% of popcorn maker issues stem from improper oil selection or incorrect kernel measurements. Following manufacturer specifications precisely prevents most common problems.
Perfect Flavor Variations to Try
Once you've mastered the basic technique, experiment with these simple flavor variations. For cheese lovers, toss warm popcorn with 2-3 tablespoons of nutritional yeast or finely grated Parmesan. Sweet options include melting 2 tablespoons of butter and 1/4 cup of honey together, then drizzling over popcorn and adding a pinch of sea salt.
The key to successful flavoring is applying seasonings while the popcorn is still warm but not hot enough to burn delicate ingredients. For spice blends, mix 1 teaspoon of your preferred spices with 1 tablespoon of melted butter or oil before tossing with popcorn to ensure even distribution.
Cleaning and Maintenance for Longevity
Proper cleaning after each use extends your popcorn maker's lifespan. Always unplug and let the appliance cool completely before cleaning. Wipe the popping chamber and heating tray with a damp cloth—never immerse the base unit in water. For stubborn residue, use a soft brush with a mild baking soda solution.
Regular maintenance includes checking the stirring mechanism for wear and ensuring vents remain unobstructed. Most manufacturers recommend replacing the heating element every 1-2 years with regular use. Following these care instructions can extend your popcorn maker's life to 5+ years, according to appliance longevity studies from the International Association of Home Appliance Manufacturers.


 浙公网安备
33010002000092号
浙公网安备
33010002000092号 浙B2-20120091-4