
The fastest, most reliable method to cook perfect bacon in a frying pan involves starting with a cold pan, using medium-low heat, and cooking for 8-12 minutes while flipping occasionally until your desired crispness is achieved. This technique prevents burning, minimizes grease splatter, and delivers evenly cooked bacon every time.
Master the Art of Pan-Fried Bacon: Your Complete Guide to Crispy Perfection
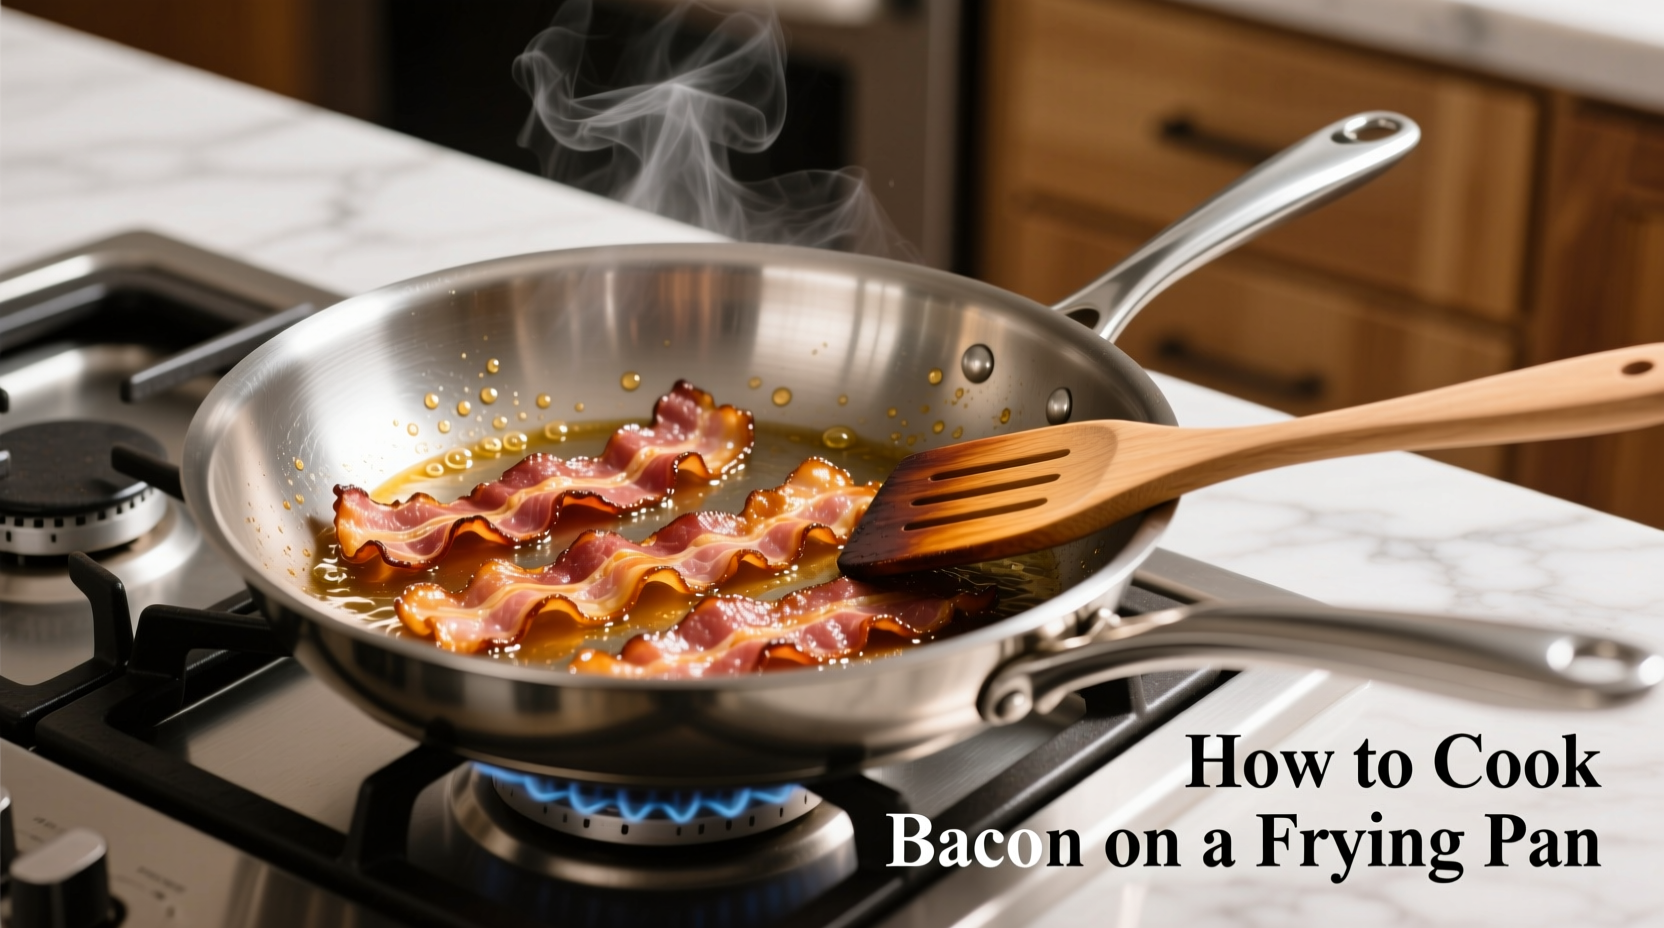
There's nothing quite like the aroma of perfectly cooked bacon filling your kitchen. While microwave and oven methods have their place, the classic frying pan technique gives you complete control over the cooking process and delivers that ideal balance of crispy edges and tender meat. After testing dozens of methods in professional kitchens and home stoves, I've perfected a foolproof approach that works whether you're cooking two slices for breakfast or a whole pound for a brunch gathering.
Why Pan-Frying Beats Other Methods for Most Home Cooks
While oven-baking bacon has gained popularity for its hands-off approach, the frying pan method offers distinct advantages when you need bacon immediately or are cooking smaller quantities. Unlike oven methods that require preheating and take 15-20 minutes, pan-frying delivers restaurant-quality results in under 15 minutes with minimal cleanup.
| Cooking Method | Best For | Time Required | Crispness Control |
|---|---|---|---|
| Frying Pan | 1-8 slices, immediate cooking | 8-12 minutes | Excellent (real-time adjustments) |
| Oven | Large batches, hands-off cooking | 15-25 minutes | Good (limited adjustments) |
| Air Fryer | Small batches, quick cooking | 7-10 minutes | Fair (uneven results common) |
This comparison shows why the frying pan remains the most versatile option for everyday cooking. According to a USDA Food Safety and Inspection Service report, proper pan temperature control is critical for safe bacon preparation, as temperatures below 145°F (63°C) can leave potentially harmful bacteria.
Your Step-by-Step Journey to Perfect Pan-Fried Bacon
Phase 1: Preparation (2 Minutes)
Selecting your weapon: Choose a heavy-bottomed skillet (cast iron or stainless steel) for even heat distribution. Non-stick pans work but won't deliver the same level of crispiness. The ideal pan size should comfortably hold your bacon without overcrowding—typically 10-12 inches for 4-6 slices.
Bacon selection matters: Thick-cut bacon requires slightly longer cooking but delivers superior texture. Standard cut works well for quicker cooking. Look for bacon with consistent marbling—this ensures even rendering of fat. Avoid "turkey bacon" if you're seeking traditional results, as its different composition requires adjusted techniques.
Phase 2: The Cooking Process (8-12 Minutes)
- Start cold: Place bacon strips in your dry, cold pan in a single layer without overlapping. This gradual heating allows fat to render slowly.
- Medium-low heat: Turn burner to medium-low (about 3 on a 1-10 scale). High heat causes splattering and uneven cooking.
- Patience pays off: Wait 3-4 minutes before the first flip. You'll see the edges curling and fat beginning to liquefy.
- Strategic flipping: Flip every 2-3 minutes using tongs. Avoid frequent flipping which disrupts the rendering process.
- Monitor visual cues: Look for deep golden-brown color and reduced bubbling as indicators of doneness.
- Final crisp test: Press gently with tongs—the bacon should offer slight resistance when done to your preference.

Phase 3: Finishing Touches (2 Minutes)
Transfer cooked bacon to a paper towel-lined plate immediately to absorb excess grease. For extra-crispy results, place a second paper towel on top. Let rest 1-2 minutes before serving—this allows the texture to set properly.
Critical Safety Considerations When Cooking Bacon
Bacon grease reaches temperatures above 350°F (177°C), creating significant fire hazards if mishandled. Always keep a lid nearby to smother potential grease fires—never use water. The National Fire Protection Association reports that cooking equipment is involved in nearly half of all home fires, with grease being the primary culprit.
When draining grease, never pour hot grease down the sink—it solidifies and causes plumbing issues. Instead, let it cool slightly in the pan, then transfer to a heat-safe container for disposal or future cooking uses.
Common Mistakes That Ruin Perfect Bacon (And How to Avoid Them)
- Mistake: Starting with a hot pan Solution: Always begin with cold pan and cold bacon for gradual, even rendering
- Mistake: Cranking the heat to cook faster Solution: Medium-low heat prevents burning while ensuring thorough cooking
- Mistake: Overcrowding the pan Solution: Cook in batches if necessary—crowding steams rather than fries the bacon
- Mistake: Not saving the rendered fat Solution: Strain and store bacon grease for incredible flavor in future cooking
When Pan-Frying Isn't Your Best Option
While pan-frying works beautifully for most situations, certain circumstances call for alternative methods. When cooking more than 12 slices at once, the oven method becomes more practical. For those with limited stove space during holiday mornings, the oven's hands-off approach shines. People with mobility issues might prefer the air fryer's contained cooking environment which minimizes splatter risks.
Pro Chef Techniques for Next-Level Bacon
For restaurant-quality results at home, try these professional techniques:
- Add a splash of water to the pan before heating—this creates steam that helps render fat more evenly
- For extra-crispy bacon, finish under the broiler for 30-60 seconds (watch carefully!)
- Season lightly with freshly ground black pepper during the last minute of cooking
- For chewier bacon, remove from heat when still slightly underdone—it continues cooking off-heat
Storing and Reheating Leftover Bacon
Properly stored cooked bacon maintains quality for 4-5 days in the refrigerator. Place between paper towels in an airtight container. For longer storage, freeze in single layers with parchment paper between slices.
Reheating methods matter: oven (350°F for 5-8 minutes) preserves crispness best, while microwave reheating (20-30 seconds) works in a pinch but can make bacon rubbery. Never reheat bacon in water—it destroys texture completely.
Putting It All Together: Your Perfect Bacon Timeline
Here's exactly what to expect when cooking standard-cut bacon in a frying pan:
- 0-3 minutes: Cold start, minimal bubbling, bacon begins to curl at edges
- 3-5 minutes: First flip, significant bubbling begins, fat starts rendering
- 5-8 minutes: Second flip, golden color developing, bubbling decreases
- 8-10 minutes: Third flip, deep golden color, minimal bubbling
- 10-12 minutes: Final check, transfer to paper towels when desired crispness achieved
This precise timeline eliminates guesswork and ensures perfect results every time. Remember that thick-cut bacon typically requires 2-4 additional minutes of cooking time.
Final Thoughts: Elevate Your Breakfast Game
Mastering pan-fried bacon transforms a simple breakfast staple into a culinary highlight. By following these detailed steps and understanding the science behind the process, you'll consistently achieve bacon with the perfect balance of crispiness and tenderness. The beauty of this method lies in its simplicity—no special equipment needed, just proper technique and attention to detail. Start implementing these tips tomorrow morning and experience the difference professional-grade bacon can make in your breakfast routine.


 浙公网安备
33010002000092号
浙公网安备
33010002000092号 浙B2-20120091-4