
Orzo takes 8-10 minutes to cook perfectly al dente in boiling salted water. This small pasta shape requires careful timing as it can quickly go from perfectly cooked to mushy. For best results, start checking at 7 minutes and drain immediately when tender with a slight bite.
Getting the cooking time right for orzo makes all the difference between a light, fluffy texture and a gummy mess. As a culinary professional who's cooked thousands of pasta dishes, I've perfected the timing for this versatile rice-shaped pasta that works equally well in soups, salads, and as a side dish.
The Essential Orzo Cooking Timeline
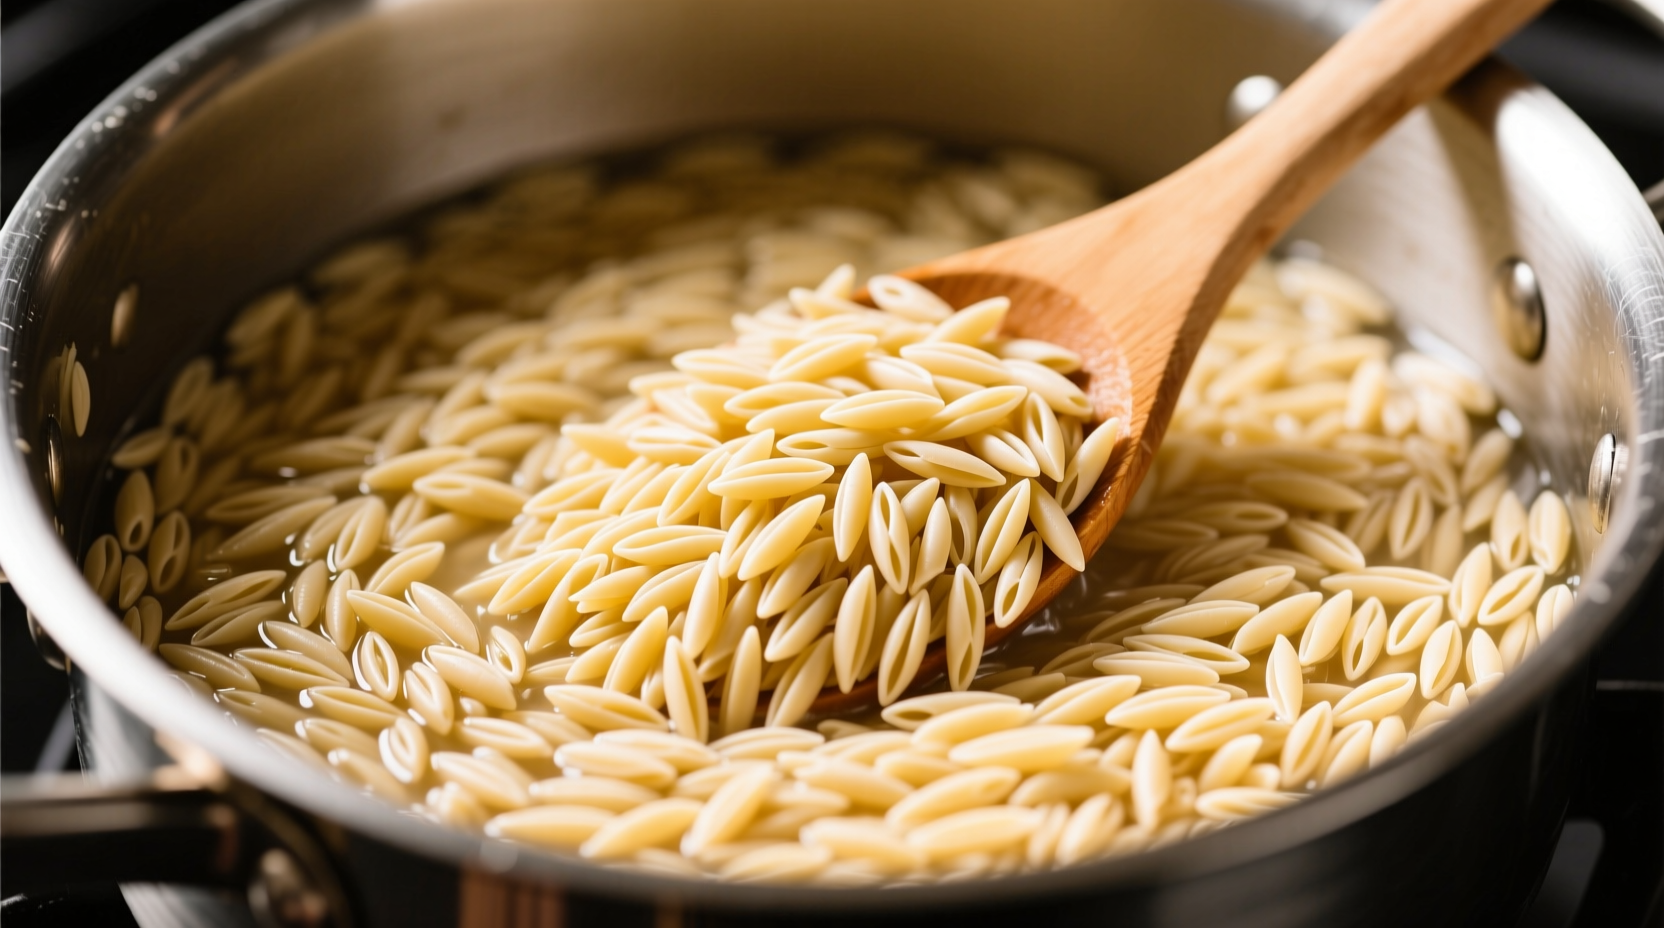
Unlike longer pasta shapes, orzo cooks quickly and requires attention during the final minutes. Here's exactly what happens during the cooking process:
Orzo sinks to bottom of pot, begins absorbing water
Pasta rises to surface, water becomes cloudy, texture remains very firm
Start testing for doneness - should have slight resistance when bitten
Perfect al dente texture achieved for most applications
Risk of overcooking begins - texture becomes mushy
Factors That Affect Orzo Cooking Time
While 8-10 minutes is the standard recommendation, several variables can impact your perfect cooking time:
| Factor | Effect on Cooking Time | Adjustment Needed |
|---|---|---|
| Water temperature | Cold start vs boiling water | Add 1-2 minutes if starting in cold water |
| Altitude | Higher elevations lower boiling point | Add 15-25% more cooking time above 3,000 feet |
| Desired texture | Al dente vs soft | Reduce by 1 minute for firmer texture, add 1-2 for softer |
| Subsequent cooking | Will be baked or added to soup | Reduce by 1-2 minutes to account for continued cooking |
Step-by-Step Perfect Orzo Method
1. Water Preparation (The Foundation)
Use 4-6 cups of water per cup of orzo. The USDA recommends at least 4 quarts of water per pound of pasta to prevent sticking, but orzo requires slightly less water than long pasta shapes due to its small size. Add 1-2 tablespoons of salt per quart of water - this isn't just for flavor but actually improves the pasta's texture.
2. Cooking Process (Timing is Everything)
Bring water to a rolling boil before adding orzo. Stir immediately after adding to prevent clumping. Maintain a gentle boil throughout cooking - a vigorous boil can damage the delicate pasta. Start testing at 7 minutes by removing a few pieces with a slotted spoon, rinsing briefly under cold water, and tasting.
3. The Doneness Test (Your Secret Weapon)
Perfectly cooked orzo should be tender but still offer slight resistance when bitten (al dente). It will continue cooking from residual heat after draining, so remove it from heat when it's just shy of your desired texture. The FDA food safety guidelines recommend cooking pasta until it reaches an internal temperature of 180-190°F (82-88°C) for optimal texture and safety.
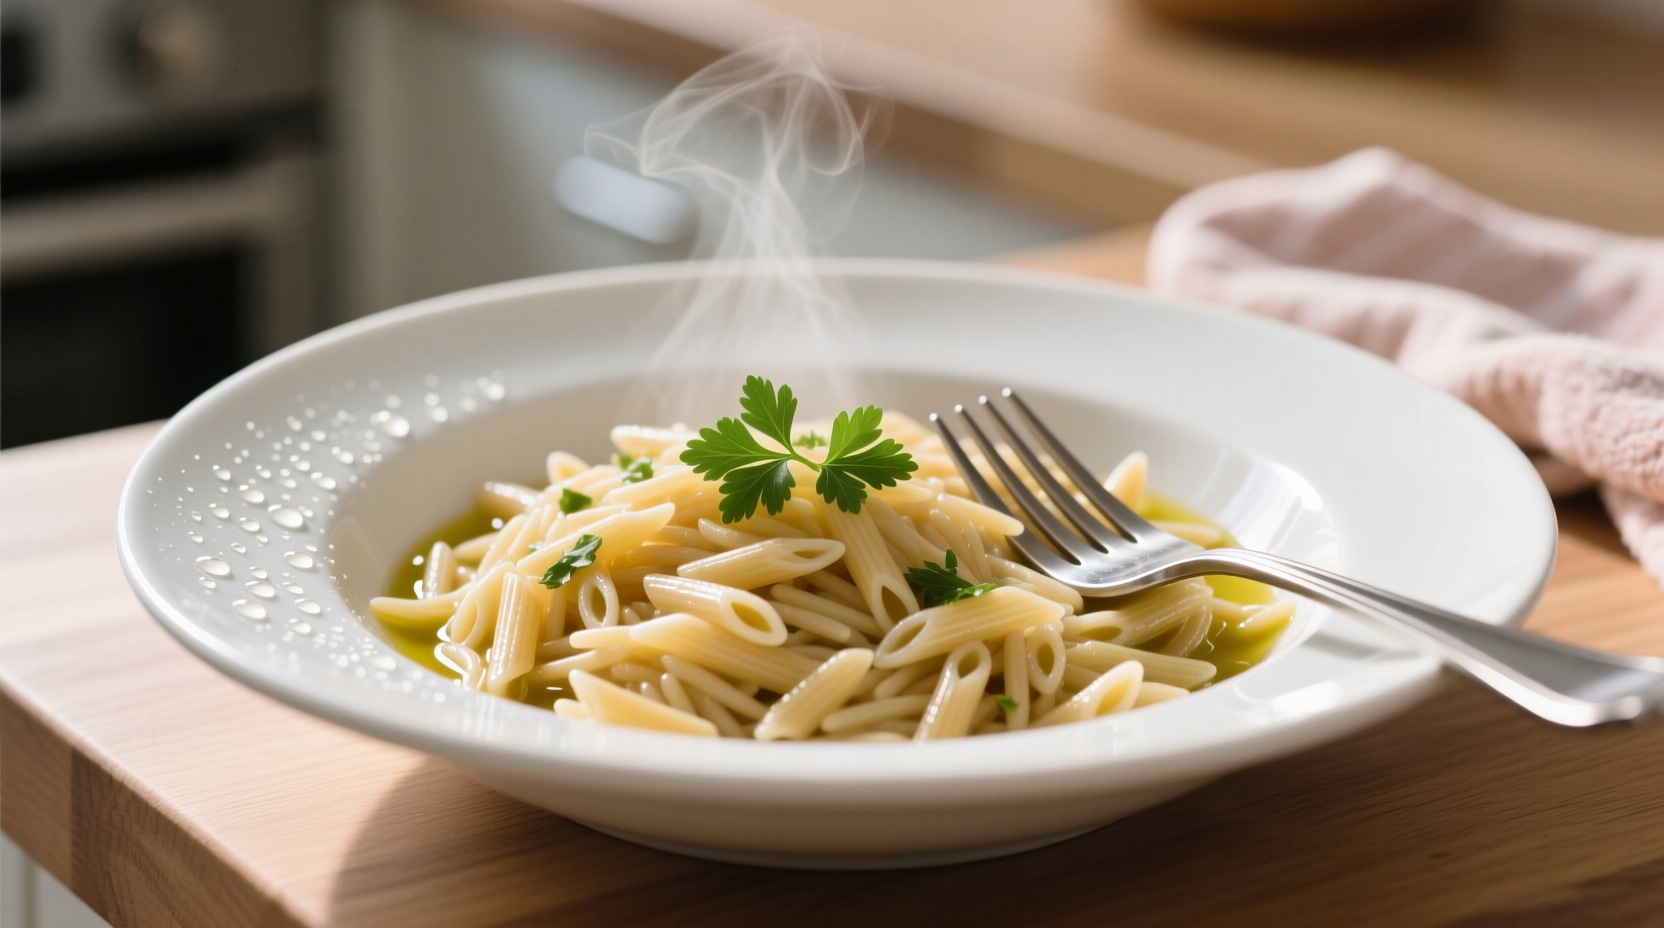
4. Draining and Resting (The Critical Final Step)
Drain immediately when done - don't let orzo sit in hot water. For salads or standalone dishes, rinse briefly with cold water to stop cooking. For soups or baked dishes, skip rinsing and add directly to your recipe. Let rest for 2 minutes before serving or incorporating into other dishes.
Avoid These Common Orzo Mistakes
Based on my experience teaching home cooks, these timing errors happen most frequently:
- Not setting a timer - Orzo cooks quickly and requires attention in the final minutes
- Guessing instead of tasting - Package times are estimates; your specific conditions may vary
- Overcrowding the pot - Too much pasta lowers water temperature and extends cooking time
- Adding oil to water - This prevents sauce from adhering properly to the cooked pasta
- Letting it sit in the colander - Residual heat continues cooking, leading to mushiness
Special Cooking Methods and Timing Adjustments
Orzo works well in various cooking applications beyond basic boiling:
Toasting Method (Enhanced Flavor)
For nuttier flavor, toast orzo in 1 tablespoon olive oil for 2-3 minutes before adding liquid. This adds depth but doesn't significantly change the overall cooking time - still aim for 8-10 minutes total from when liquid reaches boiling.
Pilaf Method (Absorption Technique)
Use a 1.5:1 liquid to orzo ratio (1.5 cups broth per cup orzo). Bring to boil, cover, reduce heat, and simmer for 12-15 minutes until liquid is absorbed. This method creates a creamier texture but requires precise liquid measurement.
Baked Orzo Dishes
For casseroles like orzo bake, partially cook orzo (6-7 minutes) before adding to your recipe. The additional baking time (typically 20-25 minutes) will finish cooking it to perfection without becoming mushy.
How to Rescue Overcooked Orzo
If you've accidentally overcooked your orzo, don't throw it out! The James Beard Foundation culinary guidelines suggest these fixes:
- For slightly overcooked orzo: Rinse under cold water, then toss with olive oil and use in cold salads
- For very soft orzo: Blend with broth to create a creamy pasta soup
- As a last resort: Use as a binder in meatloaf or veggie burgers
Storage and Reheating Guidelines
Properly cooked orzo stores well for meal prep. The FDA recommends:
- Refrigerate within 2 hours of cooking
- Store in airtight container for up to 4 days
- Reheat with a splash of water to restore moisture
- Freeze for up to 2 months (thaw in refrigerator before reheating)
When reheating, add just enough water to create steam and heat through - about 30-60 seconds in the microwave or 2-3 minutes on the stovetop with a splash of broth.


 浙公网安备
33010002000092号
浙公网安备
33010002000092号 浙B2-20120091-4