
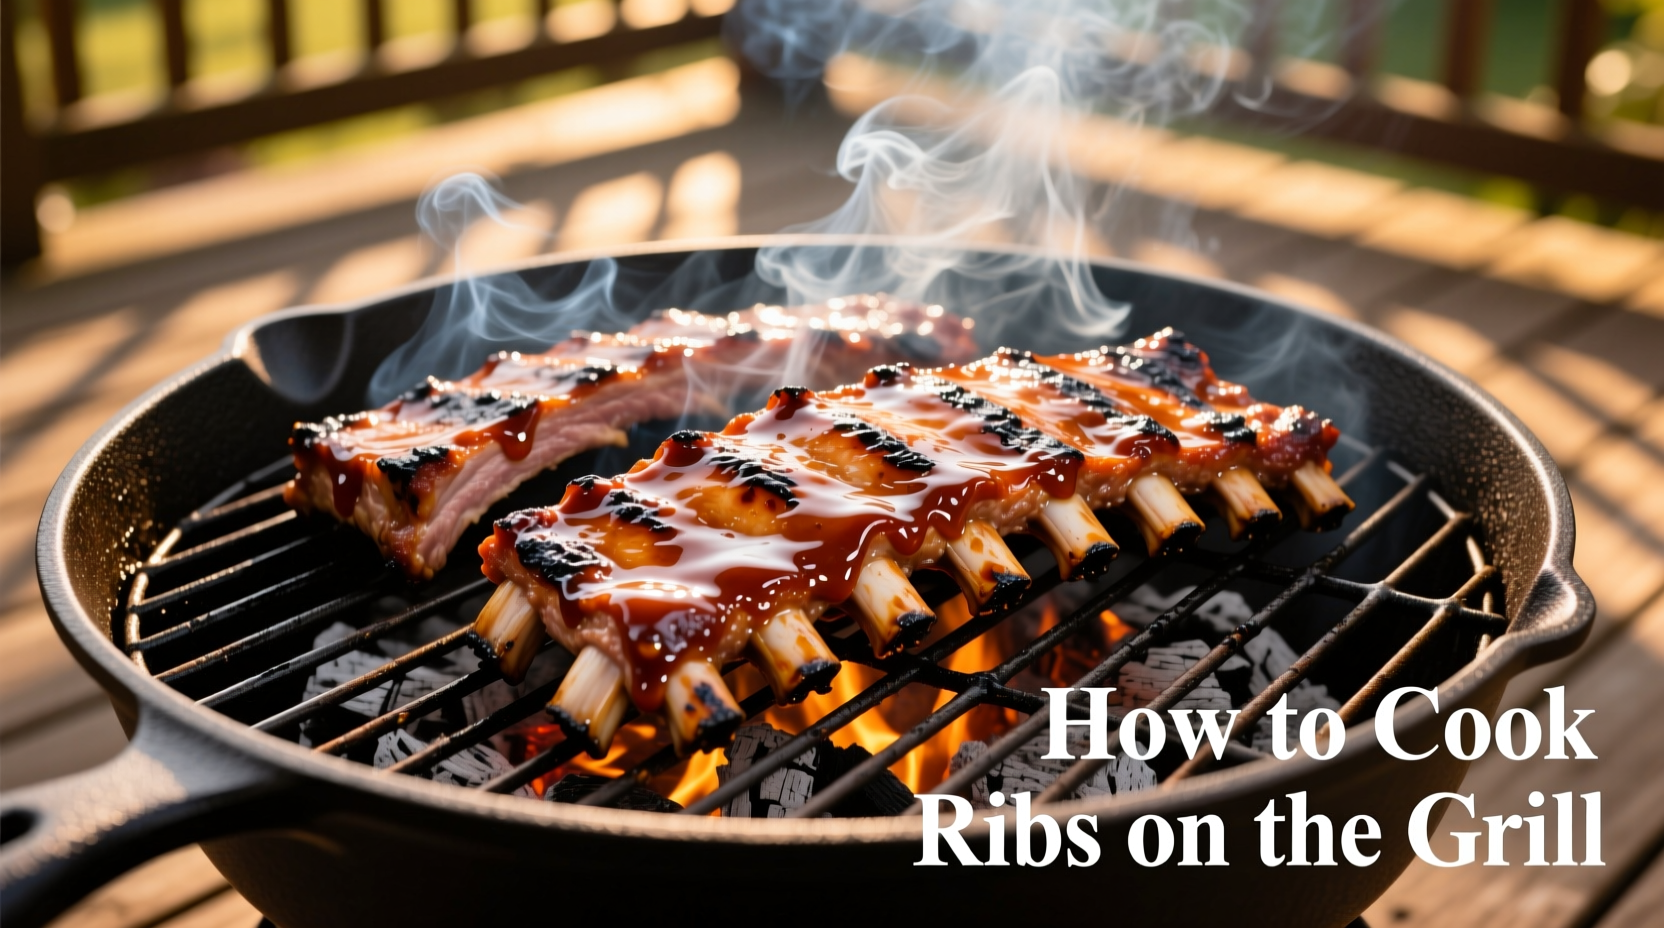
Grill Like a Pro: Your Complete Guide to Perfectly Cooked Ribs
Nothing says summer like the smoky aroma of ribs sizzling on the grill. But if you've ever ended up with dry, tough, or unevenly cooked ribs, you know how frustrating this seemingly simple task can be. After testing dozens of methods across charcoal and gas grills, I've perfected a foolproof approach that guarantees restaurant-quality ribs every time—no expensive equipment or secret ingredients required.
What You'll Actually Achieve With This Method
- Consistently tender ribs that pull clean from the bone
- Perfect bark formation without burning
- Controlled smoke flavor that enhances rather than overwhelms
- Time management that fits your schedule
- Confidence to handle any grill type or rib cut
Step 1: Selecting and Preparing Your Ribs
Before you even fire up the grill, proper rib selection and preparation sets the foundation for success. Many home cooks skip crucial prep steps that directly impact texture and flavor absorption.
| Rib Type | Characteristics | Best Cooking Time | Special Considerations |
|---|---|---|---|
| Baby Back Ribs | Leaner, more tender, curved shape | 4-5 hours total | Cook meat-side up; less fat means easier overcooking |
| Spare Ribs | Fattier, more flavorful, rectangular shape | 5-6 hours total | Remove silver skin; better for beginners due to forgiving nature |
| St. Louis Cut | Spare ribs trimmed square | 5-6 hours total | Most uniform shape for even cooking |
According to USDA Food Safety and Inspection Service guidelines, all pork products should reach a minimum internal temperature of 145°F with a 3-minute rest time for safe consumption. This applies to ribs as well, though most barbecue enthusiasts cook ribs to 190-205°F for optimal tenderness.
The critical prep step most beginners miss? Removing the membrane (silver skin) from the bone side. This thin layer prevents smoke and seasoning penetration while causing ribs to contract during cooking. Use a butter knife to lift the membrane at one end, then grip with a paper towel and peel off in one piece.
Step 2: Building Your Grill Setup for Success
Temperature control separates good ribs from great ribs. The ideal grilling environment maintains a steady 225-250°F—hot enough to render fat but cool enough to prevent burning.
For charcoal grills: Use the two-zone fire method. Pile lit coals on one side, leaving the other side empty. Place ribs on the empty side for indirect cooking. Add 8-10 fresh coals every 45-60 minutes to maintain temperature. Add wood chunks (hickory, apple, or cherry work best) to coals for smoke flavor.
For gas grills: Preheat all burners to medium, then turn off the burner(s) under where ribs will sit. Keep one burner on low for indirect heat. Place a smoker box with wood chips above the active burner.
Always place an oven thermometer on the cooking grate to verify actual temperature—built-in grill thermometers are notoriously inaccurate. This simple step prevents the most common grilling mistake: temperature fluctuations that lead to uneven cooking.
Step 3: The 3-2-1 Method Timeline (Your Secret Weapon)
The 3-2-1 method revolutionized backyard barbecue by solving the fundamental challenge of ribs: cooking long enough to tenderize without drying out. Here's exactly how to execute it:
- 3 hours uncovered: Place ribs meat-side up on indirect heat. Spritz with apple juice or cider vinegar every 30 minutes to maintain moisture. This initial phase develops the crucial smoke ring and bark formation.
- 2 hours wrapped: Double-wrap ribs in heavy-duty foil with ¼ cup liquid (apple juice, beer, or broth) and butter. The steam environment tenderizes connective tissue without drying. Pro tip: Add a teaspoon of mustard for enhanced flavor penetration.
- 1 hour unwrapped: Remove foil, return ribs to grill, and apply your favorite sauce. This final phase caramelizes the sauce and firms up the exterior while keeping interior moisture.
This timeline isn't arbitrary—it's based on the science of collagen breakdown. At 160°F, collagen begins converting to gelatin, but the process accelerates dramatically between 190-205°F. The 3-2-1 method ensures ribs spend sufficient time in this critical temperature zone.
Step 4: Doneness Tests That Actually Work
Forget unreliable methods like "when the bone pulls out." Professional pitmasters use these three foolproof indicators:
- The Bend Test: Using tongs, lift the rack from one end. When properly cooked, ribs will bend deeply, and cracks will form in the bark on top.
- Internal Temperature: Insert a thermometer probe between bones. Target 195-203°F for optimal tenderness (well above USDA minimum for safety).
- Meat Shrinkage: The meat should have retracted about ¾ inch from the bone ends.
Resting is non-negotiable—wrap ribs in a towel and place in a cooler or warm oven (170°F) for 30-60 minutes. This allows juices to redistribute, preventing dryness when cutting. Skipping this step can cause up to 20% moisture loss.
Common Mistakes and How to Avoid Them
Even experienced grillers fall into these traps. Here's how to sidestep them:
- Mistake: Opening the grill too frequently
Solution: Limit lid openings to spritzing and temperature checks—every peek drops internal temperature by 25-50°F - Mistake: Sauce too early
Solution: Sugar in sauces burns below 265°F—wait until final hour - Mistake: Inconsistent heat
Solution: Use a quality pellet grill or maintain charcoal fire with regular additions - Mistake: Skipping the wrap phase
Solution: The foil phase is essential for tenderizing—don't skip it for "more smoke flavor"
When This Method Doesn't Apply
The 3-2-1 method works for most backyard situations, but certain conditions require adjustments:
- Extreme heat (above 90°F): Reduce cooking time by 15-20% as ambient temperature affects grill performance
- High altitude (above 3,000 feet): Increase cooking time by 25% due to lower boiling point
- Rainy conditions: Expect 20-30 minutes longer cooking time as moisture affects heat retention
- Thick spare ribs (over 2 inches): Extend wrapped phase by 30-60 minutes
Remember that humidity significantly impacts cooking times—dry climates cook faster than humid ones at the same temperature. Always prioritize visual and tactile doneness indicators over strict timing.
Serving Like a Pitmaster
Cut ribs between bones with a sharp knife or poultry shears for clean presentation. Serve with these classic pairings that enhance rather than compete with rib flavors:
- Creamy coleslaw (cuts through richness)
- Simple cornbread (absorbs extra sauce)
- Vinegar-based potato salad (balances fatty flavors)
- Iced tea with lemon (cleanses palate between bites)
Store leftovers properly: wrap tightly in foil and refrigerate for up to 4 days, or freeze for up to 3 months. Reheat in a 250°F oven until internal temperature reaches 165°F—never microwave, which makes ribs rubbery.


 浙公网安备
33010002000092号
浙公网安备
33010002000092号 浙B2-20120091-4