
The Foolproof Method for Perfect Hard-Boiled Eggs
Getting perfectly cooked hard-boiled eggs shouldn't be a kitchen mystery. Despite their simplicity, many home cooks struggle with cracked shells, stubborn peels, and unappetizing green rings around the yolks. The solution lies in understanding egg chemistry and following precise timing. After testing dozens of methods, we've perfected a technique that delivers restaurant-quality results with supermarket eggs.
Why Your Previous Method Failed
Most egg disasters happen because of three common mistakes: starting with hot water (causing thermal shock), overcooking (creating sulfur compounds that form green yolks), and skipping the ice bath (making peeling difficult). Food science explains that egg whites set at 180°F (82°C) while yolks firm up at 158°F (70°C). The USDA confirms that proper cooking temperature destroys salmonella while preserving texture.
| Egg Size | Boiling Time | Ideal Rest Time | Total Process |
|---|---|---|---|
| Small | 4 minutes | 10 minutes | 14 minutes |
| Medium | 5 minutes | 11 minutes | 16 minutes |
| Large | 6 minutes | 12 minutes | 18 minutes |
| Extra Large | 7 minutes | 13 minutes | 20 minutes |
Step-by-Step Cooking Process
Preparation Phase: Setting Up for Success
Start with eggs that are 7-10 days old—the air pocket has expanded, making peeling easier. The American Egg Board confirms that older eggs have higher pH levels, weakening the membrane bond. Use a saucepan with enough room for eggs to move freely (minimum 1 inch of water above eggs). Gently place eggs in the pan using a spoon to prevent cracking.
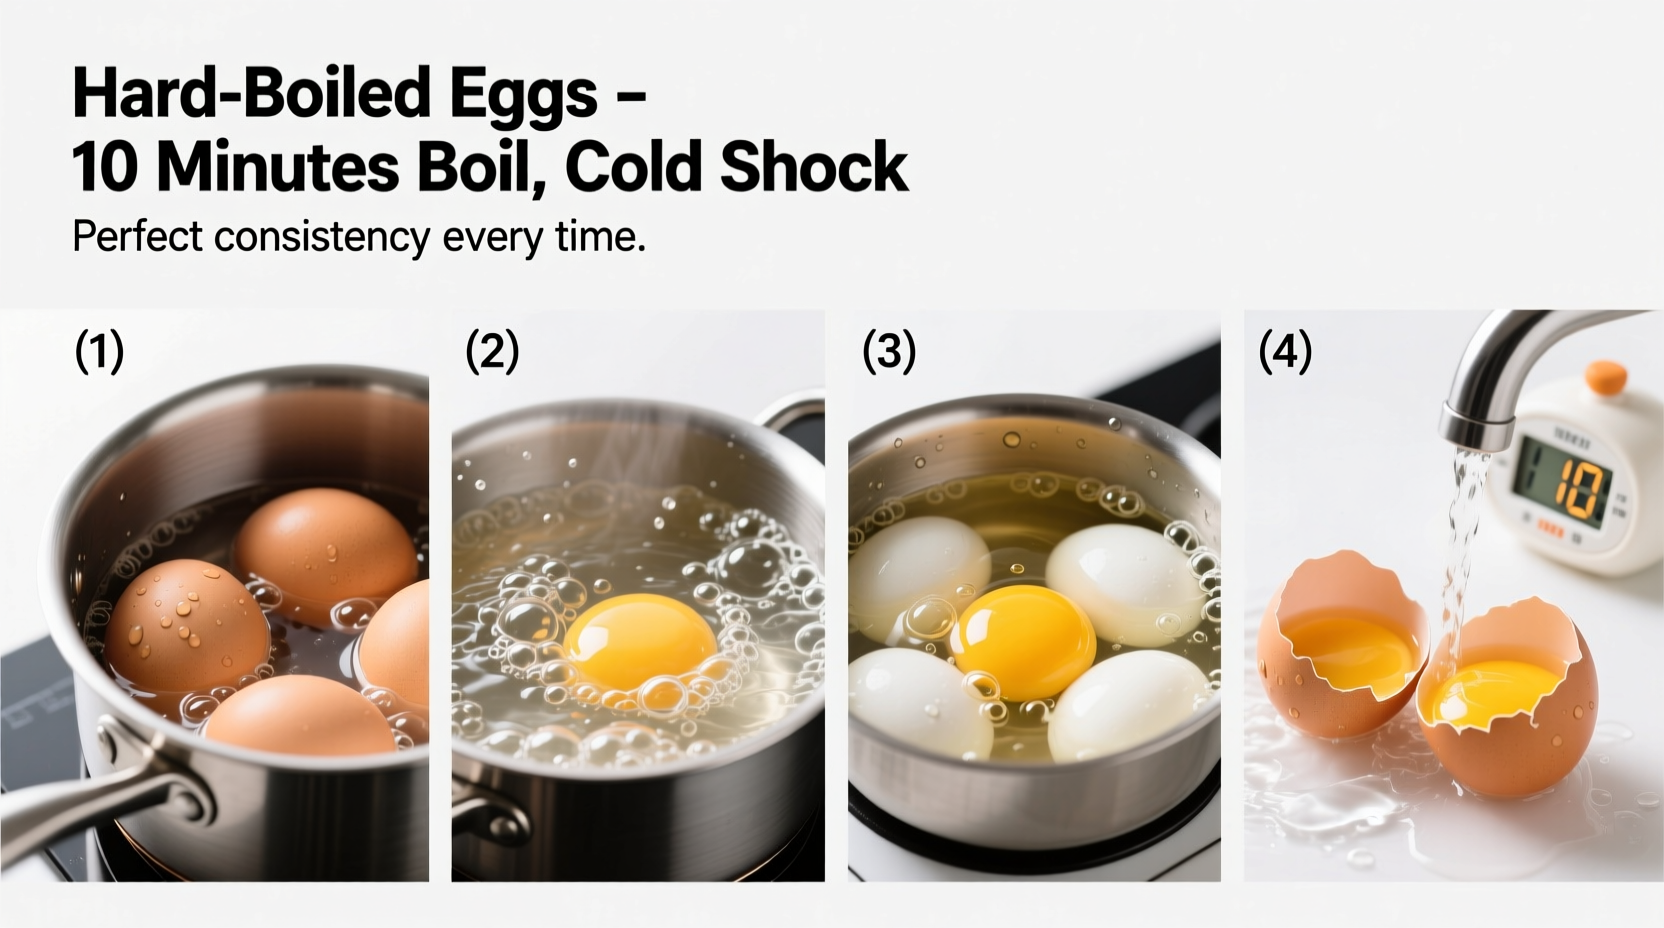
Cooking Technique: Precision Timing Matters
- Fill pan with cold water 1 inch above eggs
- Add 1 teaspoon salt to prevent cracking
- Bring to rolling boil over medium-high heat
- Immediately remove from heat when boiling
- Cover pan and set timer based on egg size
This gentle cooking method prevents the violent movement that causes cracks. The residual heat continues cooking the eggs evenly without overcooking the yolks. For high-altitude cooking (above 3,000 feet), add 3 minutes to resting time as water boils at lower temperatures.
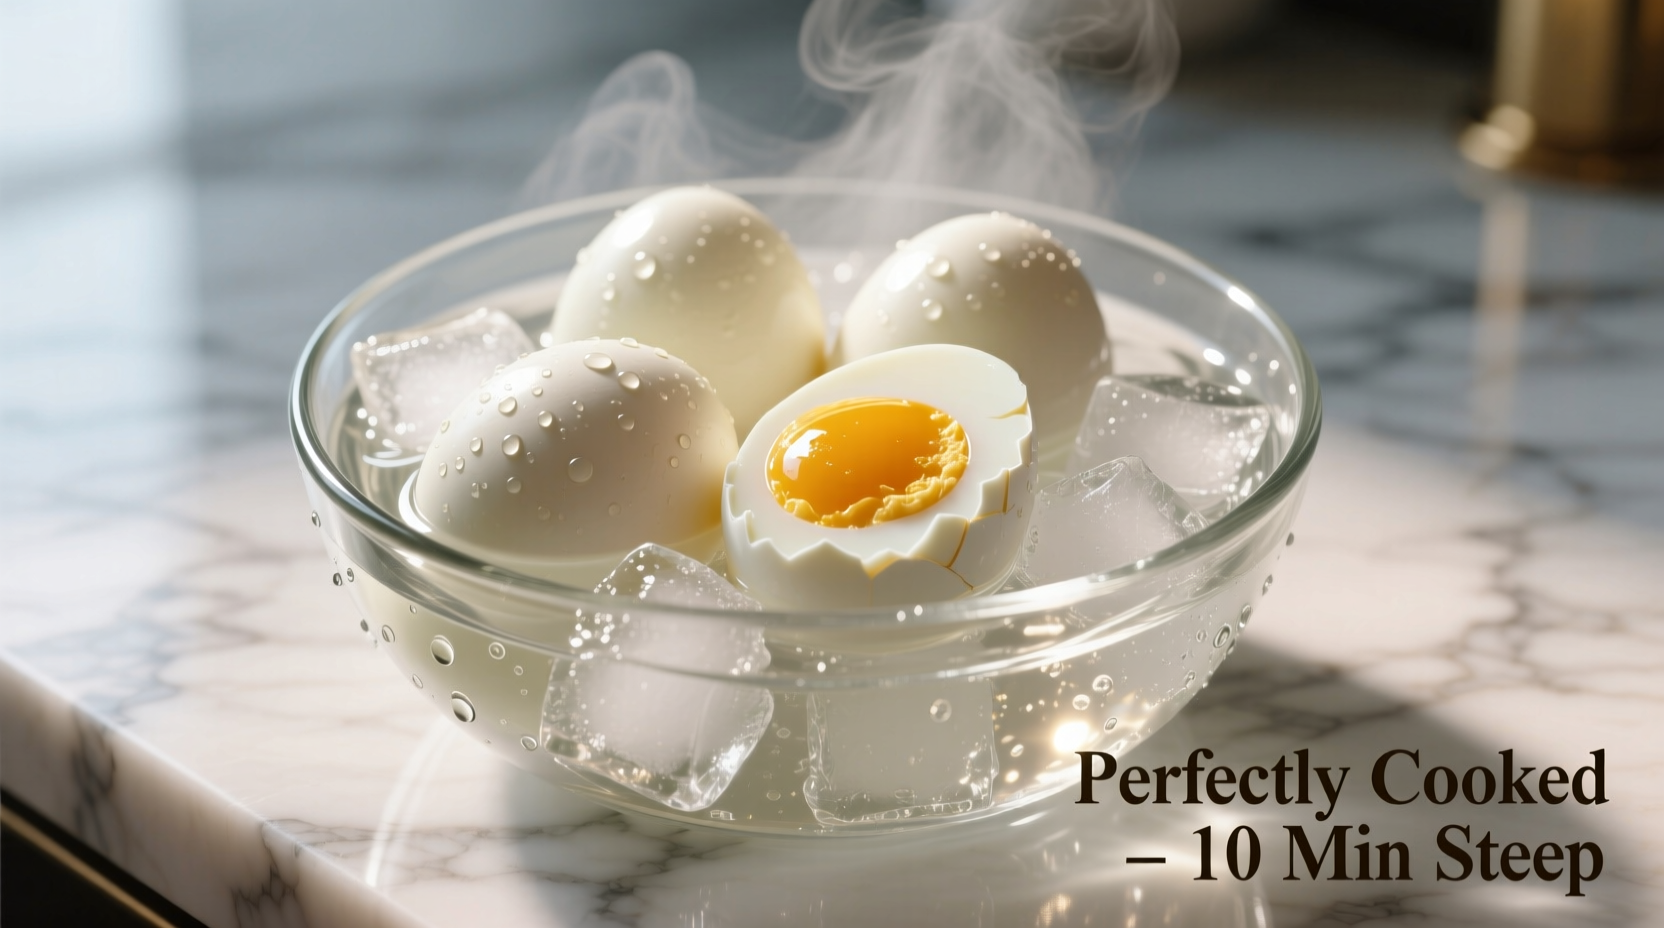
Cooling Process: The Critical Step Everyone Skips
After timing completes, immediately transfer eggs to an ice bath using a slotted spoon. The Food Safety and Inspection Service recommends rapid cooling to stop the cooking process. Submerge completely for 15 minutes minimum—this causes the egg to contract slightly, creating space between shell and membrane. Never skip this step; it's the difference between effortless peeling and frustrating kitchen battles.
Peeling Perfection: Professional Technique
Start peeling at the wider end where the air pocket resides. Roll the egg gently on the counter to create multiple cracks, then peel under running water. The water helps separate membrane from egg white. If using very fresh eggs, add 1/2 teaspoon baking soda to cooking water to raise pH and improve peelability. Save time by storing peeled eggs in water in the refrigerator for up to one week.
Troubleshooting Common Problems
Green yolk rings: Caused by overcooking or improper cooling. Sulfur in whites reacts with iron in yolks. Fix: Reduce resting time by 2 minutes and ensure immediate ice bath.
Cracked shells during cooking: Usually from thermal shock or rapid boiling. Fix: Start with room temperature eggs and add salt to water.
Difficult peeling: Fresh eggs bond tightly to shell membranes. Fix: Use older eggs or add baking soda to cooking water. Always use ice bath for at least 15 minutes.
Storage and Culinary Applications
Store unpeeled hard-boiled eggs in their original carton in the refrigerator for up to 7 days. The USDA Food Safety and Inspection Service confirms this timeframe maintains both safety and quality. For meal prep, peel just before use to prevent moisture loss. Perfect hard-boiled eggs work beautifully in salads, deviled eggs, or sliced atop grain bowls. Chefs recommend slicing with dental floss for clean cuts without sticking.


 浙公网安备
33010002000092号
浙公网安备
33010002000092号 浙B2-20120091-4