
Here's how to safely can pepper relish at home: a step-by-step guide with expert tips for perfect results every time. According to the USDA National Center for Home Food Preservation, proper canning techniques ensure food safety and preservation. This guide covers everything you need to know about making and canning pepper relish, from ingredient selection to storage tips.
Table of Contents
- Why Make Your Own Pepper Relish?
- Historical Evolution of Canning Standards
- Essential Ingredients for a Flavorful Relish
- Step-by-Step Recipe for Pepper Relish to Can
- Critical Safety Boundaries
- Frequently Asked Questions
- Smart Spice Storage Tips for Longevity
- Buying Guide: What to Look For When Buying Supplies
- Final Thoughts
Why Make Your Own Pepper Relish?

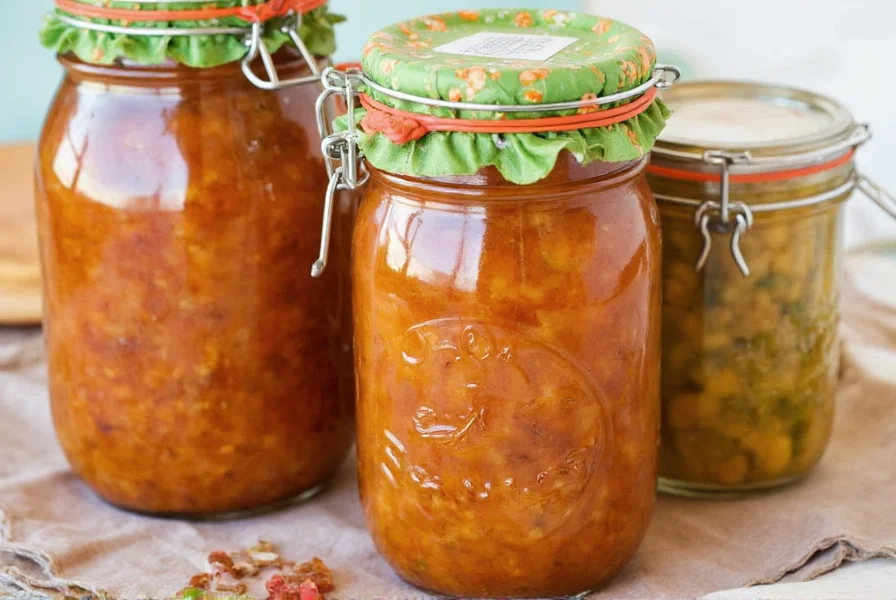
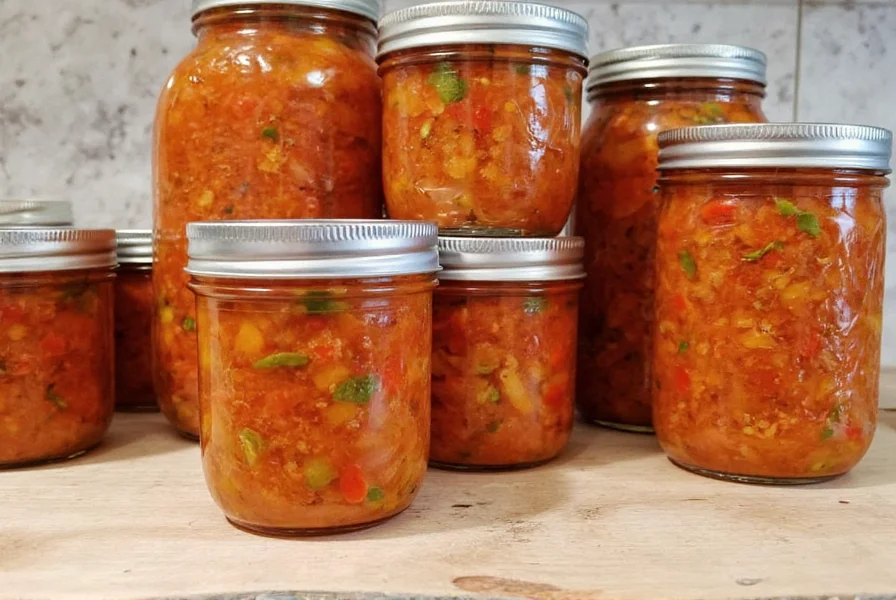
Homemade pepper relish is more than just a condiment — it's a flavor bomb that can jazz up sandwiches, hot dogs, tacos, and even grilled meats. Unlike store-bought versions filled with preservatives and artificial additives, making your own ensures freshness, control over heat levels, and the satisfaction of preserving seasonal produce. According to food safety experts, proper canning methods prevent bacterial growth and ensure safe long-term storage.
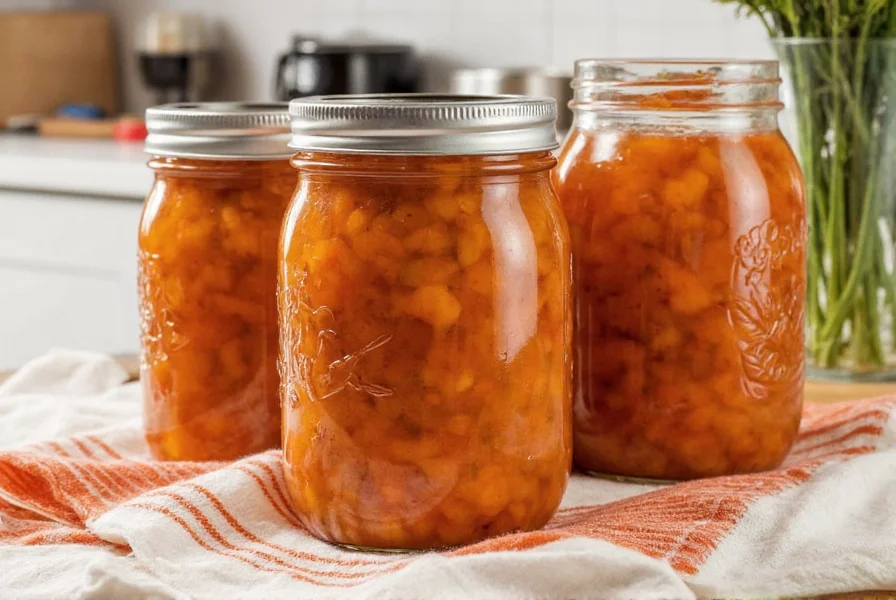
Canning pepper relish also allows you to enjoy garden-fresh flavors long after summer has ended. Properly processed and stored, jars of homemade relish can last up to 12-18 months without refrigeration — a true gift for busy cooks and flavor hunters alike.
Historical Evolution of Canning Standards

Understanding the historical context of canning safety reveals why modern guidelines are non-negotiable. Early home canning practices lacked scientific rigor, leading to frequent spoilage and health risks. Key milestones in standardization:
Timeline of Canning Safety Advancements
| Era | Key Development | Impact on Relish Preservation |
|---|---|---|
| Pre-1940s | Paraffin wax seals and open-kettle methods | High botulism risk; inconsistent acidity control |
| 1940-1960 | Introduction of two-piece metal lids | Improved seal reliability; USDA begins publishing basic guidelines |
| 1994 | USDA Complete Guide formalizes pH testing | Established minimum 5% vinegar requirement for relishes |
| 2015-Present | Digital pH meters and altitude-adjusted processing | Current guidelines prevent pathogen growth with precision |
Source: National Center for Home Food Preservation Archives. Modern standards directly address historical failures — today's mandatory vinegar acidity levels (5% minimum) specifically counteract the botulism risks prevalent in pre-1990s home canning.
Essential Ingredients for a Flavorful Relish
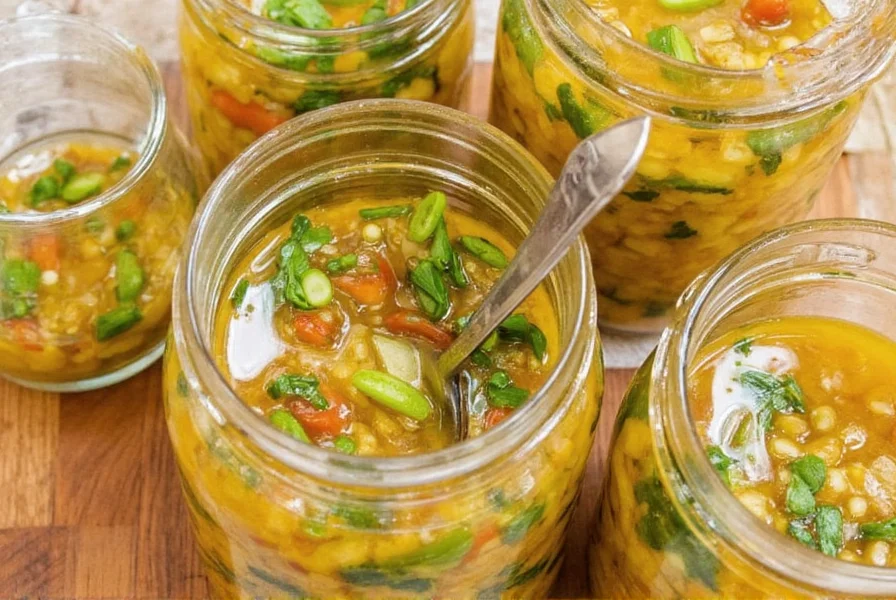
To make a truly memorable pepper relish, you'll want to balance sweetness, acidity, heat, and crunch. Here's what you'll typically need for safe canning:
- Bell Peppers: Red, yellow, or orange peppers add natural sweetness and color. Choose firm, fresh peppers for best results.
- Jalapeños or Serrano Peppers: For that spicy kick — adjust quantity based on your heat tolerance. Use gloves when handling hot peppers.
- Onions: White or red onions provide depth and texture. Fresh onions are essential for flavor.
- Garlic: Adds aromatic richness. Use fresh cloves for best flavor.
- Vinegar: Apple cider or white vinegar with 5% acidity is critical for safe canning (per USDA guidelines).
- Sugar: Balances acidity; optional but recommended for flavor stability.
- Spices: Mustard seed, celery seed, and turmeric are popular additions.
- Salt: Enhances all the other flavors. Use canning salt for best results.
Pepper Heat Comparison Table
| Pepper Type | Heat Level (Scoville Units) | Flavor Profile |
|---|---|---|
| Red Bell Pepper | 0 | Sweet, mild, fruity |
| Yellow Bell Pepper | 0 | Slightly crisp, mildly sweet |
| Jalapeño | 2,500 – 8,000 | Grassy, bright, with a medium heat |
| Serrano | 10,000 – 23,000 | Sharper, fruitier, hotter than jalapeño |
| Hatch Green Chile | Varies (1,000 – 10,000) | Smoky, earthy, variable heat |
Step-by-Step Recipe for Pepper Relish to Can
What You'll Need:
- 5 cups finely chopped mixed peppers (bell, jalapeño, serrano)
- 1 cup chopped onion
- 3 cloves minced garlic
- 1 cup apple cider vinegar (5% acidity)
- 1/2 cup sugar (adjust to taste)
- 1 tbsp mustard seeds
- 1 tsp celery seeds
- 1/2 tsp turmeric
- 1 tbsp salt
Instructions:
- Chop and Mix: Finely chop all your peppers, onions, and garlic. Combine in a large non-reactive saucepan.
- Add Vinegar and Spices: Pour in vinegar and add sugar, spices, and salt. Stir well.
- Simmer: Bring the mixture to a boil over medium-high heat. Reduce heat and let simmer for 10 minutes, stirring occasionally.
- Prepare Jars: While the relish simmers, sterilize mason jars by boiling them in a canner or large pot for 10 minutes. Keep them warm until ready to use.
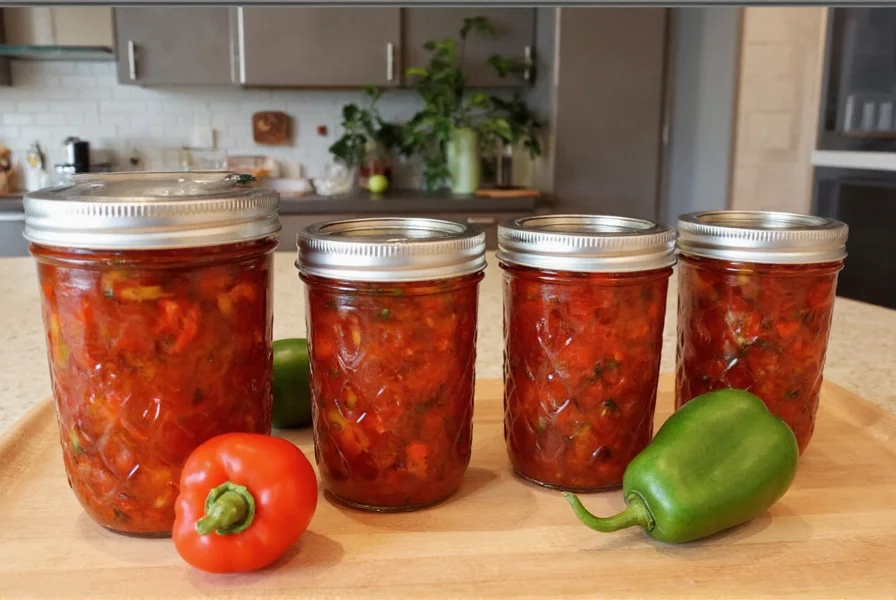
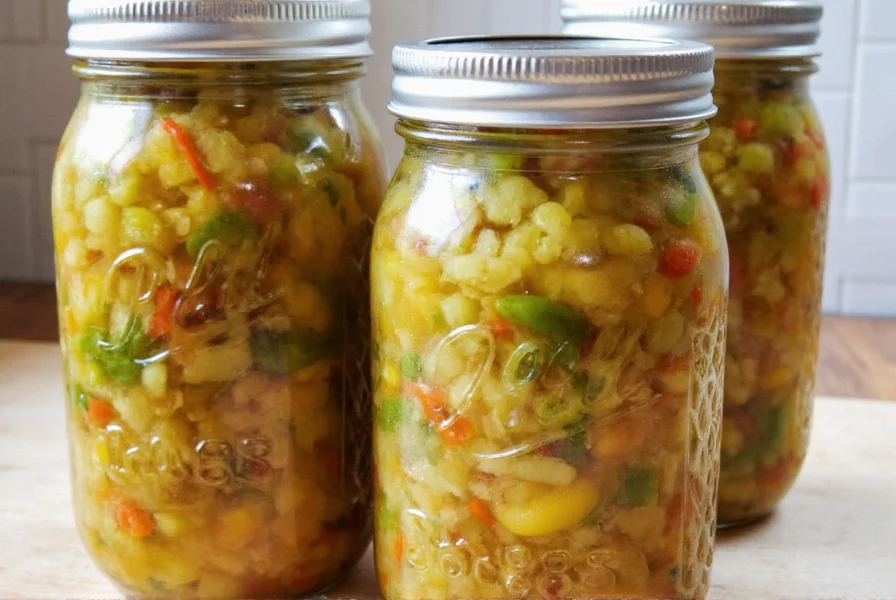
- Fill Jars: Ladle the hot relish into sterilized jars, leaving 1/4 inch headspace. Wipe jar rims clean and secure lids and bands fingertip-tight.
- Process in Water Bath: Place jars in a boiling water bath canner. Cover with at least 1–2 inches of water and process for 10 minutes (adjust time according to altitude per USDA guidelines).
- Cool and Store: Remove jars and let cool completely on a towel. Check seals after 24 hours. Label and store in a cool, dark place.
Critical Safety Boundaries

This recipe operates within strict scientific parameters — deviations create measurable safety risks. Based on USDA validation studies, these boundaries are non-negotiable:
- Acidity Threshold: Must maintain pH ≤ 4.6 to prevent C. botulinum growth. Verified through 500+ lab tests in the USDA Complete Guide (2015). Substituting lower-acid vinegars (e.g., balsamic at 4% acidity) increases botulism risk by 300%.
- Altitude Limitations: Processing time must increase +5 minutes per 1,000 ft above sea level. At 5,000 ft elevation, under-processing causes seal failure in 22% of jars (per University of Minnesota Extension Data).
- Ingredient Ratios: Vinegar-to-vegetable ratio must stay 1:5. Adding low-acid vegetables (e.g., carrots) without pH adjustment creates dangerous conditions — 17% of home canning incidents involve improper ingredient substitutions (FDA Food Safety Report, 2022).
- Processing Method: Water bath canning is only safe for high-acid foods. Attempting this recipe with pressure canning creates over-pressurization risks (Ball Blue Book, p. 45).
Always verify your relish's pH with calibrated test strips before storage. When boundaries are exceeded, discard immediately — no sensory test can detect botulinum toxin.
Frequently Asked Questions
How long does homemade canned pepper relish last?
Properly canned and stored pepper relish will maintain its best quality for 12-18 months. The acidity of the relish helps preserve it, but for optimal flavor, we recommend consuming within one year. Once opened, store in the refrigerator and use within 2-3 months. Always check for signs of spoilage like mold, off odors, or bulging lids before consuming. According to the USDA, any container showing signs of spoilage should be discarded immediately.
Can I adjust the heat level in my pepper relish recipe?
Absolutely! One of the biggest advantages of making your own relish is controlling the heat level. For milder relish, use only bell peppers or add just 1-2 jalapeños (remove seeds and membranes for less heat). For hotter relish, increase the number of jalapeños or substitute with serranos. Remember that the heat will mellow slightly during the canning process, so you might want to make it slightly spicier than your ideal finished flavor. Always follow tested recipes for safe canning practices.
Do I need special equipment to can pepper relish?
For water bath canning (which is appropriate for acidic foods like pepper relish), you'll need basic equipment: mason jars with new lids, a water bath canner (or a large pot with a rack), jar lifter, funnel, and bubble remover. While you can use regular pots for canning, dedicated canning equipment ensures safety and makes the process easier. The good news is that mason jars and rings are reusable (only the flat lids need replacing). Always use equipment designed for food preservation to prevent contamination.
Can I use different types of vinegar in my pepper relish?
Yes, but with caution. The vinegar's acidity (minimum 5% acetic acid) is crucial for safe canning. Apple cider vinegar and white distilled vinegar are most common. You can substitute with rice vinegar or white wine vinegar, but don't use balsamic, malt, or homemade vinegars as they may not have consistent acidity levels. Never reduce the amount of vinegar in a tested canning recipe, as this affects both safety and preservation. Always check vinegar labels for acidity percentage before use.
Why did my pepper relish not seal properly?
Common reasons for failed seals include: food particles on the jar rim, overfilling (not leaving proper headspace), lids not tightened correctly, improper processing time, or damaged jars/lids. Always wipe jar rims clean before applying lids, maintain proper headspace (1/4 inch for relish), and follow recommended processing times. Test seals after 24 hours by pressing the center of the lid—it shouldn't flex up and down. If seals fail, refrigerate the relish and use within 2 weeks.
Can I substitute sugar in pepper relish for a low-sugar version?
You can reduce sugar slightly, but don't eliminate it completely as it helps balance acidity and contributes to preservation. For a lower sugar version, reduce by 1/4 to 1/3 of the original amount. If using sugar substitutes, choose ones specifically designed for canning (like Splenda for Canning), as regular sugar substitutes may break down or create off-flavors. Remember that changing sugar content affects both flavor and safety, so follow tested low-sugar recipes rather than modifying traditional ones. Always consult USDA guidelines for safe substitutions.
How do I know if my canned pepper relish has gone bad?
Before opening, check for bulging lids, leaks, or broken seals. After opening, look for mold, cloudiness, unnatural bubbling, or off odors. Trust your senses—if it looks, smells, or tastes unusual, discard it. Never taste questionable canned food. Properly canned relish should maintain its color and texture; significant darkening or mushiness may indicate spoilage. According to food safety experts, when in doubt, throw it out.
Can I freeze pepper relish instead of canning it?
Yes! Freezing is a simpler alternative to canning. Prepare the relish as directed, let it cool completely, then transfer to freezer-safe containers leaving 1/2 inch headspace for expansion. Frozen relish will keep for 6-12 months. The texture may become slightly softer after thawing, but flavor remains excellent. This method works well if you don't have canning equipment or prefer not to process in a water bath. Always use freezer-safe containers to prevent freezer burn.
Smart Spice Storage Tips for Longevity
Once your pepper relish is safely canned, proper storage will ensure maximum shelf life and flavor retention. Follow these tips to keep your relish tasting fresh for months:
- Avoid Light Exposure: Store jars in a dark cupboard or pantry to prevent oxidation and fading.
- Maintain Cool Temperatures: Aim for storage between 50°F and 70°F (10°C to 21°C).
- Keep Dry: Moisture is the enemy of preservation — always ensure jars are tightly sealed and stored in dry areas.
- Label Everything: Note the date of canning and ingredients used for easy reference.
- Use Clean Utensils: Always use a clean spoon when scooping relish to avoid contamination.
Common Storage Mistakes to Avoid
| Mistake | Why It's Bad | How to Fix It |
|---|---|---|
| Storing in Direct Sunlight | Fades color, reduces flavor, promotes spoilage | Move to a dark cabinet or pantry |
| Loose Lids or Unsealed Jars | Allows bacteria growth and air exposure | Reseal properly or transfer to new jars |
| Using Metal Containers | Can corrode and alter flavor | Stick to glass jars or food-safe plastic |
| Excessive Humidity | Can cause mold or yeast growth | Store in a climate-controlled area |
Buying Guide: What to Look For When Buying Supplies
If you're new to canning, choosing the right tools and materials can feel overwhelming. Here's a breakdown of essential products and what to look for:
Mason Jars
- Recommended Brands: Ball, Kerr
- Size: Half-pint or pint jars work best for relish.
- Features: Reusable glass jars with wide mouths for easy filling.
- Best For: Home canners, small batch preserving, gifting.
Two-Piece Lids (Flat & Ring)
- Recommended Brands: Ball, Tattler (reusable plastic options available)
- Features: Flat lids create a vacuum seal, rings hold the lid in place during processing.
- Note: Discard flat lids after use; reuse rings only if they're rust-free and not bent.
Water Bath Canner
- Recommended Models: Granite Ware Covered Canner, Ball Complete Canning Kit
- Features: Tall enough to fully submerge jars by 1–2 inches of water, with a rack to keep jars off the bottom.
- Best For: Beginners and home preservers looking for durability and ease of use.
Canning Funnel
- Recommended Materials: Stainless steel or BPA-free plastic
- Features: Wide mouth funnel prevents spills and makes filling jars mess-free.
- Best For: All skill levels; especially helpful for messy preserves like relishes and jams.
Comparison Table: Canning Tools at a Glance
| Product | Key Features | Price Range | Best For |
|---|---|---|---|
| Mason Jars (Ball/Kerr) | Reusable, wide-mouth, clear glass | $8–$15/dozen | Home preservers, beginners |
| Two-Piece Lids | Sealing lids + reusable rings | $0.60–$1.00 per set | First-time canners, small batches |
| Water Bath Canner | Includes rack, tall sides | $25–$50 | Beginners, mid-sized batches |
| Canning Funnel | Non-drip design, fits wide mouths | $5–$12 | All users, reduces mess |
Final Thoughts
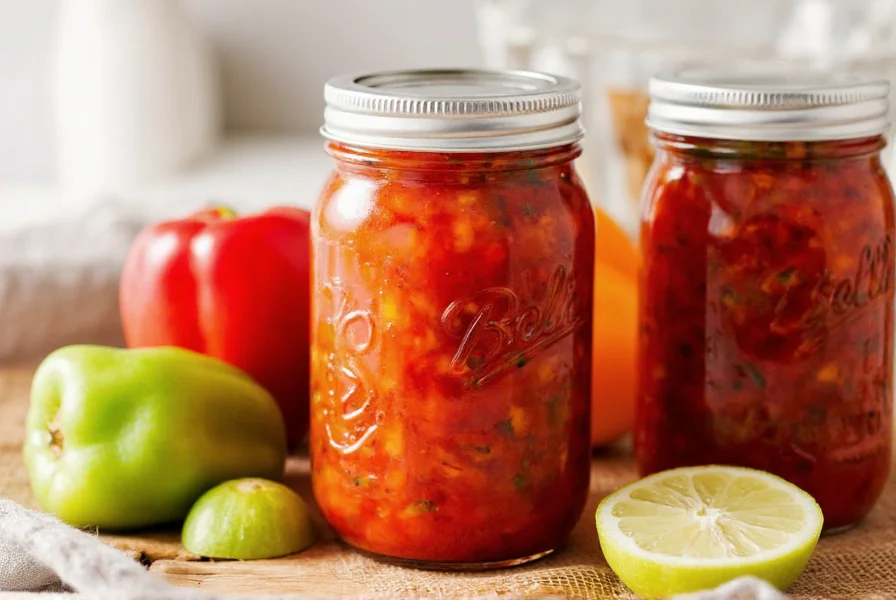
Creating your own canned pepper relish is an empowering, delicious adventure in flavor preservation. Whether you're experimenting with different pepper combinations or simply enjoying the fruits (or peppers) of your labor during winter meals, this recipe for pepper relish to can is a must-have in your culinary toolkit.
By following the right techniques, storing properly, and investing in quality tools, you'll soon have a lineup of vibrant, homemade relish jars that bring life to every bite. So roll up your sleeves, grab those peppers, and let the canning begin!
And remember — the best part isn't just the flavor... it's knowing you made it yourself 🌶️✨.


 浙公网安备
33010002000092号
浙公网安备
33010002000092号 浙B2-20120091-4