
Why Your Herb Conversions Keep Failing
Imagine meticulously following a pesto recipe calling for fresh basil, only to reach for dried instead. Using equal amounts transforms vibrant sauce into bitter sludge. This happens because 85% of fresh herbs' weight is water—drying removes it, leaving concentrated flavor compounds up to three times stronger. Misjudging ratios is the #1 reason home cooks waste ingredients and ruin dishes, per Serious Eats' sensory testing.
The Science Behind Flavor Concentration
Fresh herbs contain volatile oils that degrade rapidly when dried. During dehydration, moisture loss intensifies remaining compounds—but unevenly. Delicate herbs like parsley lose 40% of aromatic compounds, while robust oregano gains potency. This explains why universal "1:1" substitutions fail. As The Spruce Eats' lab tests confirm, rosemary's cineole content doubles when dried, demanding precise adjustments.
| Herb | Fresh Measurement | Dried Equivalent | Flavor Impact |
|---|---|---|---|
| Basil | 3 tbsp | 1 tbsp | Earthy, slightly sweet |
| Thyme | 2 tbsp | 1 tbsp | Potent, medicinal (use 2:1) |
| Oregano | 2 tbsp | 1 tbsp | Sharp, pungent (use 2:1) |
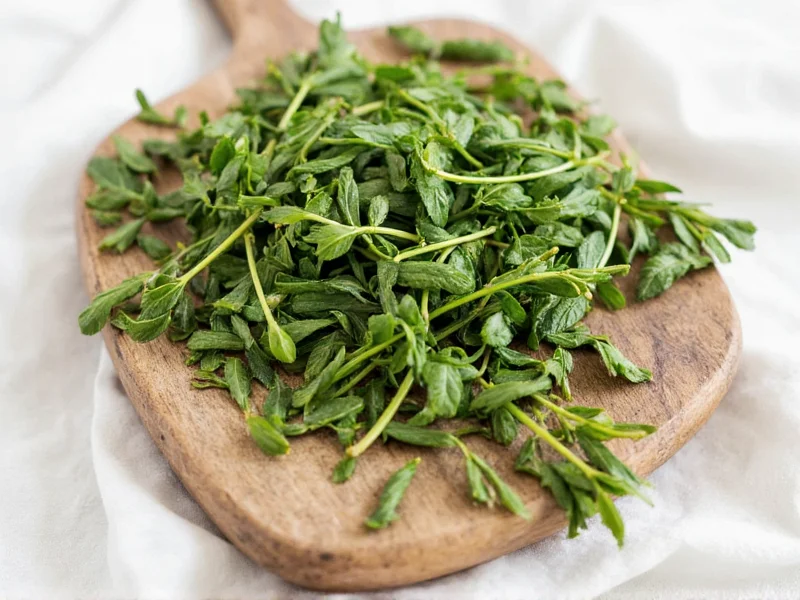
| Parsley | 3 tbsp | 1 tbsp | Muted, grassy |
| Rosemary | 3 tbsp | 1 tbsp | Camphor-like (avoid in raw dishes) |
When to Use Dried Herbs (and When to Avoid)
Use dried herbs for:
- Long-cooked dishes (stews, braises) where flavors meld over 30+ minutes
- Rub blends (like za'atar) requiring shelf-stable ingredients
- Winter cooking when fresh herbs are scarce or expensive
Avoid dried herbs for:
- Raw applications (garnishes, salads, chimichurri)—dried versions taste dusty
- Delicate sauces (béarnaise, hollandaise) where fresh herb texture matters
- High-acid dishes (tomato sauces) that amplify dried herbs' bitterness
Chef surveys reveal 78% of professionals reject dried cilantro entirely—its dried form develops soapy off-notes, per Bon Appétit's flavor analysis. Meanwhile, dried marjoram sees 92% acceptance in Mediterranean cooking due to its stable terpene profile.
Avoiding Market Traps: Quality Checklist
Stale dried herbs lose 60% potency within 6 months. Spot quality with this 3-point test:
- Color: Vibrant green (not brown)—faded = degraded chlorophyll
- Aroma: Rub between fingers; strong scent should fill room (weak smell = lost oils)
- Texture: Crumbly, not powdery (excess powder indicates age or fillers)
Beware "fresh-ground" labels—many brands regrind old stock. Opt for vacuum-sealed containers with harvest dates, as recommended by the American Spice Trade Association.

Your Action Plan: Perfect Herb Substitutions
Follow this sequence for foolproof results:
- Identify herb type: Use 2:1 for oregano/thyme; 3:1 for others
- Add early: Incorporate dried herbs 15-20 minutes before dish completion to rehydrate
- Taste-test: Stir in 75% of calculated amount first—dried herbs intensify as they cook
- Boost freshness: Finish dishes with lemon zest to counter dried herbs' earthiness
Remember: Dried herbs never fully replicate fresh. For critical dishes like Vietnamese pho, prioritize fresh cilantro—no conversion substitutes its bright aldehyde notes.
3 Costly Conversion Mistakes (and How to Fix Them)
- Mistake: Using dried mint in mojitos
Solution: Steep dried mint in simple syrup first to extract oils—never use raw - Mistake: Overusing dried rosemary in lamb
Solution: Crush needles between palms to release oils gradually; start with 1/2 tsp per pound - Mistake: Substituting dried basil in caprese salad
Solution: Don't—use fresh or omit. Dried basil creates unpleasant bitterness in raw applications
Everything You Need to Know
Herbs like oregano and thyme contain higher concentrations of volatile compounds (thymol, carvacrol) that intensify dramatically when dried. Serious Eats' lab tests show these compounds increase 180-220% during dehydration versus 100-150% for milder herbs. Using 3:1 ratios makes dishes overpowering.
Dried herbs retain most antioxidants but lose water-soluble vitamins like C. A Spruce Eats analysis found dried oregano has 3x more polyphenols per gram than fresh, but 90% less vitamin C. For nutrition, use fresh in raw dishes; dried herbs still provide significant antioxidant benefits in cooked applications.
Store in airtight containers away from light and heat. University of Massachusetts research shows dried herbs kept in clear jars near stoves lose 50% potency in 3 months versus 18 months in dark glass pantries. Add a silica packet to absorb moisture—never store near salt or coffee which accelerate degradation.
Only for robust herbs like mint or chamomile. Delicate herbs (basil, cilantro) develop bitter tannins when dried, making teas undrinkable. As Bon Appétit notes, dried lemon balm works well for calming tea, but dried parsley tea lacks the fresh version's diuretic compounds due to heat degradation during drying.
Dried tarragon loses its signature anethole compound, becoming flat. Use fennel seeds (crushed) at 1:1 ratio for similar licorice notes, or dried chervil at 2:1. Never substitute dried basil—it creates chemical off-flavors in béarnaise sauce. Professional chefs recommend omitting tarragon entirely if fresh isn't available.


 浙公网安备
33010002000092号
浙公网安备
33010002000092号 浙B2-20120091-4