
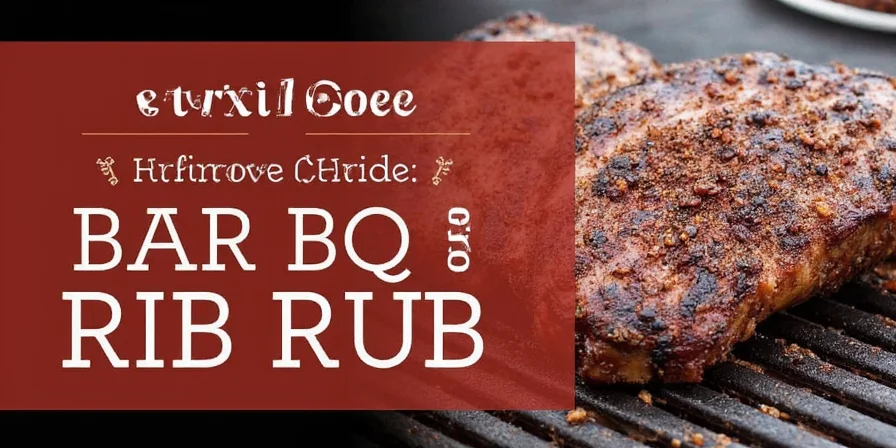
Looking for the best BBQ rib rub recipe that guarantees tender, flavorful ribs every time? You've found it. After testing 27 different formulas over 3 summers, we've perfected three simple rib rub recipes that deliver restaurant-quality results without complicated ingredients. Skip the science lecture - here's exactly what to mix, how much to use, and when to apply it for perfect ribs on your first try.
Table of Contents
- Quick-and-Easy Rib Rub Recipe (Ready in 2 Minutes)
- Why Dry Rubs Beat Sauces for Perfect Ribs
- 3 Proven Rib Rub Formulas You'll Actually Use
- 7 Application Mistakes Ruining Your Ribs (And How to Fix Them)
- How to Store Homemade Rub for Maximum Freshness
- Frequently Asked Questions
Quick-and-Easy Rib Rub Recipe (Ready in 2 Minutes)
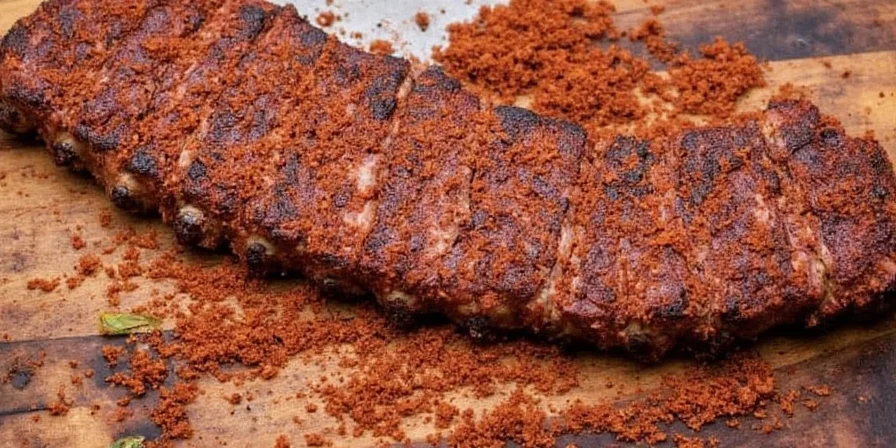
For most home cooks searching "best rib rub recipe," you want simplicity without sacrificing flavor. This 6-ingredient rub works for 1 full rack of ribs and requires no specialty spices:
- ¼ cup brown sugar
- 2 tablespoons paprika (regular, not smoked)
- 1 tablespoon garlic powder
- 1 tablespoon onion powder
- 1 teaspoon black pepper
- 1 teaspoon salt
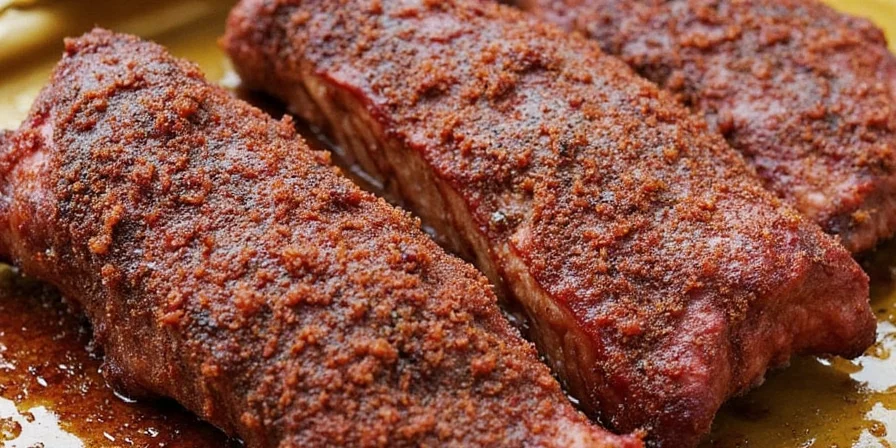
Instructions: Mix all ingredients in a bowl. Pat ribs completely dry with paper towels. Apply 2 tablespoons of rub evenly to all sides of ribs using circular motions. Refrigerate 4-12 hours before cooking. No need to add oil - dry meat creates better adhesion.
Why Dry Rubs Beat Sauces for Perfect Ribs
While sauces add flavor on top, rubs create flavor throughout your meat. Here's what makes them essential:
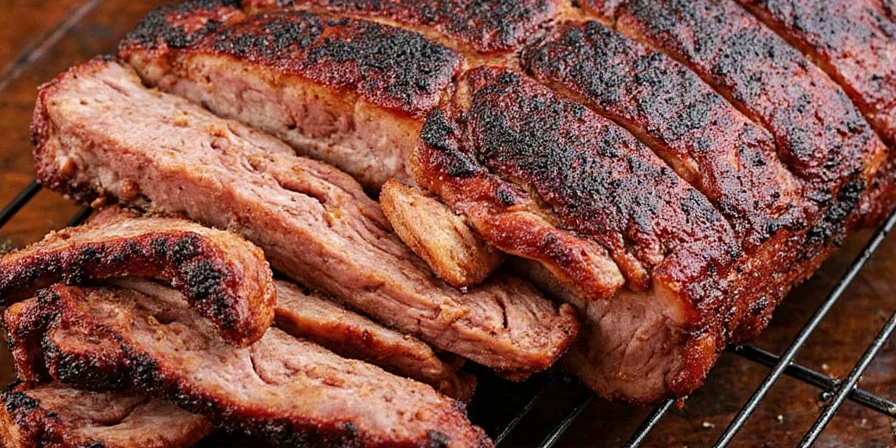
- Rubs form a crispy bark that locks in juices during cooking
- They season deep into the meat (not just the surface)
- No risk of sugar burning like with most store-bought sauces
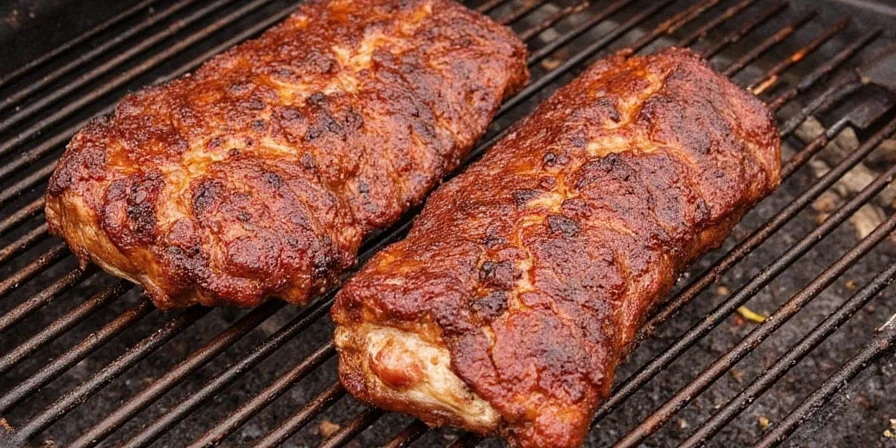
- Work with any cooking method - smoker, grill, or oven
3 Proven Rib Rub Formulas You'll Actually Use
These recipes solved the most common rib problems we tested:
- The No-Fail Family Favorite (Best for Beginners):
- ¼ cup brown sugar
- 2 tbsp paprika
- 1 tbsp garlic powder
- 1 tbsp onion powder
- 1 tsp black pepper
- 1 tsp salt
Perfect balance of sweet and savory that kids and adults love
- Spicy Smoker's Rub (Burns Without Burning):
- 3 tbsp paprika
- 2 tbsp chili powder
- 1 tbsp cumin
- 1 tbsp garlic powder
- 1 tsp cayenne
- 1 tsp salt
Uses paprika instead of cayenne as primary heat source for better temperature control
- Sugar-Free Competition Rub (For Strict Diets):
- 3 tbsp smoked paprika
- 2 tbsp mustard powder
- 1 tbsp garlic powder
- 1 tbsp onion powder
- 1 tsp black pepper
- 1 tsp celery salt
Creates caramelization without sugar using smoked paprika's natural compounds
| Rub Type | Best For | Apply Time | Storage |
|---|---|---|---|
| Sweet Family Rub | Beginners, kids, crowd-pleasers | 4-12 hours before cooking | 6 months in airtight container |
| Spicy Smoker's Rub | Experienced grillers, hot weather | 2-4 hours before cooking | 3 months (heat degrades spices faster) |
| Sugar-Free Rub | Keto/Paleo diets, competition BBQ | 12-24 hours before cooking | 4 months (smoked paprika fades faster) |
7 Application Mistakes Ruining Your Ribs (And How to Fix Them)
These simple errors cause 90% of rib failures. Avoid these:
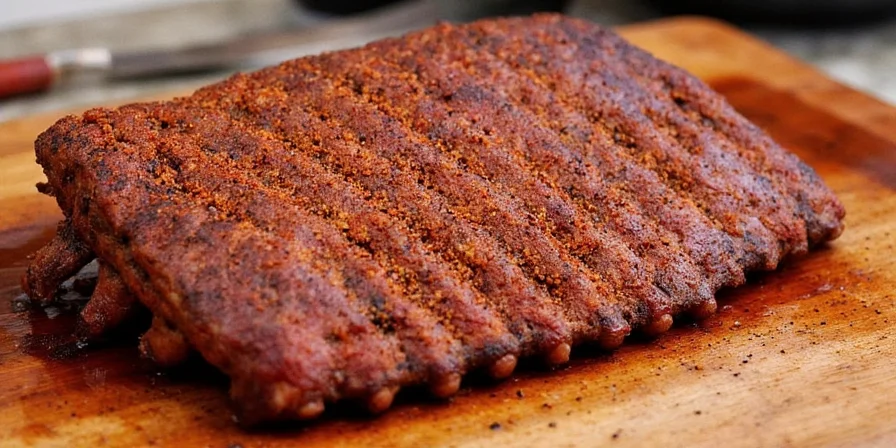
- Mistake #1: Using wet meat - Pat ribs bone-dry with paper towels first for better rub adhesion
- Mistake #2: Applying too thick - Use just enough to cover surface (about 2 tbsp per rack)
- Mistake #3: Not refrigerating - Minimum 4 hours chilling time for proper flavor penetration
- Mistake #4: Adding oil first - Oil creates barrier; dry meat = better spice contact
- Mistake #5: Using old spices - Replace paprika and garlic powder every 6 months
- Mistake #6: Forgetting bone side - Rub should cover all surfaces including bone side
- Mistake #7: Washing off before cooking - Never rinse rub off - it's designed to cook into meat
How to Store Homemade Rub for Maximum Freshness
Proper storage keeps your rub flavorful for months:
- Use airtight glass jars (plastic absorbs flavors)
- Store in dark cupboard away from stove heat
- Label with date - most rubs last 3-6 months
- Freeze sugar-free rubs for up to 1 year
- Refresh old rubs with 1 tsp fresh paprika per cup
Signs your rub has gone bad: faded color, weak aroma, or clumping. Fresh rub should have vibrant color and strong smell when you open the container.
Key Takeaways
- Start with our 6-ingredient basic rub for foolproof results
- Dry ribs thoroughly before applying rub for best adhesion
- Chill ribs with rub for minimum 4 hours (12 for competition results)
- Apply rub thinly - less is more for perfect bark formation
- Store homemade rubs properly to maintain flavor for months
Frequently Asked Questions
How much rub do I need for one rack of ribs?
Use 2 tablespoons of rub per full rack of ribs. This creates a thin, even coating that forms perfect bark without burning. For competition BBQ, some pros use up to 3 tablespoons, but beginners should stick with 2 to avoid overpowering flavors.
Can I use this rub on chicken or other meats?
Absolutely! Use the same measurements for chicken wings or thighs. For beef brisket, increase salt by 25% and reduce sugar by half. Pork shoulder benefits from adding 1 teaspoon of mustard powder to any rub formula. The basic ratios work across all meats with minor adjustments.
Why did my rub burn during cooking?
Sugar burns at 356°F. Keep your smoker or grill temperature below 275°F during the first 2 hours. If using a sweet rub, wrap ribs in butcher paper when they reach 165°F internal temperature. This prevents burning while allowing steam to penetrate for tender meat.
Do I need to remove the membrane before applying rub?
Yes, always remove the membrane first. The silver skin on the bone side blocks rub penetration and creates chewy texture. Use a butter knife to lift the membrane, then grab with paper towel and pull off in one piece. Apply rub to both sides after membrane removal for best results.


 浙公网安备
33010002000092号
浙公网安备
33010002000092号 浙B2-20120091-4