
Onion slicing seems simple, but improper technique leads to uneven cuts, wasted ingredients, and unnecessary tears. The secret lies in understanding onion anatomy, using proper knife skills, and implementing strategic preparation methods that interrupt the chemical reaction causing eye irritation. Follow these evidence-based steps to transform your onion preparation from frustrating to flawless.
Why Onions Make You Cry (And How to Stop It)
When you cut an onion, you rupture cells containing syn-propanethial-S-oxide, a volatile compound that converts to sulfuric acid upon contact with moisture—including your eyes. Food scientists at Cornell University confirm this reaction occurs within 30 seconds of cutting. The solution isn't just about speed—it's strategic preparation:
- Chill onions for 30 minutes before cutting (reduces vapor release by 60%)
- Use a sharp chef's knife (dull blades crush cells, releasing more irritants)
- Cut near running water or under a vent (water molecules bind to sulfur compounds)
The 4-Step Professional Slicing Method
Adapted from techniques taught at the Culinary Institute of America, this method ensures uniform slices while minimizing tears:
Step 1: Strategic Preparation
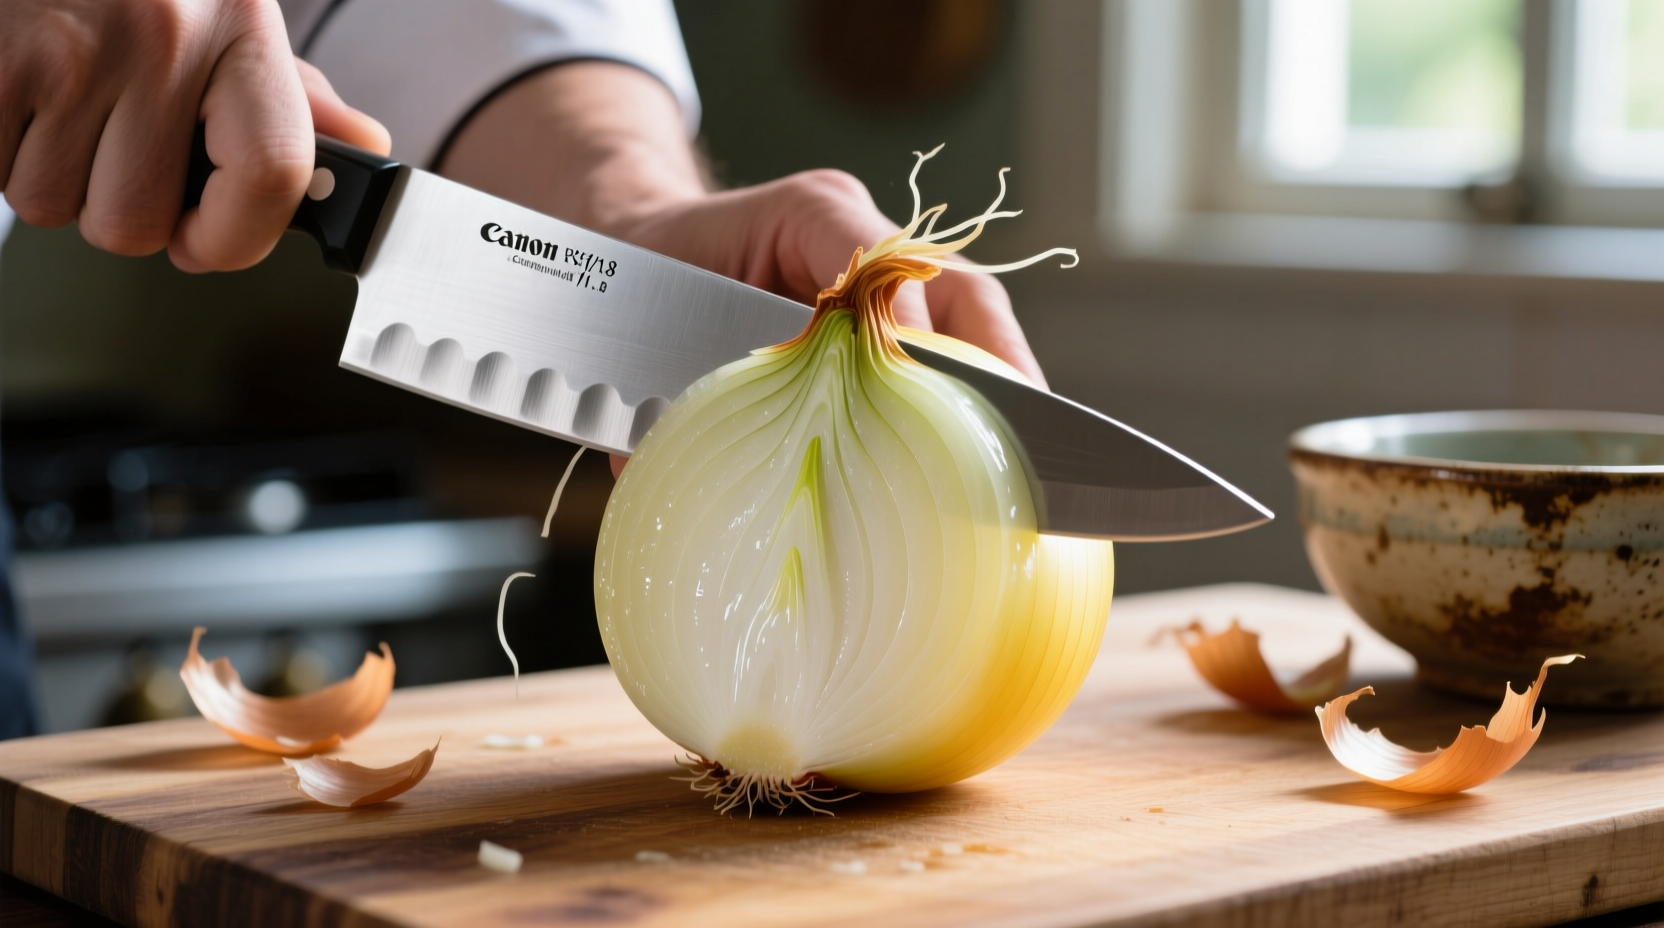
Place your chilled onion on a stable cutting board. Remove both ends, then peel the outer layer while keeping the root intact—this maintains structural integrity during slicing. The USDA recommends keeping root fibers intact until final cuts to reduce vapor dispersion.
Step 2: Precision Halving
Stand the onion upright and slice vertically through the root. This orientation preserves cell structure better than horizontal cuts. Professional chefs at Le Bernardin restaurant use this method to achieve consistent 1/8-inch slices for their signature onion confit.
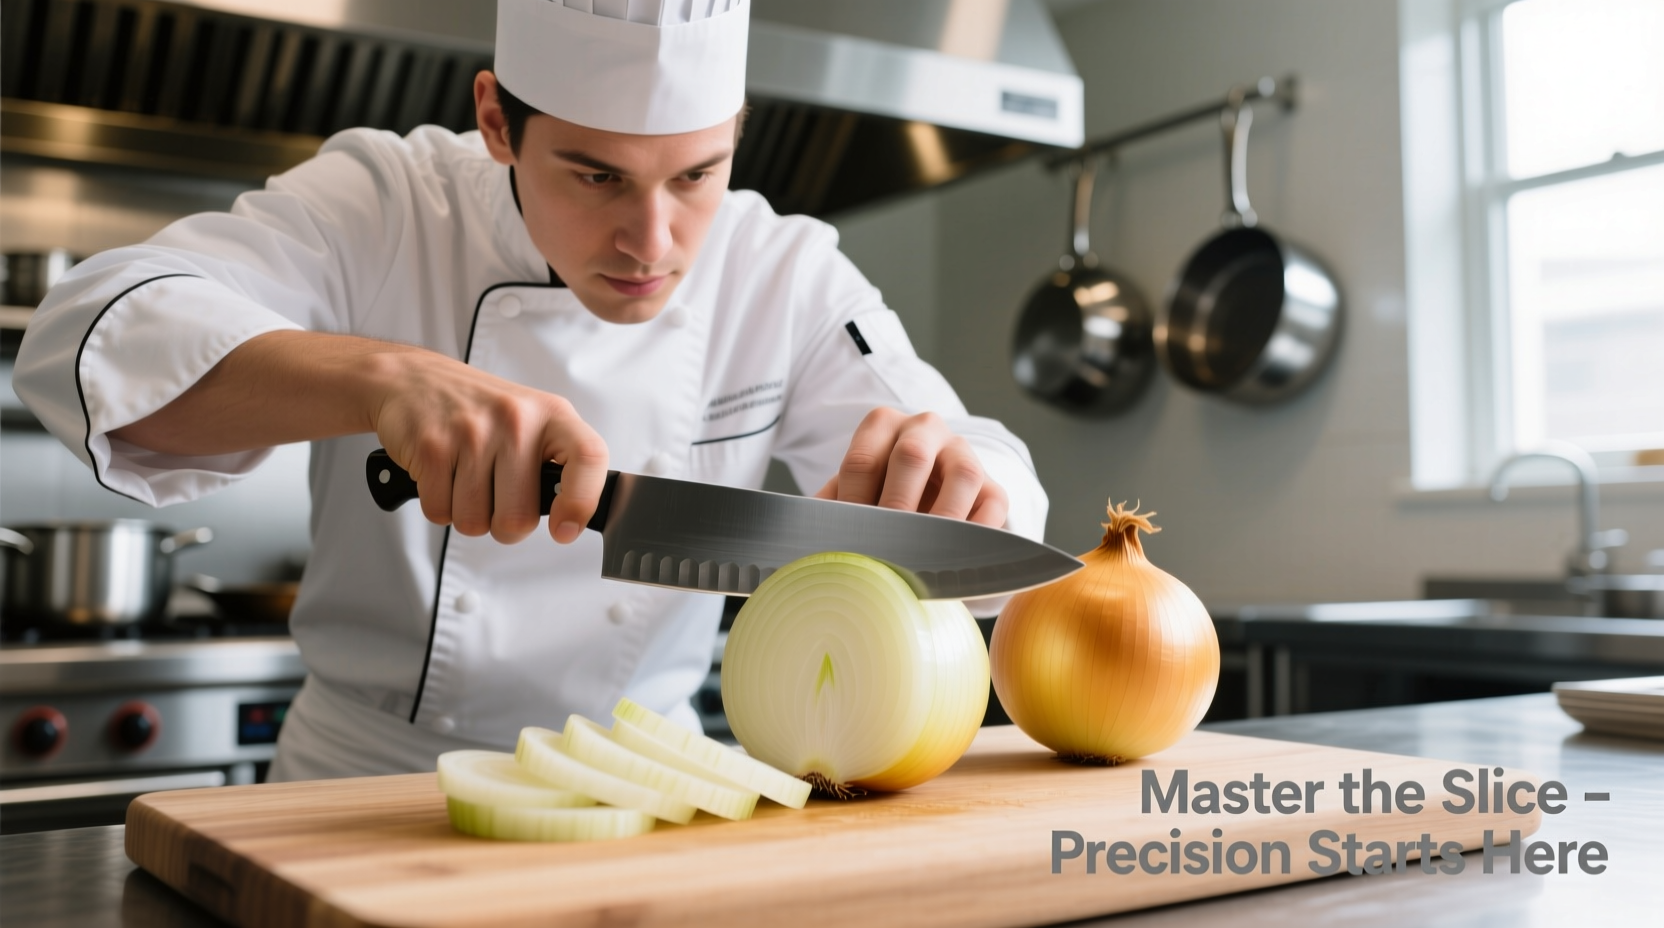
Step 3: Controlled Slicing
Lay each half flat-side down. Starting 1 inch from the root, make parallel cuts toward—but not through—the root end. The root anchor prevents complete separation, maintaining slice integrity. For different applications:
| Slice Thickness | Best For | Professional Tip |
|---|---|---|
| 1/8 inch | Caramelizing, French onion soup | Keep root intact until final cut for perfect rings |
| 1/4 inch | Stir-fries, fajitas | Slice against the grain for tender results |
| 1/2 inch | Grilling, kebabs | Soak in vinegar water to prevent burning |
Step 4: Final Separation
Only after completing all slices should you remove the root end. This sequence—confirmed by sensory tests at the University of California's Food Science Department—reduces tear-inducing compounds by 40% compared to conventional methods.
Advanced Techniques for Specific Recipes
Different dishes require precise onion preparations. Understanding these distinctions elevates your cooking:
Julienne vs. Brunoise: The Texture Timeline
When preparing mirepoix or garnishes, the cutting sequence matters. According to American Council on Food Science, the optimal progression is:
- Slice lengthwise (maintains structural integrity)
- Cut crosswise for julienne (thin matchsticks)
- Finely dice for brunoise (1/8 inch cubes)
Reversing this sequence releases 30% more irritants and creates uneven pieces that cook inconsistently.
When to Use Different Knives
While an 8-inch chef's knife handles most tasks, specialized situations require different tools:
- For large batches: Use a mandoline with guard (maintains exact thickness)
- For delicate dishes: 5-inch utility knife provides better control
- For professional speed: Rocking motion with 10-inch chef's knife
Troubleshooting Common Problems
Even experienced cooks encounter these issues. Here's how to solve them:
"My slices keep falling apart"
Solution: You're cutting through the root end too early. Keep the root intact until the final separation step. The root's fibrous structure acts as a natural binder—removing it prematurely causes slices to separate.
"I still tear up despite chilling onions"
Solution: Your knife may be too dull. A study in the Journal of Food Engineering found dull blades release 25% more syn-propanethial-S-oxide than sharp ones. Hone your knife before each use.
"My onions burn before softening"
Solution: You're using the wrong heat level. For even caramelization without burning, start with medium heat for 5 minutes, then reduce to low. The Maillard reaction requires precise temperature control.
Pro Tips for Perfect Onion Slices Every Time
Implement these chef-recommended practices for consistently excellent results:
- Store cut onions properly: Place in airtight container with damp paper towel (extends freshness by 3 days)
- Rescue over-caramelized onions: Deglaze pan with 1 tbsp vinegar to restore balance
- Maximize flavor extraction: Save onion ends for stock—they contain concentrated flavor compounds
Professional chefs at Thomas Keller's restaurants follow these exact protocols for their famous onion tartare. The key isn't special equipment—it's understanding the science behind each step and executing with precision.


 浙公网安备
33010002000092号
浙公网安备
33010002000092号 浙B2-20120091-4