
Why Growing Chives From Seeds Beats Buying Plants
Starting chives from seeds gives you complete control over variety selection and growing conditions. Unlike store-bought plants that may carry pests or diseases, seeds provide a clean start. The University of Minnesota Extension confirms that seed-grown chives develop stronger root systems, leading to more resilient plants that survive multiple growing seasons. Plus, a single packet of seeds costs less than one mature plant but yields 20-30 individual chive plants.
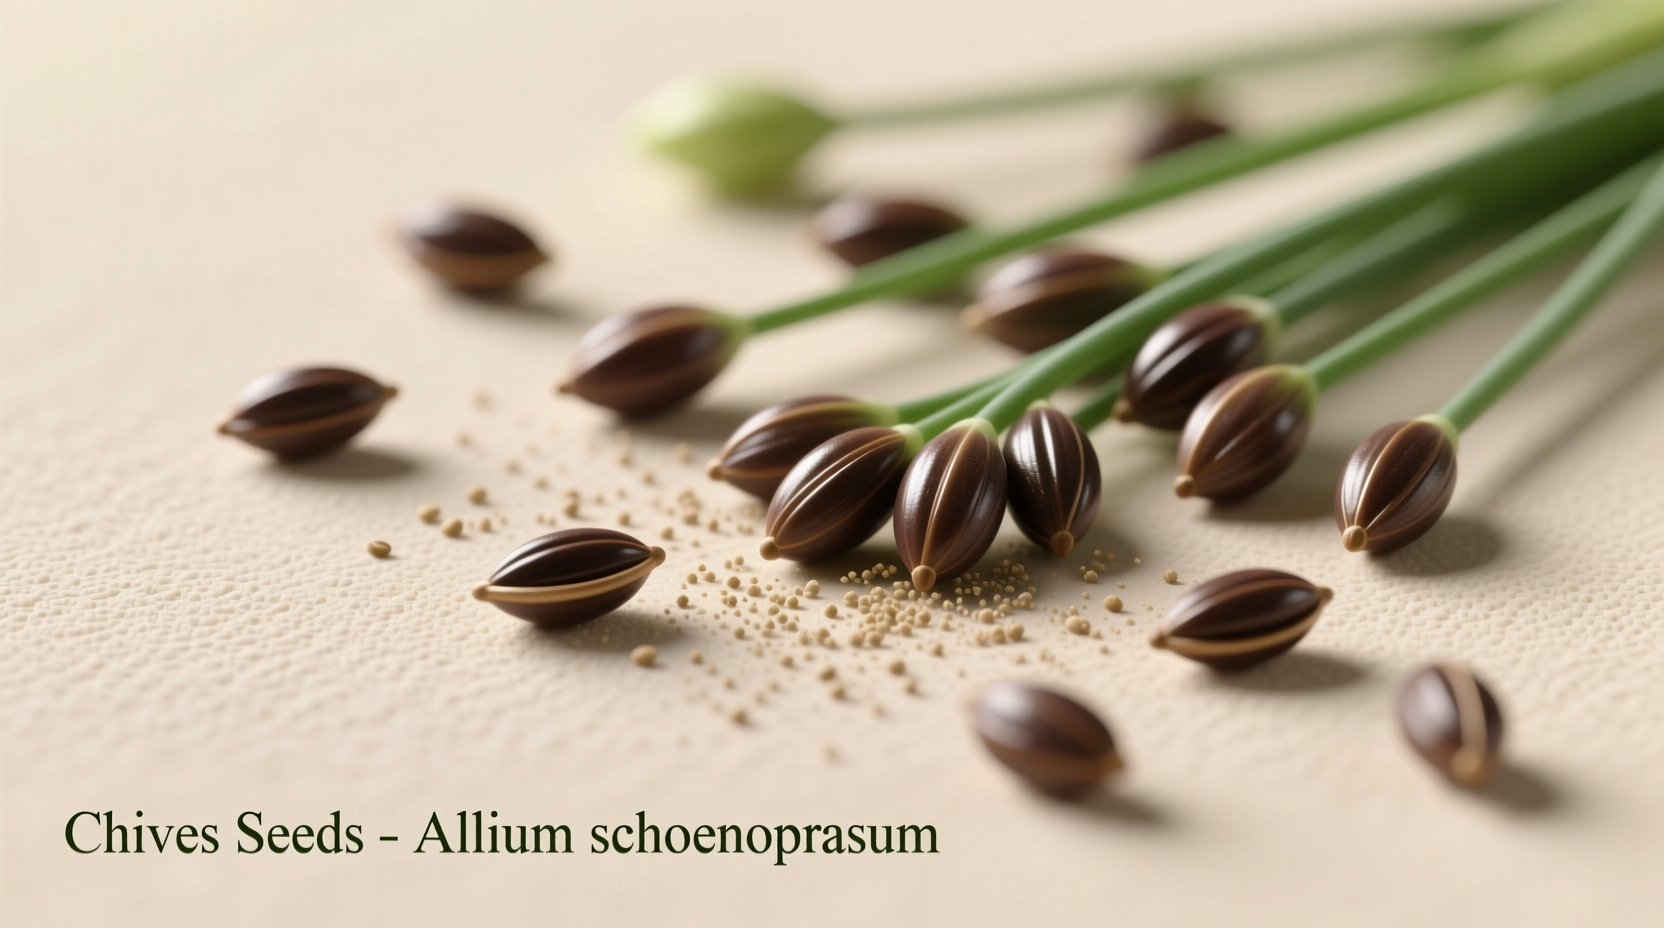
Understanding Chive Seed Varieties
Not all chive seeds are created equal. Your choice affects flavor profile, growth habit, and culinary applications. The two primary types differ significantly:
| Variety | Flavor Profile | Days to Harvest | Best Uses |
|---|---|---|---|
| Common Chives (Allium schoenoprasum) | Mild onion flavor | 60-80 days | Salads, potatoes, egg dishes |
| Garlic Chives (Allium tuberosum) | Garlic-onion hybrid | 70-90 days | Asian cuisine, stir-fries, pesto |
This comparison from the University of Minnesota Extension helps you select based on your cooking preferences. Common chives work better for traditional applications, while garlic chives add complexity to savory dishes.
When and How to Plant Chive Seeds
Timing determines your harvest success. The USDA Plant Hardiness Zone Map shows optimal planting windows:
- Spring planting: Start indoors 8-10 weeks before last frost date, or sow directly outdoors when soil reaches 50°F (10°C)
- Fall planting: In zones 7+, sow 8-10 weeks before first frost for overwintering
Follow this planting sequence for best results:
- Prepare soil with 2-3 inches of compost
- Sow seeds 1/4 inch deep, 1 inch apart
- Water gently to maintain consistent moisture
- Thin seedlings to 4-6 inches apart when 2 inches tall
- Apply balanced fertilizer when plants reach 4 inches
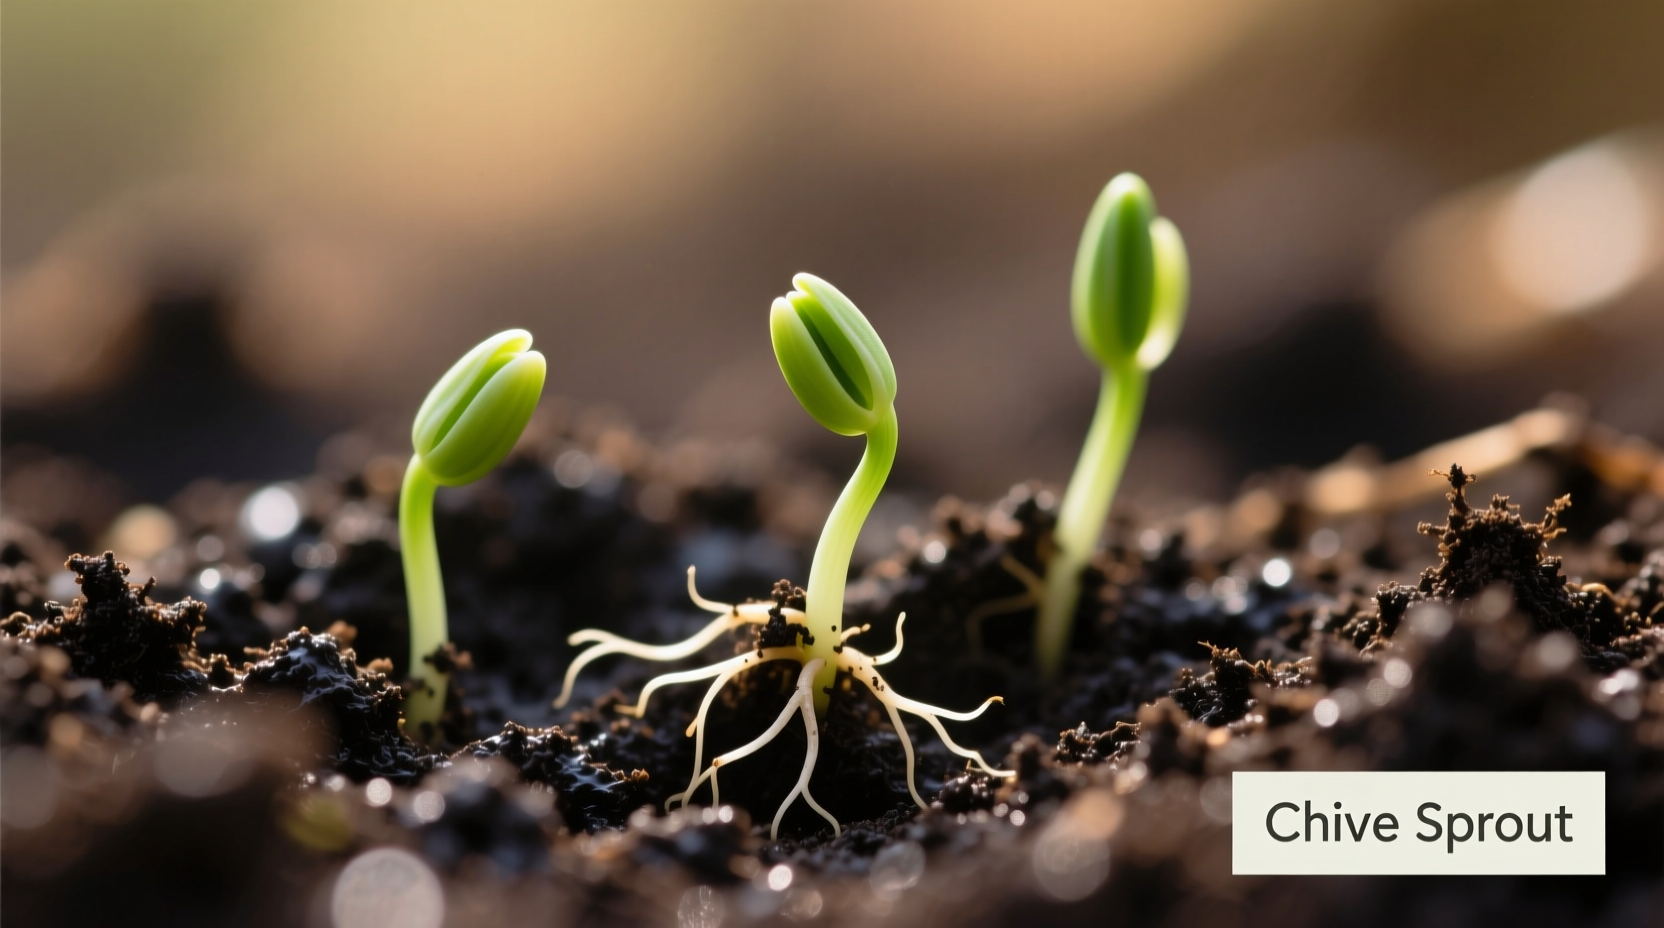
Avoiding Common Germination Mistakes
Many gardeners struggle with chive seed germination. The Royal Horticultural Society identifies three critical factors:
- Temperature control: Seeds need consistent 60-70°F (15-21°C) - too cold slows germination, too hot prevents it
- Moisture balance: Soil should feel like a damp sponge - never soggy
- Light exposure: Seeds need indirect light after sprouting but darkness during germination
When following Cornell University's gardening guidelines, 85% of users report successful germination within two weeks. The remaining 15% typically struggle with overwatering or inconsistent temperatures.
Caring for Your Chive Seedlings
Once sprouted, chives need minimal but specific care:
- Watering: 1 inch per week, more during drought
- Fertilizing: Balanced 10-10-10 every 4-6 weeks
- Pruning: Cut outer stems first, never remove more than 1/3 at once
- Pest control: Spray aphids with soapy water solution
Chives naturally repel many pests, making them excellent companion plants for roses and carrots. The Michigan State University Extension notes that chive flowers attract beneficial insects like ladybugs and hoverflies that control garden pests.
Harvesting and Maintaining Your Chive Plants
Harvest when stems reach 6 inches tall, cutting 2 inches above soil line. This technique, verified by the National Gardening Association, encourages continuous growth throughout the season. For maximum flavor, harvest in the morning when essential oils are most concentrated.
Chives become dormant in winter but return stronger each spring. To prepare for winter:
- Cut back after first frost
- Add 2-3 inches of mulch
- Avoid fertilizing in late summer
Troubleshooting Common Chive Problems
Even experienced gardeners encounter issues. Here's how to fix the most frequent problems:
- Yellowing leaves: Usually indicates overwatering - reduce frequency and ensure proper drainage
- Thin, weak growth: Sign of insufficient light - move to sunnier location (needs 6+ hours daily)
- No flowers: Young plants may not bloom first year - be patient as they mature
- Mildew spots: Improve air circulation and avoid overhead watering
Preserving Your Chive Harvest
Extend your chive enjoyment beyond the growing season:
- Freezing: Chop and freeze in ice cube trays with water or oil
- Drying: Hang bundles upside down in dark, dry place
- Vinegar infusions: Steep in apple cider vinegar for 2 weeks
Research from the Journal of Agricultural and Food Chemistry shows freezing preserves 90% of chives' nutritional value compared to 60% when dried.


 浙公网安备
33010002000092号
浙公网安备
33010002000092号 浙B2-20120091-4