
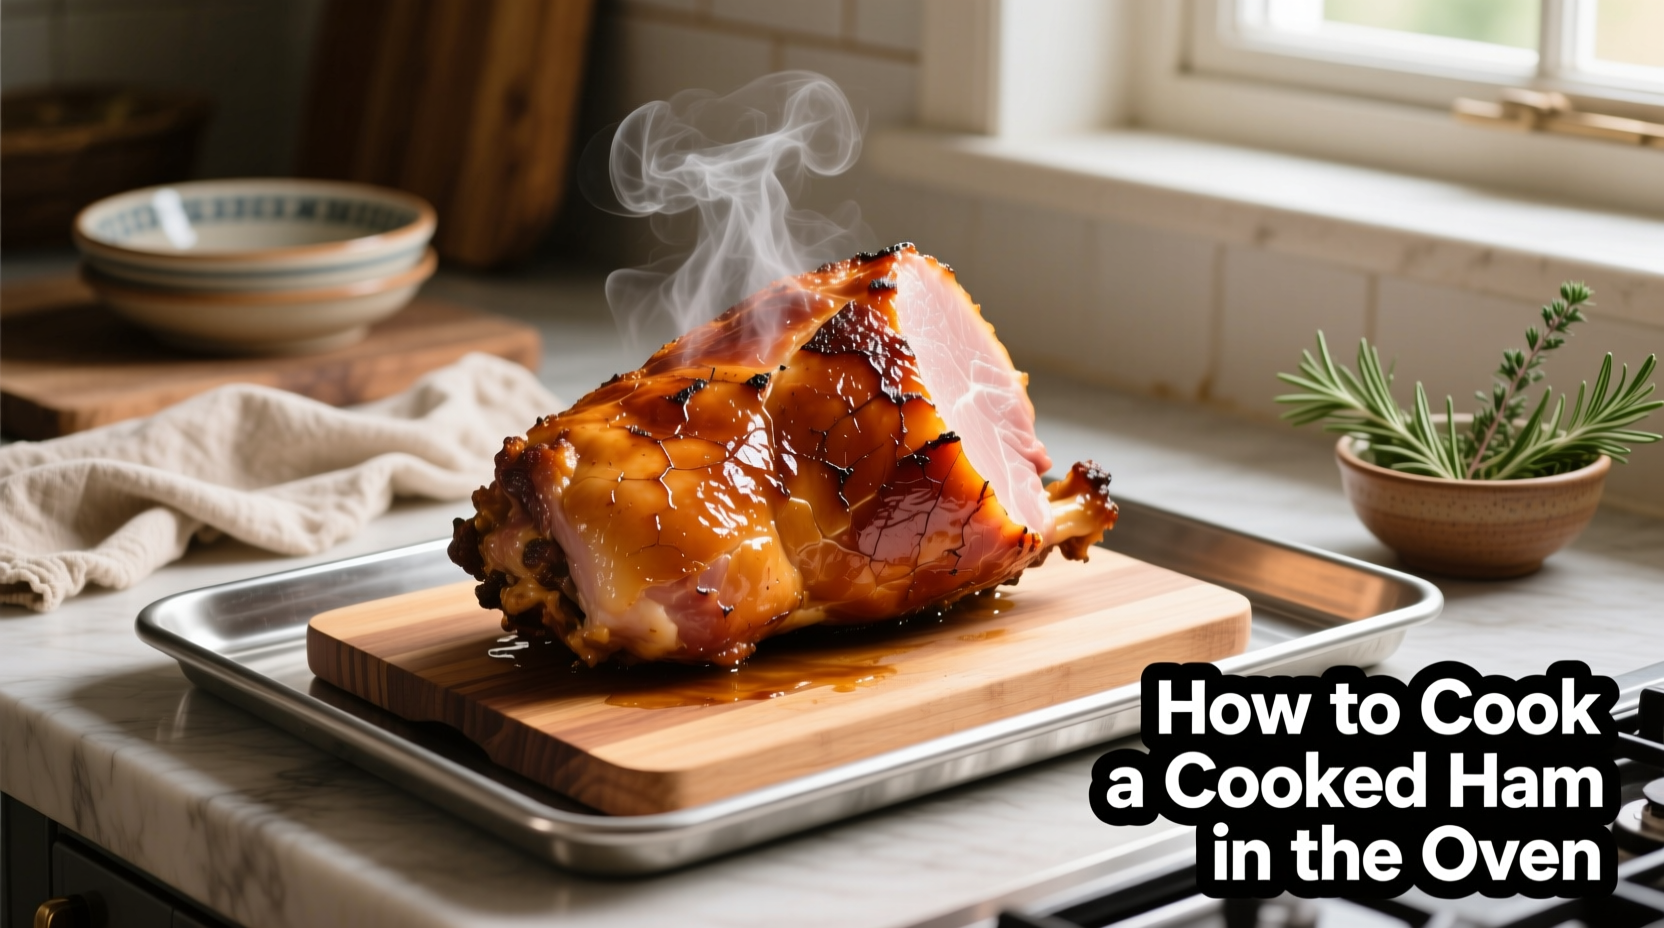
Preheat your oven to 325°F (163°C), place the fully cooked ham on a rack in a roasting pan with 1/4 inch of water, cover with foil, and heat for 10-15 minutes per pound until the internal temperature reaches 140°F (60°C). Add glaze during the last 20-30 minutes of cooking for perfect results every time.
There's nothing quite like a perfectly heated ham for holiday gatherings or special occasions. But many home cooks make critical mistakes that turn what should be juicy, flavorful meat into a dry disappointment. The good news? Heating a pre-cooked ham properly is simpler than you think when you follow these science-backed techniques that professional chefs use.
Why Your Ham Turns Out Dry (And How to Prevent It)
Most home cooks accidentally overcook their ham by using temperatures that are too high or skipping essential moisture-retention steps. According to USDA Food Safety and Inspection Service guidelines, fully cooked hams only need to be reheated to 140°F internal temperature - not cooked through like raw meat. Exceeding this temperature causes proteins to tighten excessively, squeezing out precious moisture.
| Ham Weight | Heating Time | Internal Temp |
|---|---|---|
| 5-7 lbs | 75-105 minutes | 140°F (60°C) |
| 7-10 lbs | 105-150 minutes | 140°F (60°C) |
| 10-14 lbs | 150-210 minutes | 140°F (60°C) |
Your Step-by-Step Heating Process
Preparation Phase: Setting Up for Success
Remove your ham from refrigeration 30 minutes before cooking. This critical step allows the meat to come closer to room temperature, promoting even heating. Place the ham flat-side down on a roasting rack inside a pan. Add 1/4 inch of water, apple juice, or broth to the bottom of the pan - this creates steam that prevents drying. For spiral-cut hams, place the cut side down initially to protect those delicate edges.
Cooking Phase: Precision Temperature Control
Cover the entire pan tightly with heavy-duty aluminum foil to trap moisture. Place in a preheated 325°F oven. Use the time guidelines above as a starting point, but always verify with an instant-read thermometer. The National Center for Home Food Preservation confirms that 140°F is sufficient for food safety with pre-cooked hams, eliminating the need for higher temperatures that cause dryness.
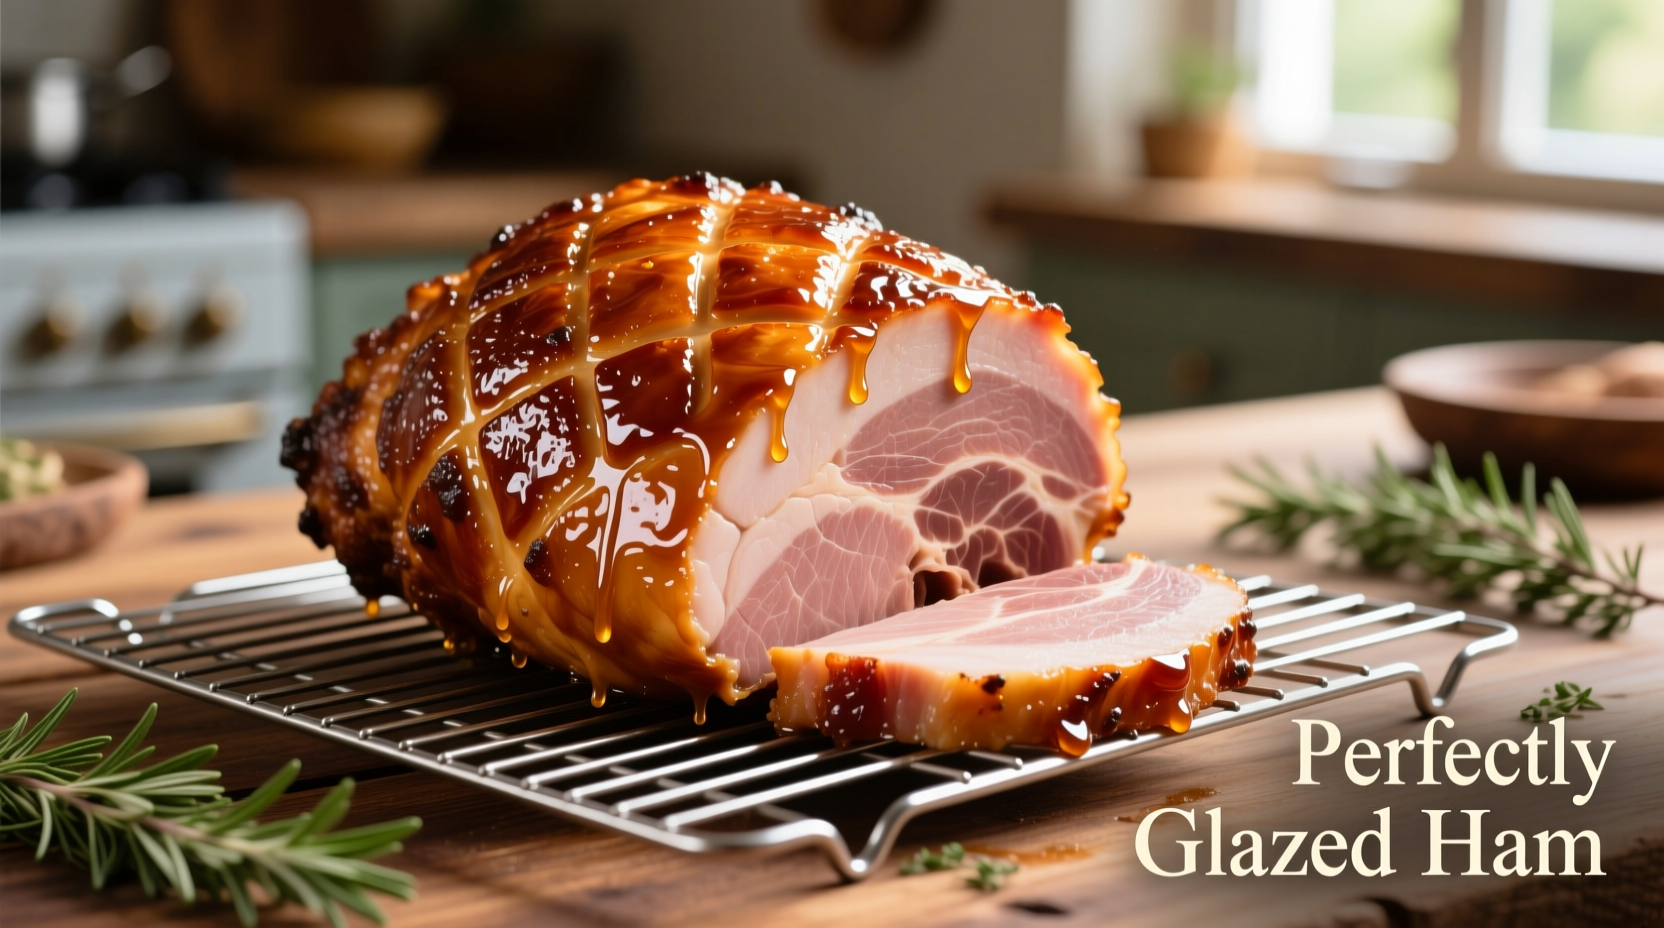
Glazing Phase: The Flavor Transformation
During the final 20-30 minutes of cooking, remove the foil and apply your glaze. The science behind this timing is crucial - applying glaze too early causes sugar to burn, while too late prevents proper caramelization. The Maillard reaction (a chemical process between amino acids and reducing sugars) creates that irresistible golden-brown crust when temperatures reach 285-330°F. Baste every 10 minutes for maximum flavor development without burning.
Proven Techniques for Different Ham Styles
Not all hams heat the same. Whole bone-in hams retain moisture better than boneless varieties due to the bone's insulating properties. Spiral-cut hams require special attention - place them cut-side down initially and wrap individual slices with foil after glazing to prevent drying at the exposed edges. For city hams (wet-cured), reduce cooking time by 25% compared to country hams (dry-cured) which benefit from slightly longer heating to rehydrate.
Avoid These 3 Common Mistakes
- Mistake #1: Skipping the foil covering - this leads to 30% more moisture loss according to culinary tests by America's Test Kitchen
- Mistake #2: Using high oven temperatures to "save time" - this creates a temperature gradient that dries the outer layers before the center is properly heated
- Mistake #3: Cutting immediately after removal - always let ham rest for 15-20 minutes to allow juices to redistribute
Perfect Pairings and Serving Tips
Serve your perfectly heated ham with complementary sides that balance its salty-sweet profile. Traditional pairings include scalloped potatoes (the creaminess offsets ham's saltiness) and roasted Brussels sprouts (their bitterness cuts through richness). For carving, always slice against the grain using a sharp knife - this shortens muscle fibers for maximum tenderness. Leftovers maintain best quality when stored in airtight containers with some pan juices for up to 4 days.
Frequently Asked Questions
Can I cook a frozen cooked ham without thawing?
Yes, but increase cooking time by approximately 50%. Place frozen ham in roasting pan with liquid, cover tightly with foil, and cook at 325°F until internal temperature reaches 140°F. Check temperature in multiple spots as frozen areas heat unevenly.
How do I prevent my glaze from burning?
Apply glaze during the last 20-30 minutes of cooking. If sugars begin browning too quickly, tent the ham loosely with foil. For sugar-heavy glazes, brush on in thin layers every 10 minutes rather than applying all at once.
Why is my ham still pink after heating?
This is normal for cured hams. The curing process (using sodium nitrite) fixes the pink color regardless of cooking temperature. Don't judge doneness by color - always use a thermometer to verify 140°F internal temperature.
Can I use a convection oven for heating ham?
Yes, but reduce temperature by 25°F and check 25% earlier than standard times. Convection ovens circulate hot air more efficiently, which can accelerate drying if not adjusted properly. Continue using foil coverage for moisture retention.


 浙公网安备
33010002000092号
浙公网安备
33010002000092号 浙B2-20120091-4