
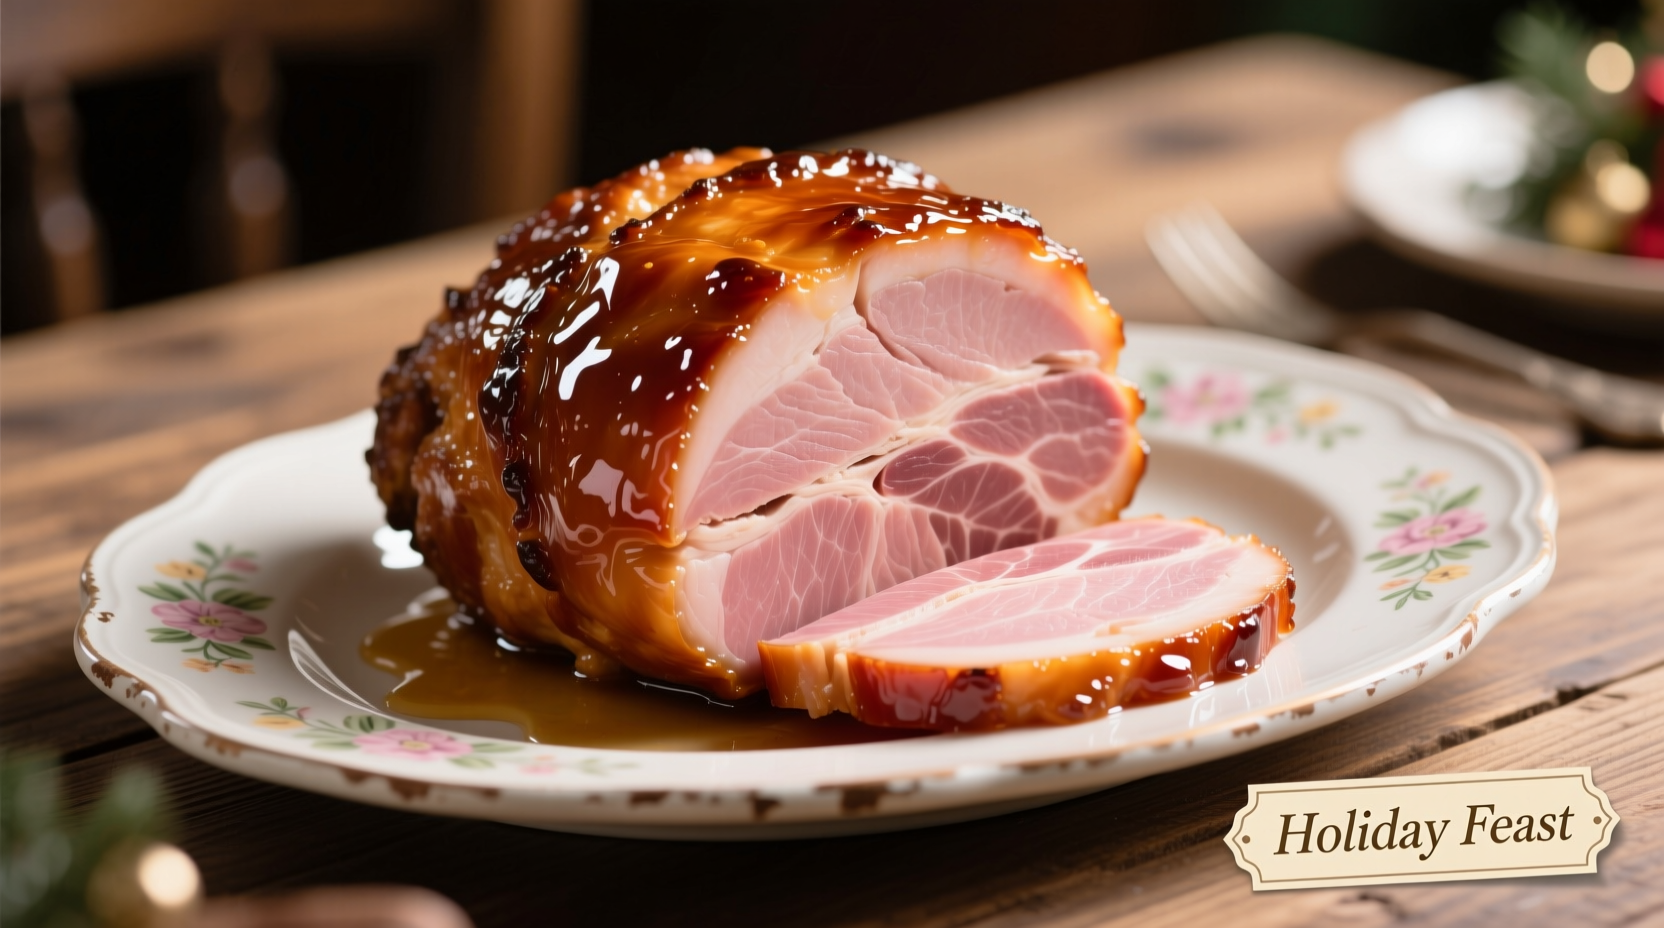
Nothing says celebration like a perfectly cooked ham, yet many home chefs struggle with dryness, uneven heating, or lackluster flavor. This comprehensive guide delivers professional techniques you can implement immediately, whether you're preparing your first holiday ham or your fiftieth. You'll discover precise timing calculations, foolproof glazing methods, and critical food safety practices that transform ordinary ham into a showstopper.
Essential Ham Preparation Steps
Before your ham hits the oven, proper preparation ensures optimal results. Start by selecting the right ham type - fully cooked spiral-cut hams require different handling than fresh or partially cooked varieties. For best results with fully cooked hams (the most common supermarket option), remove it from refrigeration 60-90 minutes before cooking to reduce thermal shock.
Place the ham flat-side down on a cutting board and carefully score the surface in a diamond pattern, making shallow 1/4-inch deep cuts. This crucial step allows heat penetration and glaze absorption while preventing the meat from ballooning during cooking. According to USDA Food Safety guidelines, proper scoring also helps maintain even cooking temperatures throughout the meat (foodsafety.gov).
Step-by-Step Oven Cooking Process
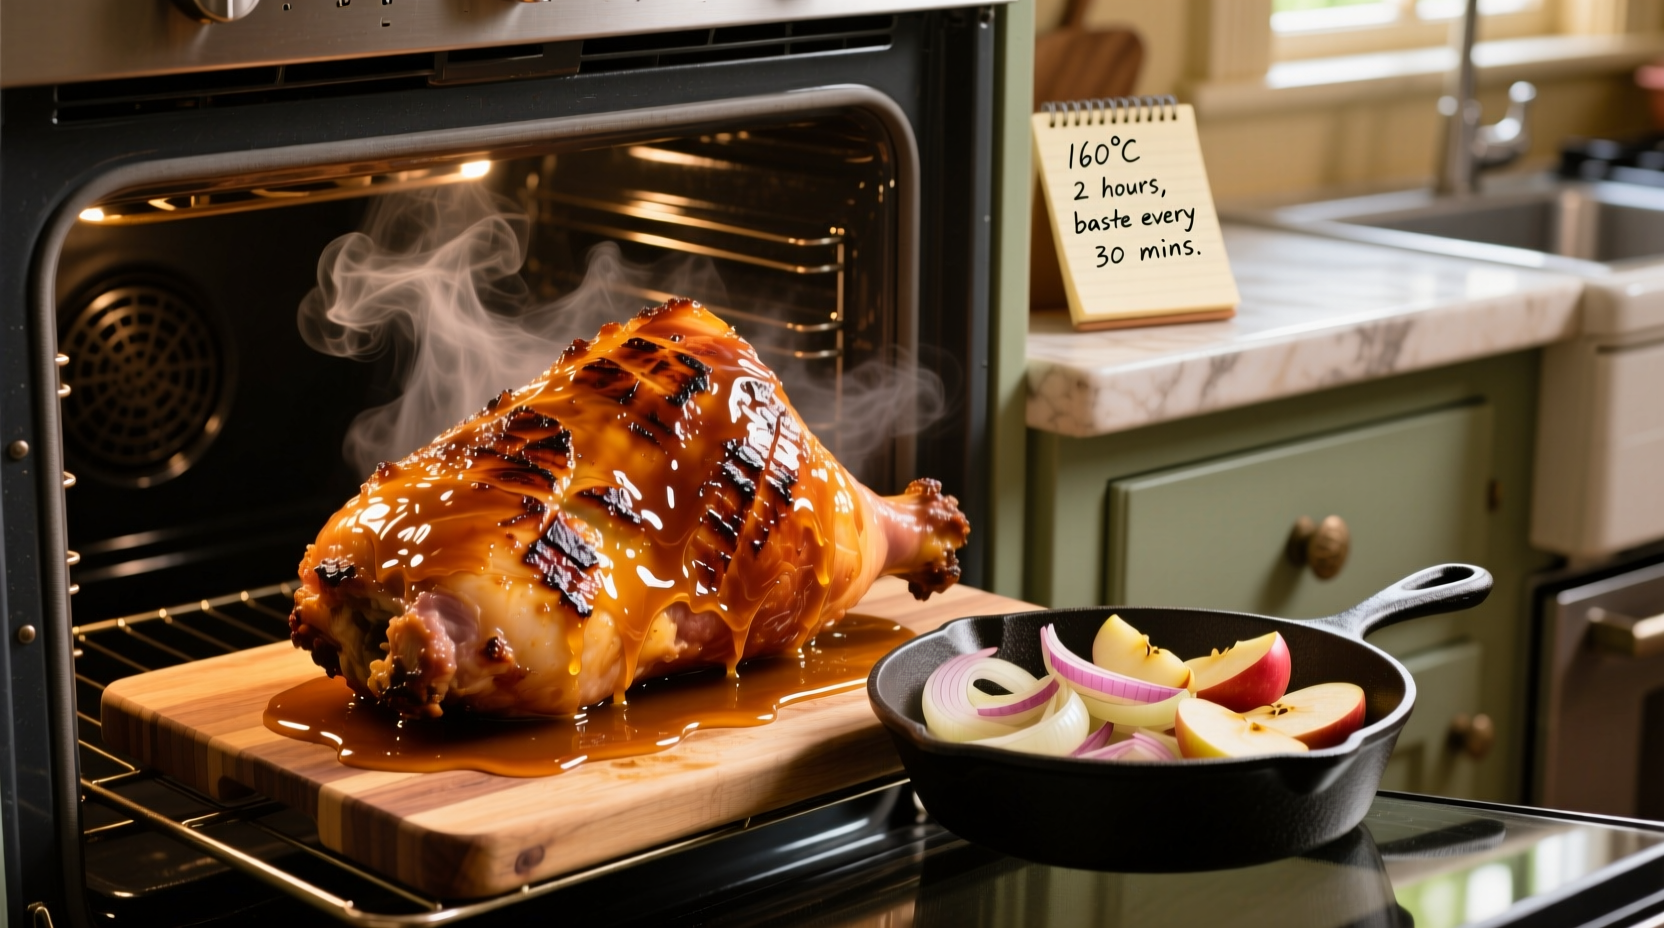
Position your scored ham in a roasting pan with the cut side down, adding 1-2 cups of liquid (apple juice, broth, or water) to the bottom of the pan. Cover tightly with heavy-duty aluminum foil to trap moisture - this prevents the common problem of dry, stringy ham. For spiral-cut varieties, place the included packet of juices in the pan bottom before positioning the ham.
| Ham Weight | Approximate Cooking Time | Internal Temperature |
|---|---|---|
| 5-7 lbs | 75-105 minutes | 140°F (60°C) |
| 7-10 lbs | 105-150 minutes | 140°F (60°C) |
| 10-14 lbs | 150-210 minutes | 140°F (60°C) |
Monitor progress using an instant-read thermometer inserted into the thickest part (avoiding bone). Never rely solely on time calculations, as oven variances significantly impact results. The American Culinary Federation emphasizes that temperature monitoring prevents both undercooking risks and the #1 ham mistake: overcooking (acfchefs.org).
Mastering the Perfect Glaze Application
Timing your glaze application separates good ham from exceptional ham. During the final 20-30 minutes of cooking, remove the foil and generously brush your chosen glaze over the scored surface. Return the ham to the oven uncovered, repeating the glaze application every 10 minutes. This technique creates the signature caramelized crust without burning.
Popular glaze combinations include:
- Brown sugar, Dijon mustard, and pineapple juice
- Maple syrup, cloves, and orange zest
- Honey, apple cider vinegar, and crushed red pepper
For spiral-cut hams, spoon extra glaze between the slices using a basting brush to ensure thorough coverage. Remember that glazes containing sugar will caramelize quickly, so watch carefully during the final cooking stages.
Critical Safety and Doneness Verification
Food safety remains paramount when cooking ham. Fully cooked hams must reach 140°F (60°C), while fresh hams require 145°F (63°C) followed by a 3-minute rest. The USDA recommends using a digital thermometer rather than visual cues alone for accuracy. Never place a thermometer near the bone, as this yields falsely high readings.
Ham continues cooking while resting - a phenomenon called carryover cooking. Remove your ham from the oven when it reaches 135°F (57°C), then let it rest covered for 15-20 minutes before slicing. This allows juices to redistribute throughout the meat, preventing the dryness that plagues so many home-cooked hams.
Avoiding Common Ham Cooking Mistakes
Even experienced cooks make these critical errors that compromise results:
- Skipping the resting period - Cutting immediately causes precious juices to escape
- Overbaking spiral-cut hams - Their exposed surfaces dry out faster than whole hams
- Using high oven temperatures - 325°F provides gentle, even heating
- Glazing too early - Sugar-based glazes burn when applied more than 30 minutes before completion
For spiral-cut varieties, place the included packet of juices in the pan bottom before positioning the ham. This specialized liquid prevents the exposed meat surfaces from drying during cooking - a technique professional chefs use but rarely share with home cooks.
Special Considerations for Different Ham Types
Not all hams cook alike. Fully cooked hams (most common) only need reheating, while fresh hams require complete cooking. Country hams demand soaking before cooking to reduce salt content. Always check your ham's label for specific preparation instructions, as processing methods significantly impact cooking requirements.
When working with frozen ham, allow 4-5 hours per pound for refrigerator thawing. Never thaw ham at room temperature, as this creates ideal conditions for bacterial growth in the USDA's "danger zone" (40°F-140°F). The Food Safety and Inspection Service confirms that proper thawing prevents uneven cooking and potential foodborne illness (fsis.usda.gov).


 浙公网安备
33010002000092号
浙公网安备
33010002000092号 浙B2-20120091-4