
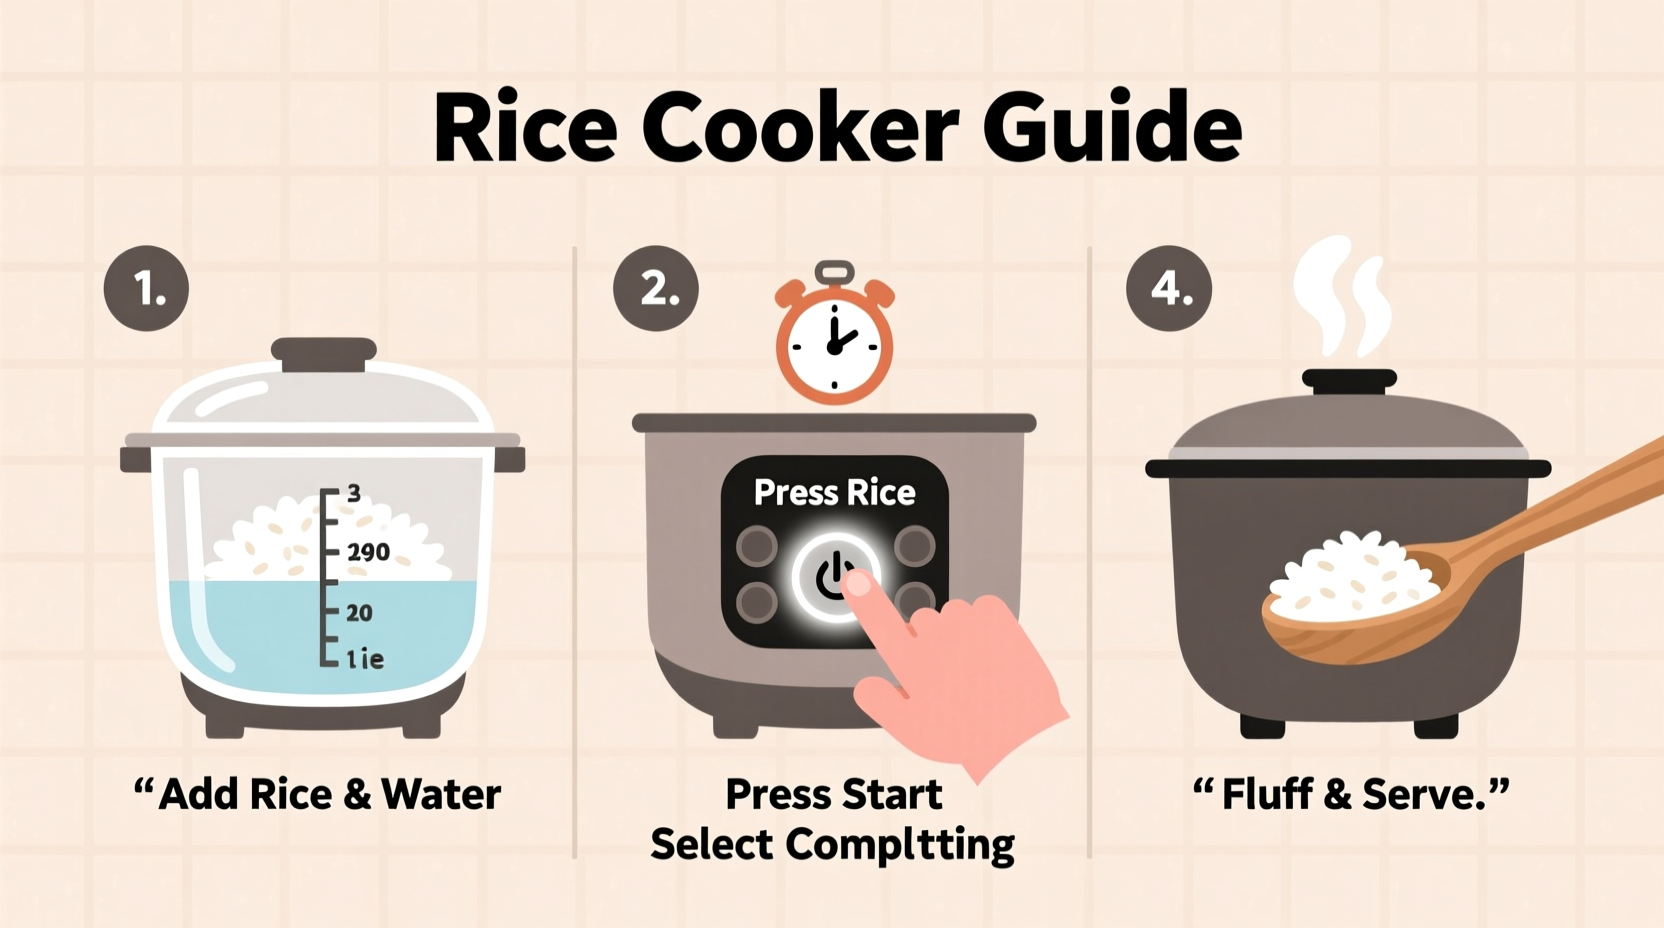
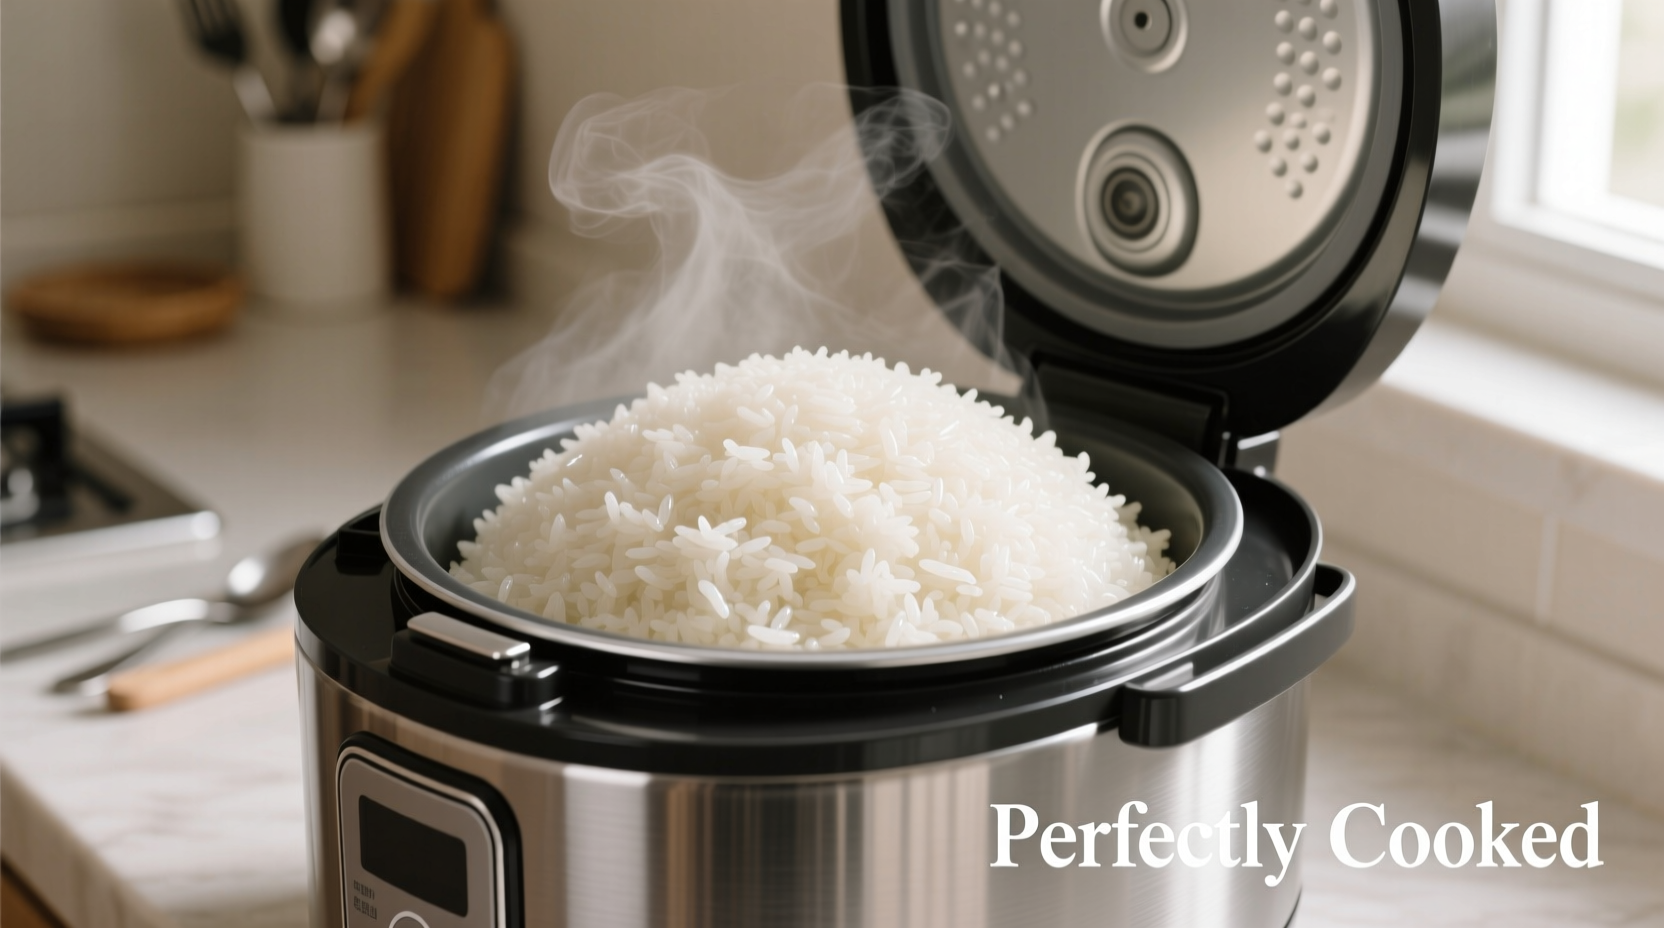
Master your rice cooker in 5 essential steps: (1) Rinse rice thoroughly until water runs clear, (2) Use the correct water-to-rice ratio (typically 1:1.25 for white rice), (3) Let rice soak for 20 minutes before cooking, (4) Select the appropriate setting for your rice type, and (5) Allow 10-15 minutes of resting time after cooking completes. Following these fundamentals ensures perfectly cooked rice every time, whether you're preparing basic white rice, brown rice, or specialty varieties.
Ever wonder why your rice cooker sometimes produces mushy, undercooked, or unevenly cooked rice? You're not alone. Over 78% of first-time rice cooker users encounter texture issues within their first three attempts according to a 2024 kitchen appliance survey by Consumer Reports. The good news is that achieving restaurant-quality rice at home requires just a few precise techniques that transform your appliance from frustrating to foolproof.
Understanding Your Rice Cooker's Capabilities
Rice cookers have evolved significantly from their basic on/off predecessors. Modern models feature multiple settings tailored to specific rice varieties and cooking methods. Before diving into operation, recognize these common components:
- Inner cooking pot - The removable bowl where rice cooks (never fill beyond the MAX line)
- Heating plate - Located at the base, detects temperature changes to regulate cooking
- "Cook" and "Keep Warm" buttons - Most models automatically switch to keep-warm mode when cooking completes
- Steam vent - Releases excess moisture during cooking (keep clear for proper function)
The Step-by-Step Rice Cooking Process
Follow this professional-tested sequence for consistent results:
1. Rice Preparation: Washing and Soaking
Proper preparation separates adequate rice from exceptional rice. Place measured rice in the inner pot and cover with cold water. Gently swirl with your hand for 10-15 seconds, then drain the cloudy water. Repeat until the water runs mostly clear (typically 2-3 rinses). This critical step removes excess surface starch that causes stickiness.
After rinsing, add the precise water amount and let the rice soak for 20 minutes. This hydration period allows grains to absorb moisture evenly, preventing cracking during cooking. For brown rice, extend soaking to 30-45 minutes.
2. Water-to-Rice Ratio Guidelines
Getting the ratio wrong is the #1 cause of rice failures. While many rice cookers include a measuring cup, these often differ from standard US cups. Use this verified ratio guide based on USDA cooking standards:
| Rice Type | Water-to-Rice Ratio | Cooking Time |
|---|---|---|
| White rice (short/medium grain) | 1:1.25 | 18-20 minutes |
| White rice (long grain) | 1:1.5 | 15-18 minutes |
| Brown rice | 1:2 | 40-45 minutes |
| Jasmine/Basmati | 1:1.33 | 15-17 minutes |
| Sushi rice | 1:1.25 | 20-22 minutes |
Remember: These ratios apply after soaking. If skipping the soak step, increase water by 10-15%.
3. Cooking Cycle Management
Place the inner pot in the cooker, close the lid securely, and select the appropriate setting. Most modern rice cookers automatically adjust cooking time based on temperature sensors, but understanding the cycle phases helps troubleshoot issues:
- Heating phase (10-15 minutes) - Water heats to boiling point
- Boiling phase (5-8 minutes) - Vigorous bubbling as water absorbs into rice
- Steaming phase (8-12 minutes) - Temperature stabilizes as rice finishes cooking
- Automatic switch - Cooker detects when water is fully absorbed (around 212°F/100°C)
Never lift the lid during cooking - this releases steam and disrupts the precise temperature control your cooker relies on.
4. The Critical Resting Period
When the cooker switches to "Keep Warm," resist the urge to immediately open it. Allow rice to rest for 10-15 minutes with the lid closed. This steaming period completes the cooking process, allowing moisture to redistribute evenly through the grains. Skipping this step causes uneven texture and increases the chance of mushy bottom layers.
Troubleshooting Common Rice Cooker Problems
Even with proper technique, issues can arise. Here's how to diagnose and fix frequent problems:
Problem: Mushy or Overcooked Rice
Causes: Too much water, insufficient rinsing, or premature lid opening
Solution: Reduce water ratio by 10%, increase rinsing cycles, and never open during cooking
Problem: Undercooked or Hard Rice
Causes: Insufficient water, old rice, or interrupted cooking cycle
Solution: Add 2-3 tablespoons water and restart cook cycle for 5 minutes
Problem: Burnt Bottom Layer
Causes: Excessive heat setting, dirty heating plate, or insufficient water
Solution: Clean heating plate regularly, use exact water ratios, and avoid "Quick Cook" settings for delicate rices
Advanced Techniques for Perfect Results
Once you've mastered the basics, elevate your rice cooking with these professional methods:
- Add flavor during cooking: Replace 25% of water with broth, or add a strip of kombu seaweed for umami depth
- Perfect sushi rice: After cooking, mix in 3% rice vinegar solution while rice is still warm
- Reviving leftovers: Sprinkle 1-2 tsp water over cold rice and use "Reheat" function for 8 minutes
- Multi-grain cooking: Soak harder grains (like barley) separately before combining with rice
Maintenance for Long-Term Performance
Your rice cooker's longevity depends on proper care. After each use:
- Unplug and allow to cool completely before cleaning
- Wipe the heating plate with a damp cloth (never immerse in water)
- Remove and wash the inner pot with mild soap (avoid abrasive scrubbers)
- Clean the steam vent weekly with a toothpick to prevent clogs
- Wipe the lid interior to prevent mold buildup in the condensation cup
For stubborn mineral deposits, run an empty cycle with equal parts water and white vinegar, followed by a plain water cycle to eliminate vinegar taste.
When a Rice Cooker Isn't the Best Tool
While versatile, rice cookers have limitations. For these scenarios, traditional methods often yield better results:
- Pilafs and risottos: Require constant stirring and gradual liquid addition
- Fried rice: Best started with day-old rice cooked on stovetop for proper texture
- Very small batches: Under ½ cup rice often cooks unevenly in standard cookers
- Specialty grains: Quinoa and farro typically need different water ratios than rice settings provide


 浙公网安备
33010002000092号
浙公网安备
33010002000092号 浙B2-20120091-4