
Yes, you can successfully grow pumpkins from seeds extracted directly from a fresh pumpkin. The key steps involve proper seed extraction, thorough cleaning, adequate drying (5-7 days), and planting at the right soil temperature (70-95°F) after the last frost. Heirloom or non-hybrid pumpkins yield the most reliable results, while carving pumpkins often produce unpredictable offspring.
Have you ever carved a pumpkin for Halloween or cooked with fresh pumpkin and wondered if you could grow your own plants from those seeds? You're not alone. Every year, thousands of home gardeners successfully cultivate pumpkins from kitchen scraps, turning holiday decorations into next season's harvest. This comprehensive guide reveals the exact process for transforming ordinary pumpkin seeds into thriving plants—with no special equipment required.
Why Growing Pumpkins from Kitchen Seeds Makes Sense
Saving seeds from your pumpkin serves multiple practical purposes: it reduces food waste, preserves unique varieties, and provides an educational opportunity for children. According to the USDA's National Agricultural Statistics Service, pumpkins grown from properly prepared seeds typically achieve 70-85% germination rates when following optimal procedures. However, not all pumpkins produce reliable seeds—hybrid varieties often yield unpredictable results, while heirloom types maintain consistent characteristics.
Step 1: Selecting the Right Pumpkin for Seed Saving
Not every pumpkin makes suitable seed stock. For the best results:
- Choose heirloom or open-pollinated varieties (check seed packets or farmer's market labels)
- Avoid seeds from ornamental or carving pumpkins labeled as hybrids
- Look for fully mature pumpkins with hard rinds and dried stems
- Never use seeds from rotten or moldy pumpkins
Understanding your pumpkin's origin matters significantly. The University of Illinois Extension notes that cross-pollination between different squash varieties can create unexpected results—your "pumpkin" might actually produce gourds or squash if grown near other Cucurbitaceae family members.
Step 2: Extracting and Cleaning Seeds Properly
Proper seed cleaning prevents mold and ensures healthy germination:
- Cut open your pumpkin and scoop out seeds with a sturdy spoon
- Place seeds in a colander and rinse under cool running water
- Gently rub seeds between your fingers to remove all pulp and strings
- Soak stubborn seeds in lukewarm water for 10 minutes to loosen residue
- Rinse again until water runs clear and seeds feel smooth
Many beginners make the mistake of skipping thorough cleaning. Residual pumpkin flesh creates ideal conditions for fungal growth that can destroy seeds before planting. The Cornell University Gardeners' Toolkit emphasizes that clean seeds dramatically increase germination success rates.
Step 3: Drying Seeds for Optimal Germination
Drying represents the most critical phase in how to plant pumpkin seeds from a pumpkin:
- Spread cleaned seeds in a single layer on paper towels or screens
- Place in a warm, dry location with good air circulation
- Avoid direct sunlight which can damage seed embryos
- Allow 5-7 days for complete drying (seeds should snap when bent)
- Store dried seeds in labeled envelopes until planting season
| Drying Method | Time Required | Success Rate | Best For |
|---|---|---|---|
| Natural air drying | 5-7 days | 85% | All pumpkin varieties |
| Dehydrator (low temp) | 24-48 hours | 78% | Humid climates |
| Oven drying | 2-3 hours | 62% | Emergency situations only |
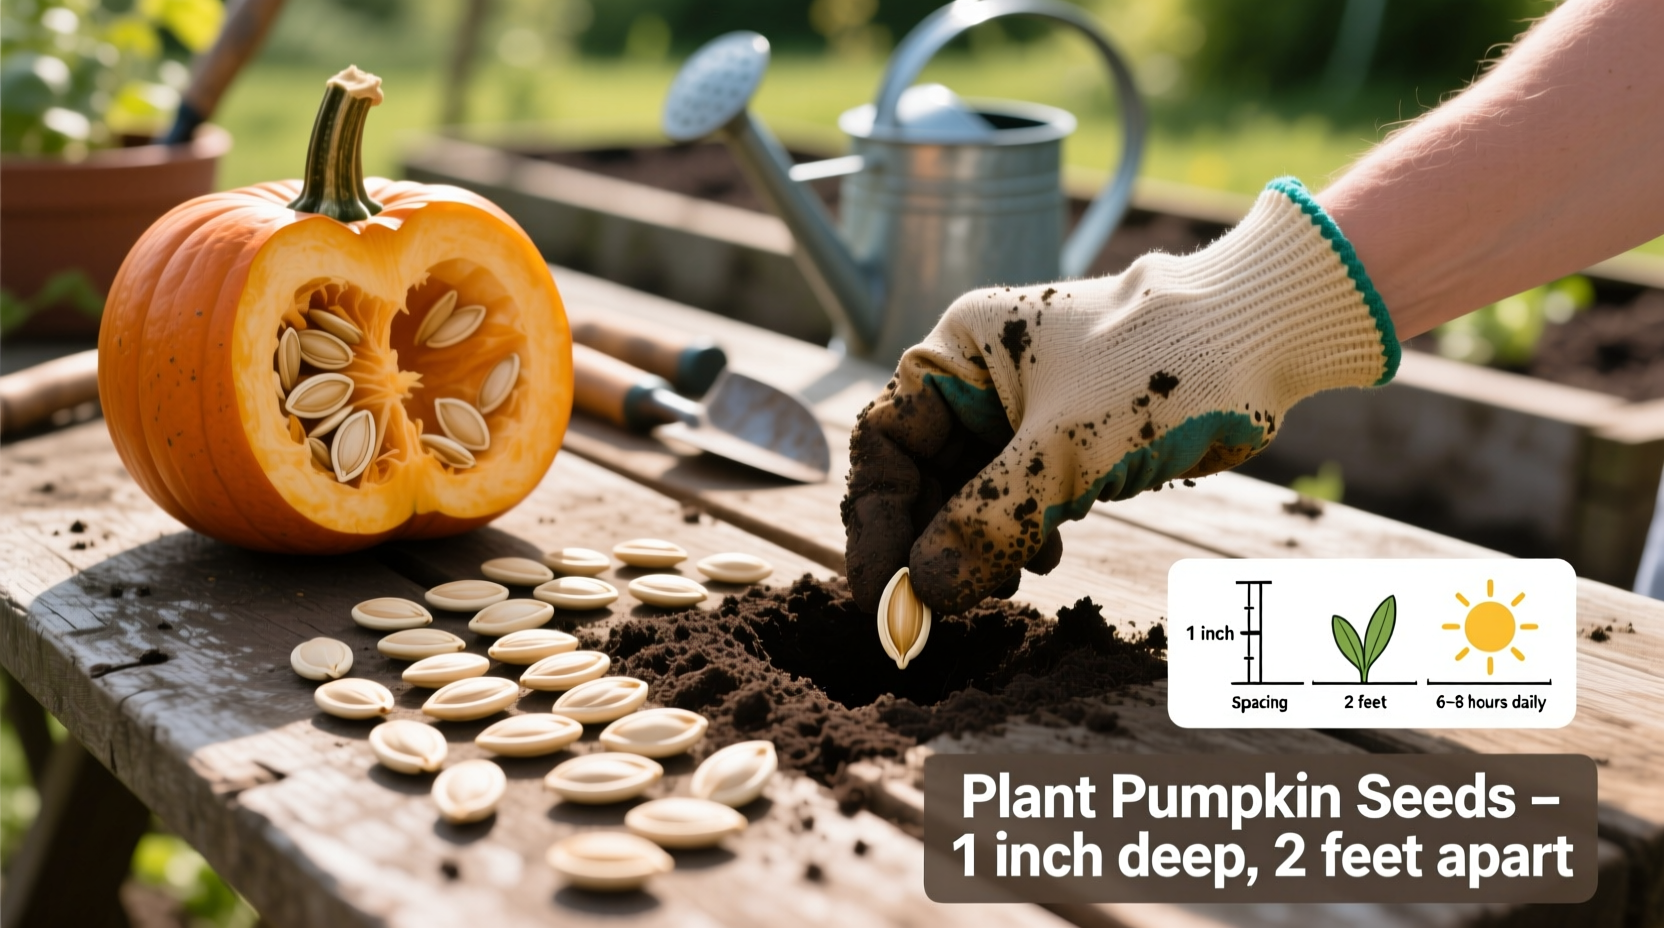
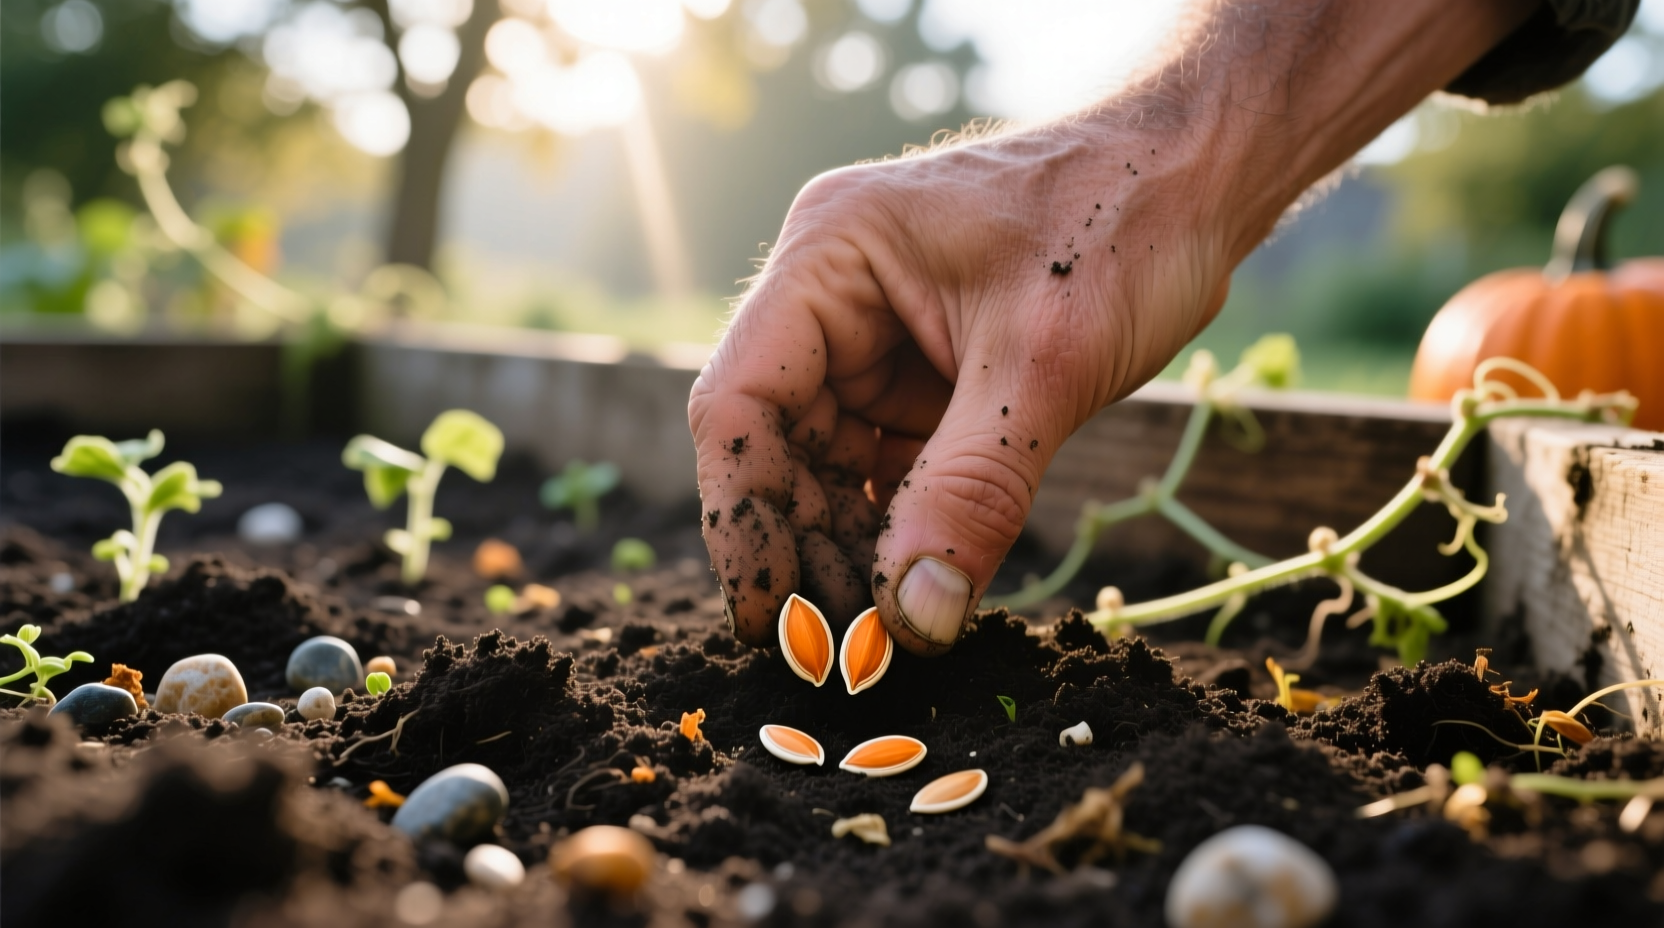
Step 4: Planting Your Pumpkin Seeds Successfully
Timing and technique determine whether your saved seeds will thrive:
- Wait until soil temperature reaches 70°F (21°C) at planting depth
- Plant seeds 1 inch deep in nutrient-rich soil with good drainage
- Space seeds 2-3 feet apart in hills or rows
- Water thoroughly after planting but avoid overwatering
- Cover with row covers to protect from pests and cold snaps
The Old Farmer's Almanac recommends planting pumpkin seeds directly outdoors rather than starting indoors, as pumpkin roots dislike transplanting. For northern climates, start seeds indoors 2-3 weeks before last frost using biodegradable pots that can be planted directly in the ground.
Step 5: Nurturing Your Pumpkin Seedlings
Young pumpkin plants require specific care during their first month:
- Provide consistent moisture (1-2 inches of water weekly)
- Apply balanced fertilizer when true leaves appear
- Monitor for squash bugs and cucumber beetles
- Thin to strongest plant per hill when seedlings reach 4 inches tall
- Mulch around plants to maintain soil moisture and temperature
Watch for yellowing leaves—a common sign of overwatering or nutrient deficiency. The USDA Natural Resources Conservation Service notes that pumpkin plants require more nitrogen during vegetative growth but benefit from phosphorus-rich fertilizer when flowering begins.
Common Mistakes That Prevent Successful Growth
Avoid these frequent errors when learning how to plant pumpkin seeds from a pumpkin:
- Planting too early in cold soil (below 60°F)
- Using seeds from hybrid or decorative pumpkins
- Inadequate drying leading to moldy seeds
- Overcrowding seeds during germination
- Insufficient sunlight (pumpkins need 6-8 hours daily)
Remember that pumpkin seeds saved from store-bought carving pumpkins often produce unexpected results. The University of Minnesota Extension explains that many commercial pumpkins are hybrids specifically bred for appearance rather than seed viability, resulting in plants that may not resemble the original pumpkin.
When to Expect Results From Your Planted Seeds
Understanding the growth timeline helps manage expectations:
- Germination: 5-10 days after planting in warm soil
- First true leaves: 7-14 days after germination
- Vining growth begins: 3-4 weeks after planting
- Flowering: 6-8 weeks after planting
- Harvest-ready pumpkins: 90-120 days after planting
Smaller pumpkin varieties generally mature faster than giant varieties. The National Gardening Association reports that miniature pumpkins often reach maturity in 90-100 days, while larger varieties require 120+ days from seed to harvest.
Special Considerations for Different Climates
Adapt your approach based on your growing zone:
- Cold climates: Start seeds indoors 2-3 weeks before last frost date
- Hot climates: Plant in partial shade to prevent scorching
- Dry regions: Use drip irrigation and heavy mulching
- Humid areas: Space plants farther apart for better air circulation
Gardeners in USDA zones 3-5 should select fast-maturing varieties (85-100 days), while those in zones 6-9 can grow most standard varieties. The USDA Plant Hardiness Zone Map provides essential guidance for determining your specific planting schedule.
Harvesting and Saving Seeds for Next Year
Once your pumpkins mature, continue the cycle by saving seeds:
- Allow pumpkins to fully ripen on the vine (rind hardens)
- Cut open mature pumpkins and extract seeds
- Follow the same cleaning and drying procedures
- Store in airtight containers in a cool, dark place
- Label with variety and date for future reference
Properly stored pumpkin seeds maintain viability for 4-6 years. The Seed Savers Exchange recommends testing older seeds by placing 10 seeds on a damp paper towel—if fewer than 7 germinate, it's time to replace your seed stock.


 浙公网安备
33010002000092号
浙公网安备
33010002000092号 浙B2-20120091-4