Why Boiling Beats Other Cooking Methods for Lobster Tails
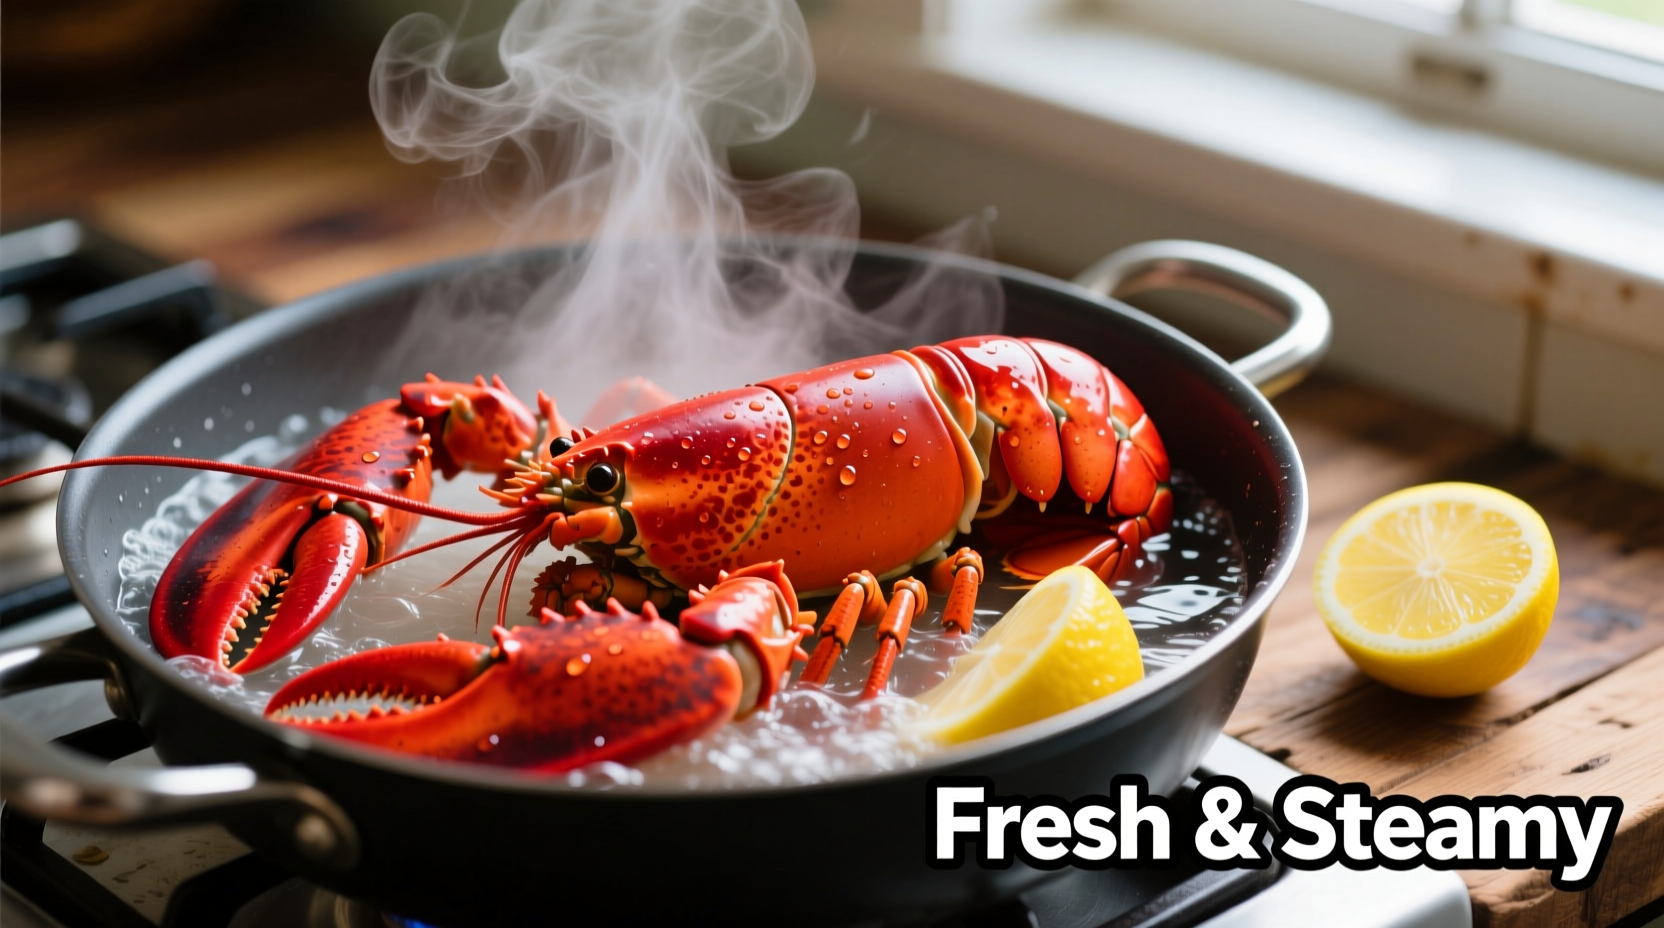
While grilling and steaming have their place, boiling delivers consistent results for home cooks. The gentle immersion cooking method preserves the delicate sweetness of lobster meat while preventing overcooking. Unlike steaming which requires precise timing, boiling provides a more forgiving window for perfect doneness. Professional seafood chefs at the National Oceanic and Atmospheric Administration consistently recommend boiling for beginners due to its reliability and simplicity.

Boiling also allows for flavor infusion directly into the cooking liquid—something other methods can't match. The salted water penetrates the meat, enhancing natural flavors without overpowering them.
Selecting Quality Lobster Tails: What Grocery Shoppers Need to Know
Your cooking success starts long before you heat water. Understanding how to choose quality lobster tails prevents disappointment:
- Fresh vs. frozen: Most "fresh" lobster tails at grocery stores were previously frozen. True fresh tails are rare outside coastal areas
- Size matters: 4-8 ounce tails cook most evenly (larger tails risk overcooking exterior before interior is done)
- Appearance check: Look for firm, translucent meat with no dark spots or ammonia odor
- Shell condition: Intact shells without black spots indicate proper handling
According to FDA seafood guidelines, properly handled lobster should maintain a sweet ocean scent without any fishy or ammonia notes. When purchasing frozen tails, ensure packaging is intact with no ice crystals—a sign of freezer burn or repeated thawing.
Essential Preparation: The Butterflying Technique That Makes All the Difference
Proper preparation ensures even cooking and easy removal from the shell. Follow these steps:
- Thaw frozen tails overnight in refrigerator (never at room temperature)
- Use kitchen shears to cut lengthwise through top shell, stopping at tail fin
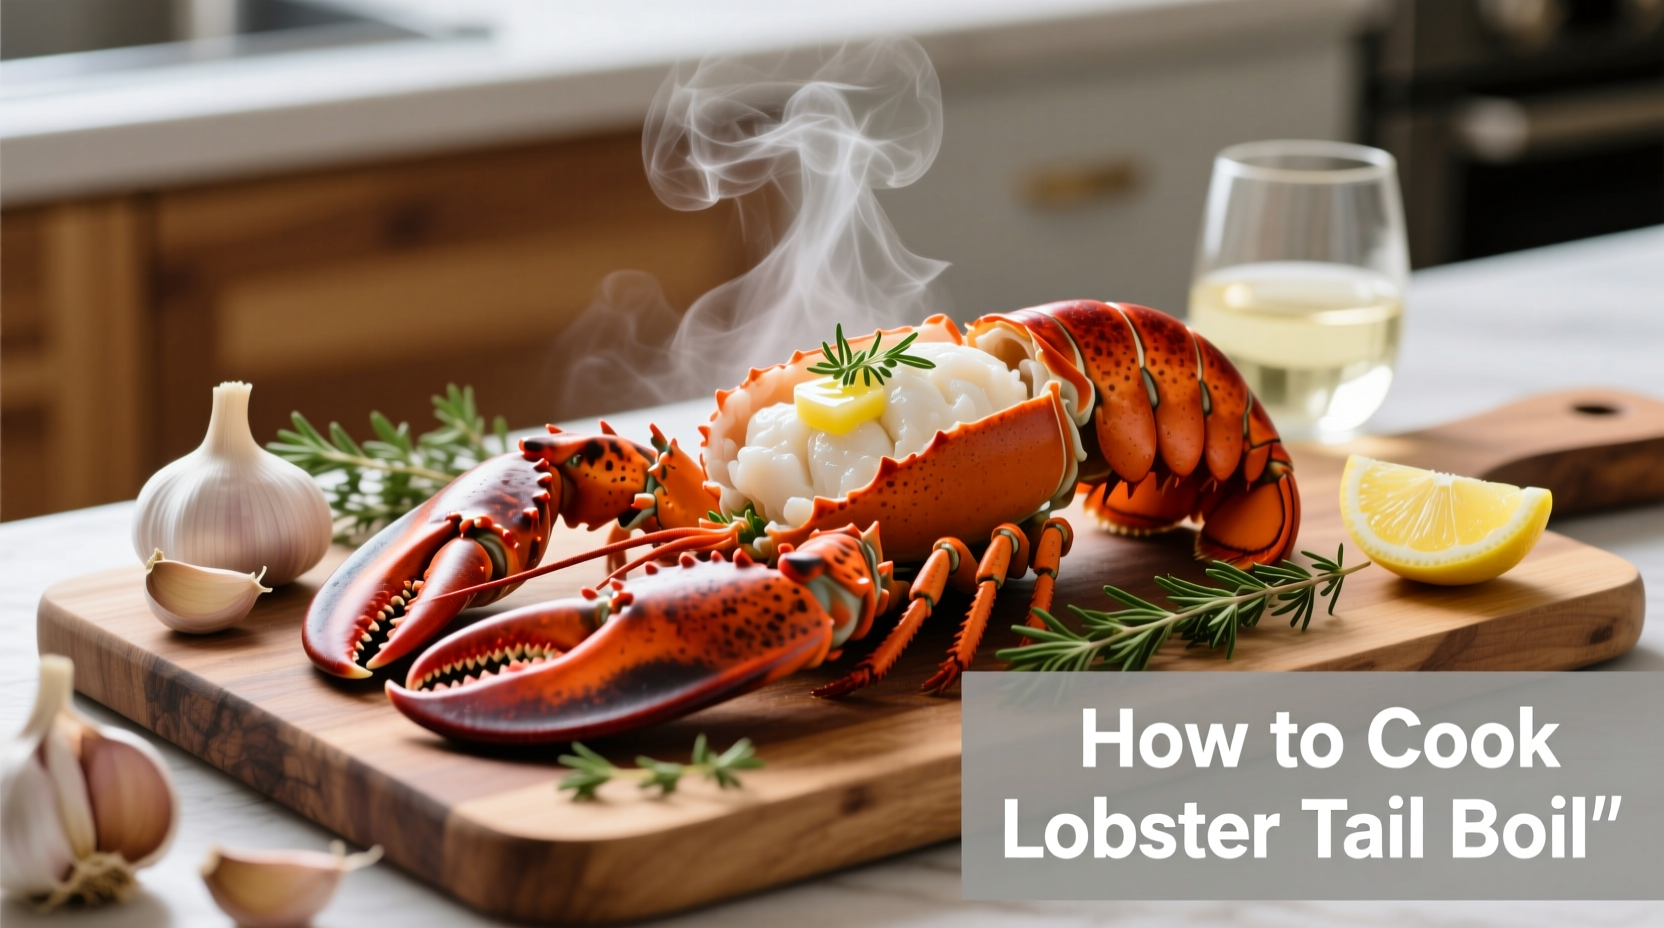
- Gently pry shell open and lift meat, keeping attached at tail
- Place meat on top of shell for even cooking and attractive presentation
- Rinse briefly under cold water to remove any debris
| Lobster Tail Size | Prep Time | Cooking Time |
|---|---|---|
| 4 oz (113g) | 5 minutes | 8 minutes |
| 6 oz (170g) | 6 minutes | 9-10 minutes |
| 8 oz (227g) | 7 minutes | 11-12 minutes |
This preparation method, validated by culinary researchers at the Culinary Institute of America, creates uniform thickness for consistent cooking. Skipping this step often results in unevenly cooked lobster—tough on the outside, raw in the center.
The Perfect Boiling Liquid Formula (Proportions That Actually Work)
The cooking liquid isn't just water—it's your flavor foundation. Get these ratios right:
- Salt: 1/4 cup per gallon of water (this isn't a typo—lobster needs generous salting)
- Acid: 1 lemon sliced or 2 tablespoons vinegar (balances richness)
- Aromatics: 2 bay leaves, 1 tablespoon peppercorns, 4 garlic cloves
- Optional enhancements: 1 sprig fresh thyme, 1/4 cup dry white wine
Many home cooks under-salt their boiling water, resulting in bland lobster. The USDA confirms that proper salting (reaching near-sea water concentration) is critical for enhancing natural flavors without making the meat taste salty. Fill a large pot with enough water to cover tails completely, bring to rolling boil, then add salt and aromatics.
Step-by-Step Cooking Process: Timing Is Everything
Follow this precise sequence for perfect results:
- Bring seasoned water to vigorous boil
- Gently lower prepared tails into water using tongs
- Return to boil, then reduce heat to maintain gentle simmer
- Cook 8-12 minutes depending on size (see timing chart above)
- Remove immediately when meat turns opaque white
- Transfer to ice bath for 2 minutes to stop cooking
Overcooking is the #1 mistake home cooks make with lobster. The FDA recommends checking doneness by cutting into thickest part—it should be pearly white with no translucent areas. Lobster continues cooking from residual heat, so removing it just before perfect doneness is crucial. The ice bath step, often skipped by amateurs, prevents carryover cooking that turns tender meat rubbery.
Pro tip: Save 1 cup of cooking liquid to make your dipping sauce—it adds incredible depth of flavor.
Serving Like a Professional: Beyond Melted Butter
Elevate your presentation with these chef-approved techniques:
- Classic presentation: Arrange tails on chilled platter with lemon wedges and fresh parsley
- Dipping sauce upgrade: Mix 1/2 cup melted butter with 2 tablespoons reserved cooking liquid, 1 minced garlic clove, and lemon zest
- Alternative serving: Chop cooked meat and serve over linguine with garlic butter sauce
- Wine pairing: A crisp Chablis or unoaked Chardonnay complements without overwhelming
For special occasions, split the cooked tails lengthwise and broil briefly with herb butter for a dramatic presentation. Remember that lobster tails pair beautifully with simple sides—steamed asparagus, roasted potatoes, or a light green salad let the star ingredient shine.
Storage and Reheating: Making Leftovers Taste Fresh
If you have leftovers (unlikely with this delicious recipe!), handle them properly:
- Refrigeration: Store in airtight container for up to 2 days
- Freezing: Wrap tightly in plastic, then foil; freeze up to 3 months
- Reheating: Never microwave—gently warm in butter over low heat
- Signs of spoilage: Discard if meat develops sour odor or slimy texture
According to food safety experts at the USDA Food Safety and Inspection Service, cooked seafood should be consumed within 3-4 days when properly refrigerated. The best reheating method maintains moisture while preventing further cooking—a challenge many home cooks struggle with.


 浙公网安备
33010002000092号
 浙B2-20120091-4