
The Ultimate Guide to Making Perfect Roasted Pumpkin Seeds at Home
Every autumn, millions of pumpkins get carved for Halloween, but most people throw away the nutrient-rich seeds inside. Homemade roasted pumpkin seeds are infinitely better than store-bought versions—they're fresher, more flavorful, and cost pennies to make. This guide reveals the chef-approved methods for transforming those slimy seeds into a crunchy, protein-packed snack you'll crave all season long.
Why Homemade Pumpkin Seeds Beat Store-Bought Every Time
Commercial pumpkin seeds often contain excessive salt, preservatives, and stale oils. When you make them yourself, you control every element:
- Freshness: Seeds roasted within 24 hours of extraction have superior crunch and nutty flavor
- Customization: Create endless flavor profiles from classic salted to spicy chili-lime
- Nutrition: Retain maximum zinc, magnesium, and healthy fats without industrial processing
- Economy: Costs less than $0.50 per batch versus $4+ for premium store versions
| Preparation Method | Drying Time | Texture Result | Flavor Absorption |
|---|---|---|---|
| Air-dried overnight | 8-12 hours | Most consistent crunch | Excellent seasoning adhesion |
| Towel-dried immediately | 10 minutes | Slightly uneven roast | Good but requires oil coating |
| Wet seeds roasted | N/A | Soggy exterior | Poor seasoning retention |
Essential Tools You Already Own
No special equipment needed—just gather these kitchen staples:
- Large mixing bowl (for seed separation)
- Colander or fine mesh strainer
- Clean kitchen towels or paper towels
- Baking sheet with rim
- Parchment paper or silicone mat
- Small mixing bowl (for seasoning)
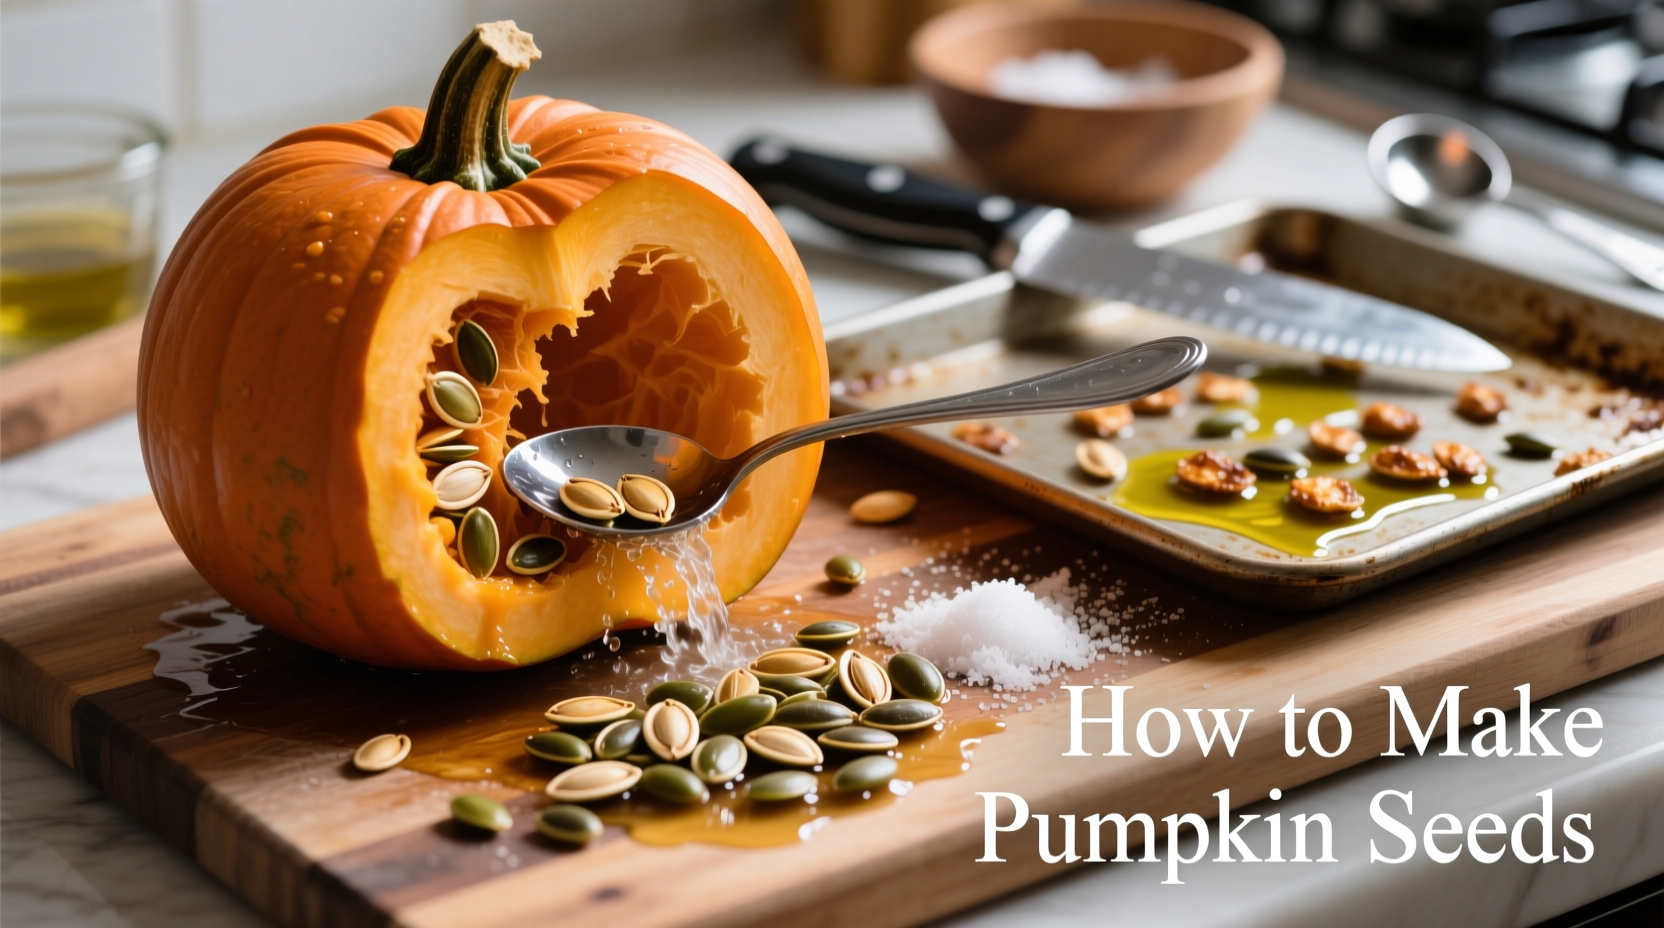
Step 1: Extracting Seeds Like a Pro
The key to perfect pumpkin seeds starts with proper extraction:
- Cut pumpkin open horizontally (not vertically) for maximum seed access
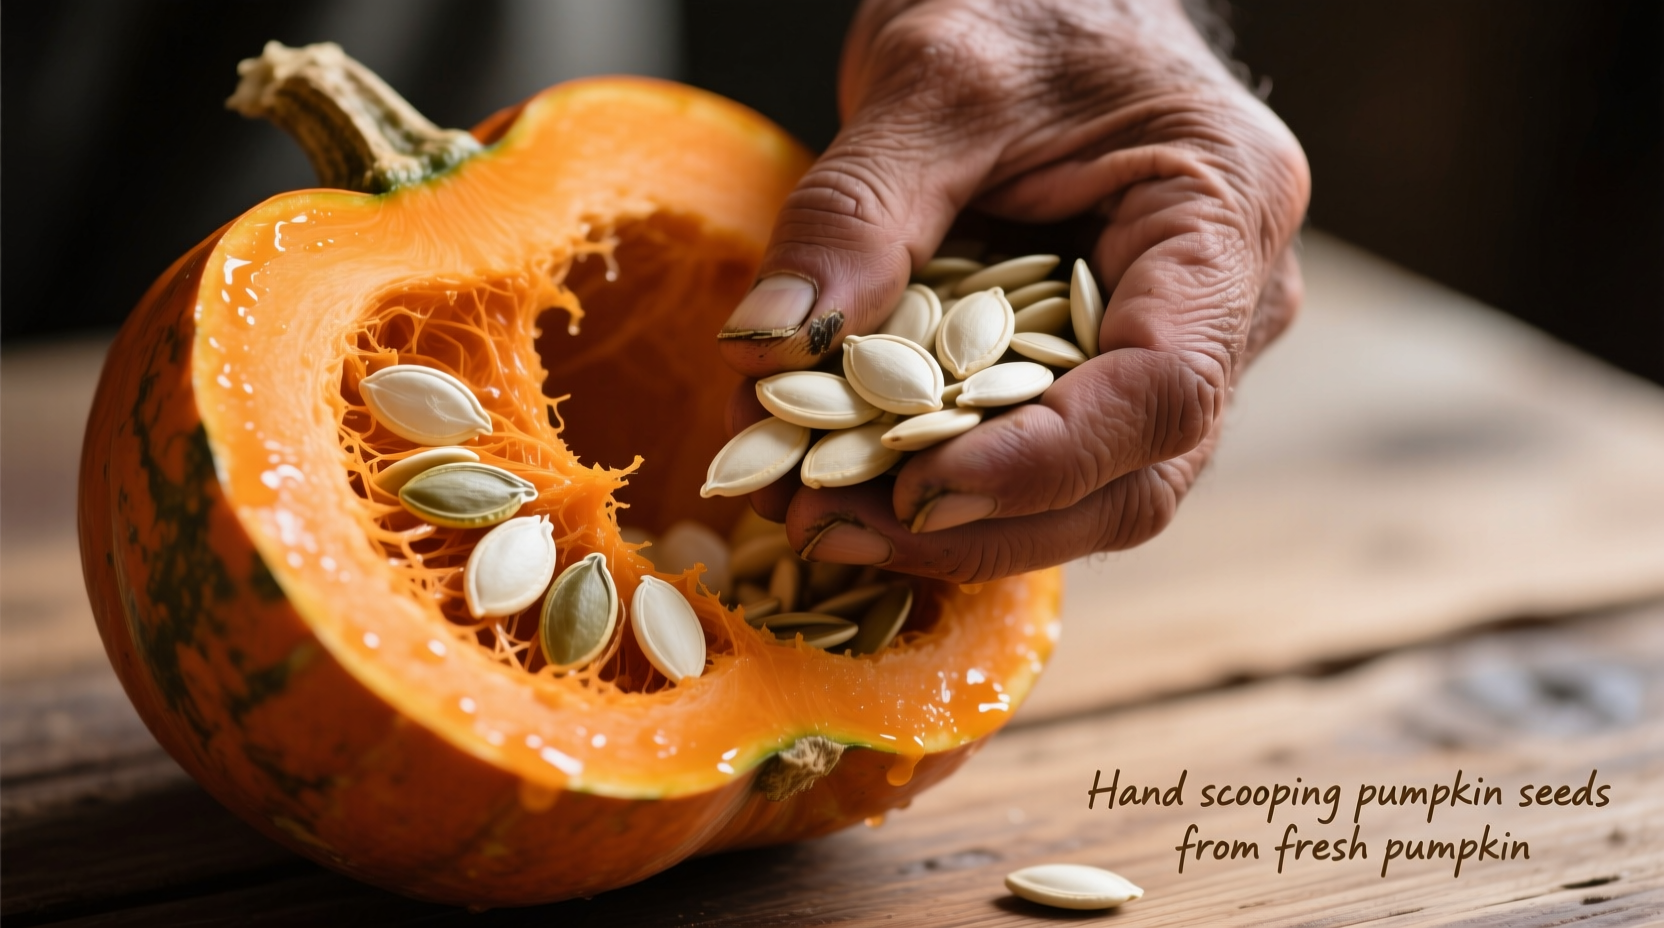
- Use a sturdy metal spoon to scrape seeds and pulp into your bowl
- Add 2 cups of cold water to the bowl—this helps separate seeds from stringy pulp
- Gently swirl seeds with your hands while discarding floating pulp
- Rinse thoroughly under cold water in a colander until completely clean
Step 2: The Critical Drying Process
Moisture is the enemy of crispiness. USDA food safety guidelines recommend thorough drying before roasting to prevent bacterial growth during storage. Two effective methods:
Air-dry method (best results): Spread seeds in single layer on clean kitchen towels. Refrigerate uncovered for 8-12 hours. Stir once halfway through.
Quick-dry method: Pat seeds extremely dry with paper towels, then spread on baking sheet. Bake at 200°F for 10 minutes, stirring once.
Step 3: Flavor Formulas That Never Fail
Professional chefs use these precise seasoning ratios for perfect flavor balance. Toss dried seeds with 1 tablespoon oil (avocado or melted coconut work best) before adding seasonings.
- Classic Salted: 1 tsp fine sea salt per 2 cups seeds (dissolve in oil first for even distribution)
- Spicy Chili-Lime: 1 tsp chili powder + ½ tsp cumin + zest of 1 lime + ¼ tsp cayenne
- Savory Herb: 1 tsp dried rosemary (crushed) + ½ tsp garlic powder + ¼ tsp black pepper
- Sweet Cinnamon: 1 tbsp maple syrup + 1 tsp cinnamon + pinch of nutmeg
Step 4: Roasting to Perfection
Temperature control makes or breaks your pumpkin seeds. Food science research shows optimal roasting occurs between 275-325°F:
- Oven method: Preheat to 300°F. Spread seasoned seeds in single layer on parchment-lined sheet. Roast 25-35 minutes, stirring every 10 minutes, until golden brown
- Air fryer method: 290°F for 12-15 minutes, shaking basket every 5 minutes
Pro tip: Seeds continue cooking after removal from heat. Take them out when they're slightly lighter than your desired color.
Step 5: Storage Secrets for Maximum Freshness
According to the National Center for Home Food Preservation, properly stored roasted pumpkin seeds maintain peak quality for:
- Room temperature: 2 weeks in airtight container
- Refrigerated: 4 weeks
- Freezer: 3 months (thaw at room temperature before serving)
Never store while still warm—condensation creates sogginess. Cool completely on baking sheet before transferring to container.
Troubleshooting Common Problems
Soggy seeds? Insufficient drying before roasting or improper storage. Always dry seeds thoroughly and use airtight containers.
Burnt edges? Oven temperature too high or uneven stirring. Use lower temperature (275°F) and stir more frequently.
Bland flavor? Seasonings didn't adhere properly. Always coat seeds with oil first and dissolve salt in the oil.


 浙公网安备
33010002000092号
浙公网安备
33010002000092号 浙B2-20120091-4