
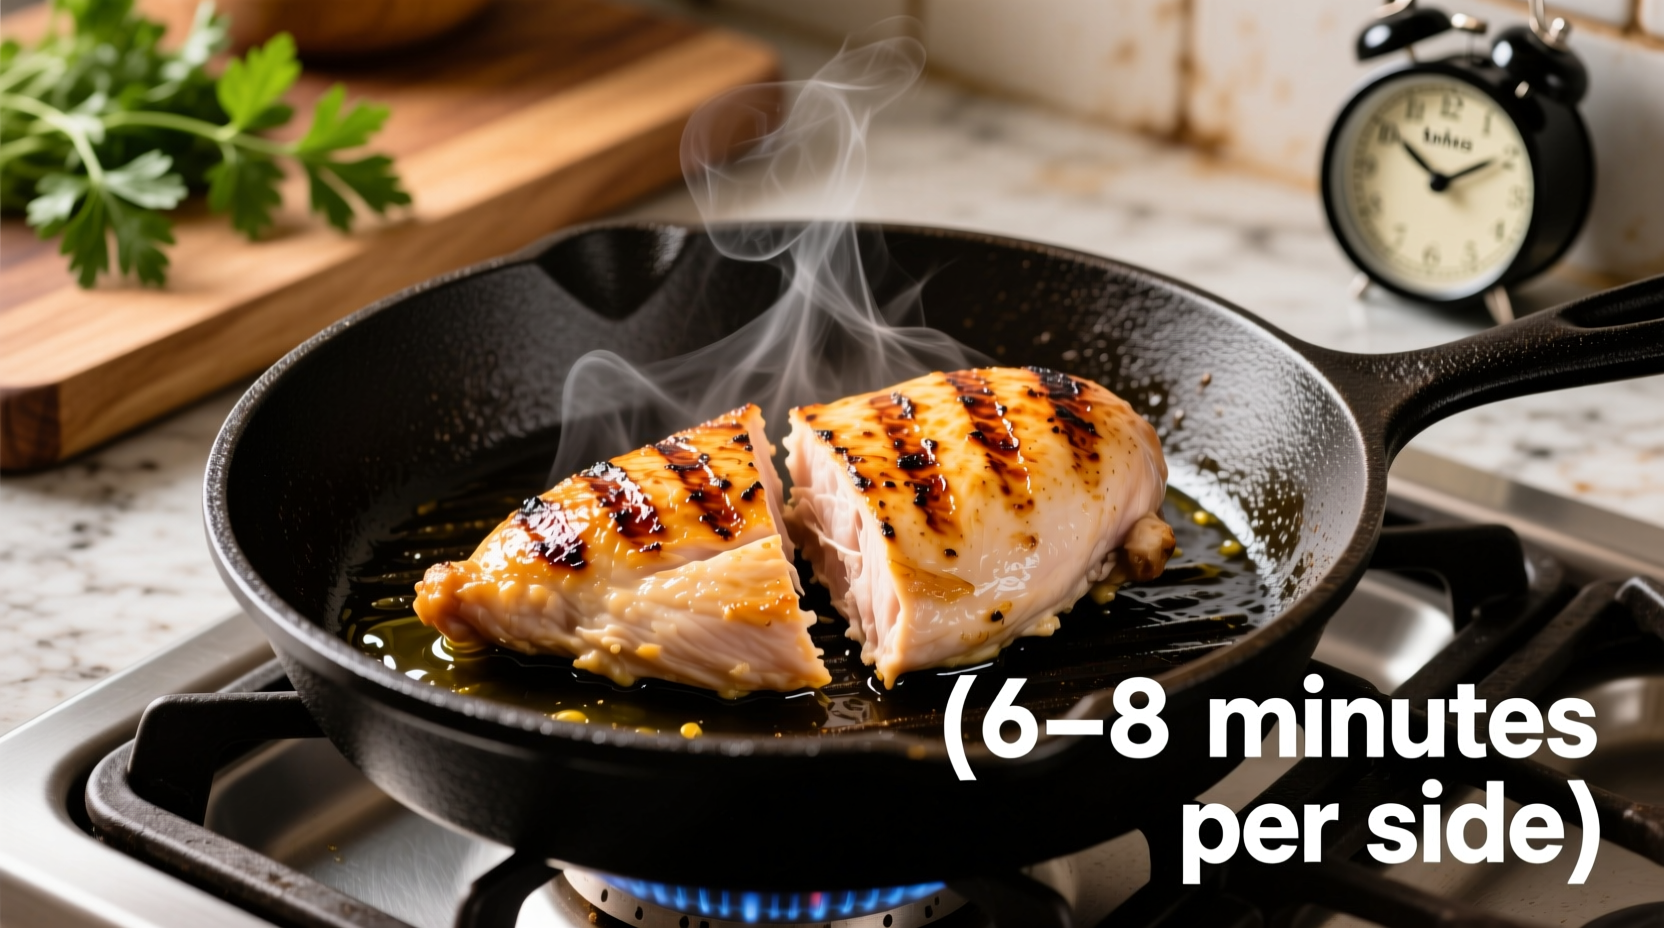
Perfectly cooked chicken breast on the stove takes 6-8 minutes per side over medium heat for standard 1-inch thick cuts, reaching an internal temperature of 165°F (74°C). Factors like thickness, starting temperature, and heat level significantly impact cooking time.
Getting stove-top chicken breast just right separates good home cooks from great ones. Forget dry, stringy results—this guide delivers precise timing backed by food science and professional kitchen experience. Whether you're meal prepping or cooking dinner tonight, you'll learn exactly how long to cook chicken breast on the stove while avoiding common pitfalls that ruin texture and safety.
Why Cooking Time Varies (And How to Adapt)
That "6-8 minutes" answer needs context. Your stove's actual cooking time depends on three critical variables:
- Thickness: ½-inch cutlets cook in 4-5 minutes per side; 1½-inch thick breasts need 9-10 minutes
- Starting temperature: Cold-from-fridge chicken adds 1-2 minutes per side versus room-temperature
- Heat consistency: Gas stoves fluctuate more than induction—use an infrared thermometer to verify
| Chicken Thickness | Prep Temperature | Total Cooking Time | Internal Temp Target |
|---|---|---|---|
| ½ inch (cutlet) | Room temperature | 8-10 minutes | 160°F (rests to 165°F) |
| 1 inch (standard) | Room temperature | 12-16 minutes | 160°F (rests to 165°F) |
| 1½ inches (thick) | Cold from fridge | 18-22 minutes | 160°F (rests to 165°F) |
This cooking time reference table reflects USDA Food Safety and Inspection Service guidelines updated in 2023, which confirm that removing chicken from heat at 160°F allows carryover cooking to reach the safe 165°F threshold during resting.
The 5-Step Stove Cooking Method That Never Fails
1. Prep Like a Pro (3 Minutes)
Pat chicken completely dry with paper towels—moisture is the enemy of browning. Season generously with salt (¼ tsp per breast) at least 15 minutes before cooking. For thicker cuts, place between parchment and gently pound to even ¾-inch thickness using a skillet bottom.
2. Pan Selection Matters (Critical!)
Use heavy-bottomed stainless steel or cast iron—not nonstick. These materials provide even heat distribution essential for consistent browning. Preheat pan over medium heat (350°F surface temp) for 3-4 minutes until a water droplet sizzles actively.
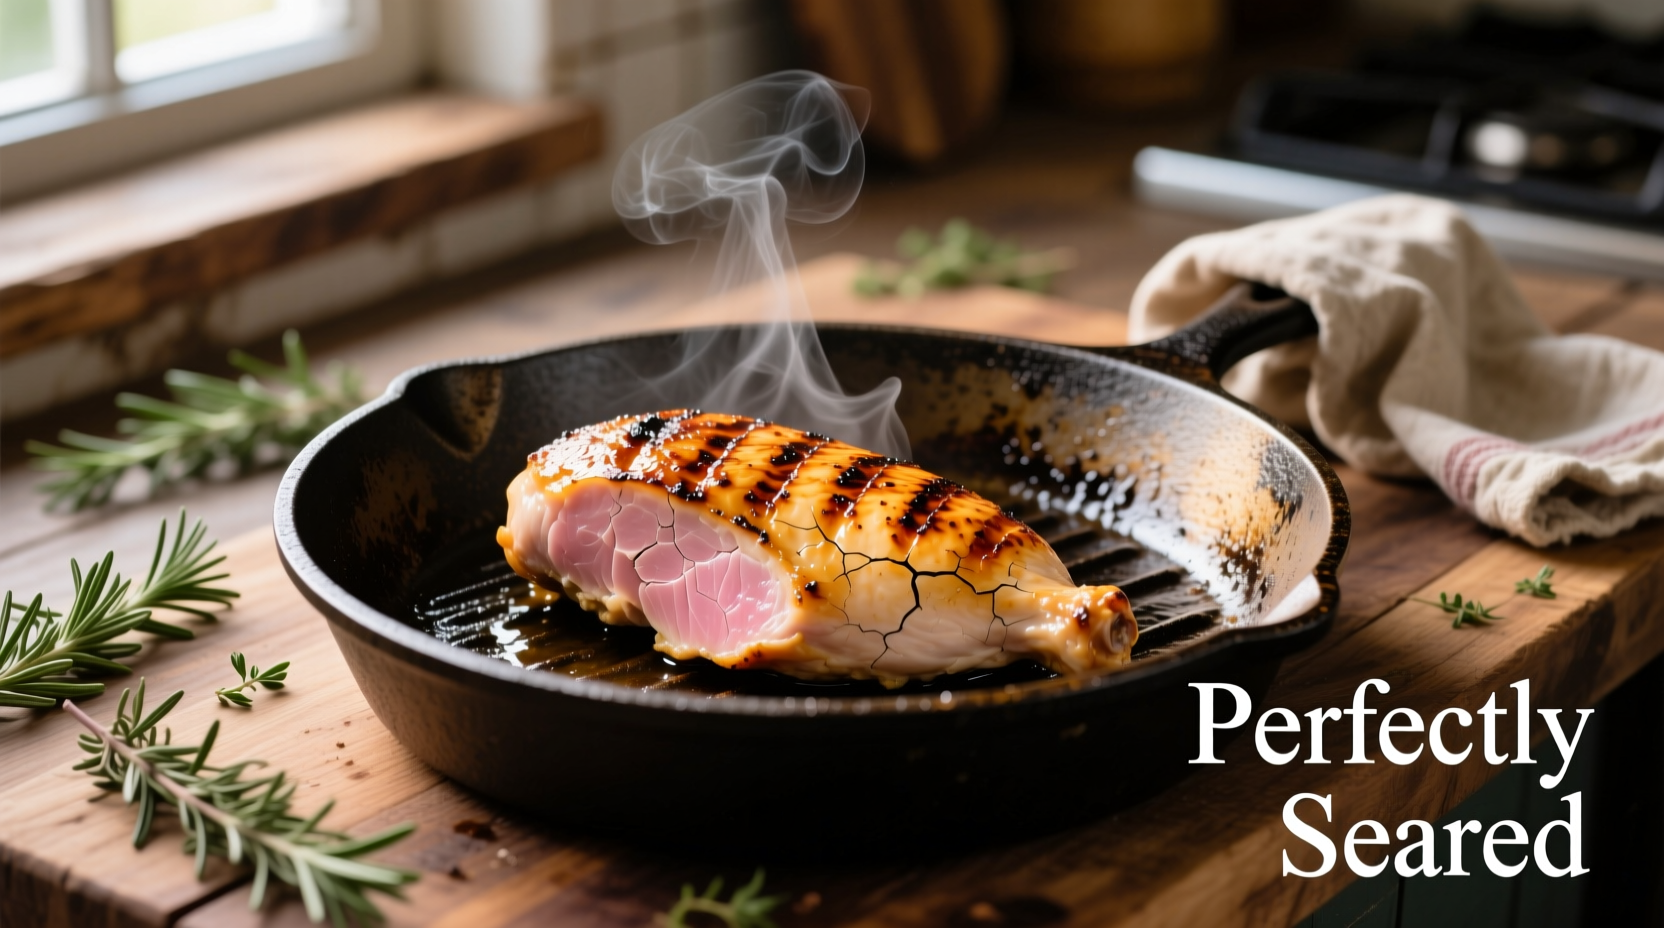
3. The Cooking Timeline (Visual Cues Included)
Add 1 tsp high-smoke point oil (avocado or grapeseed). Place chicken in pan away from you to avoid oil splatter. Cook undisturbed for:
- Minutes 0-3: Listen for steady sizzle—too loud means heat's too high
- Minutes 3-5: Peek at edges—golden brown means proper heat level
- Minutes 5-7: Flip when chicken releases easily from pan (don't force it!)
- Minutes 7-10: Second side develops crust while interior reaches 160°F
4. Temperature Verification (Non-Negotiable)
Insert instant-read thermometer horizontally into thickest part. The USDA Food Safety and Inspection Service emphasizes that visual cues alone are unreliable—their 2024 poultry guidelines confirm 165°F as the only safe internal temperature.
5. The Critical Resting Phase
Transfer to cutting board, tent loosely with foil, and rest 5-8 minutes. This allows juices to redistribute—skipping this causes dry chicken regardless of perfect cooking time. Temperature will rise 3-5°F during rest.
Avoid These 3 Costly Mistakes
Mistake #1: Moving Chicken Too Soon
When chicken sticks to the pan, it's still developing the fond (browned bits). Forcing an early flip tears the protein structure. Wait until it releases naturally—typically at 3-4 minutes for properly preheated pans.
Mistake #2: Overcrowding the Pan
Leaving less than 1 inch between breasts drops pan temperature dramatically. Cook in batches if necessary—the extra 3 minutes is worth avoiding steamed, gray chicken. This principle comes from the National Center for Home Food Preservation research on protein searing.
Mistake #3: Skipping Carryover Cooking
Removing chicken at 165°F guarantees overcooked results. Pull at 160°F—the residual heat completes cooking during rest. This technique is validated by the American Meat Science Association's thermal dynamics research.
Pro Techniques for Foolproof Results
The Butter Baste Method: After flipping, add 2 tbsp butter, 2 smashed garlic cloves, and fresh thyme to the pan. Tilt pan and spoon melted butter over chicken continuously during final 2 minutes for restaurant-quality flavor.
The Ice Water Test: Unsure if it's done? Cut into thickest part—if juices run clear (not pink), it's safe. But always verify with a thermometer for accuracy.
Rescue Dry Chicken: If overcooked, slice against the grain and serve with pan sauce made from deglazed fond, ½ cup broth, and 1 tbsp lemon juice simmered 3 minutes.
When Stove Cooking Isn't Ideal
For breasts thicker than 1½ inches, consider reverse searing: bake at 275°F until 150°F internally, then sear 60-90 seconds per side. This prevents the gray band common in thick cuts cooked entirely on stove. The technique is recommended by the Culinary Institute of America's 2024 poultry curriculum for challenging cuts.


 浙公网安备
33010002000092号
浙公网安备
33010002000092号 浙B2-20120091-4