
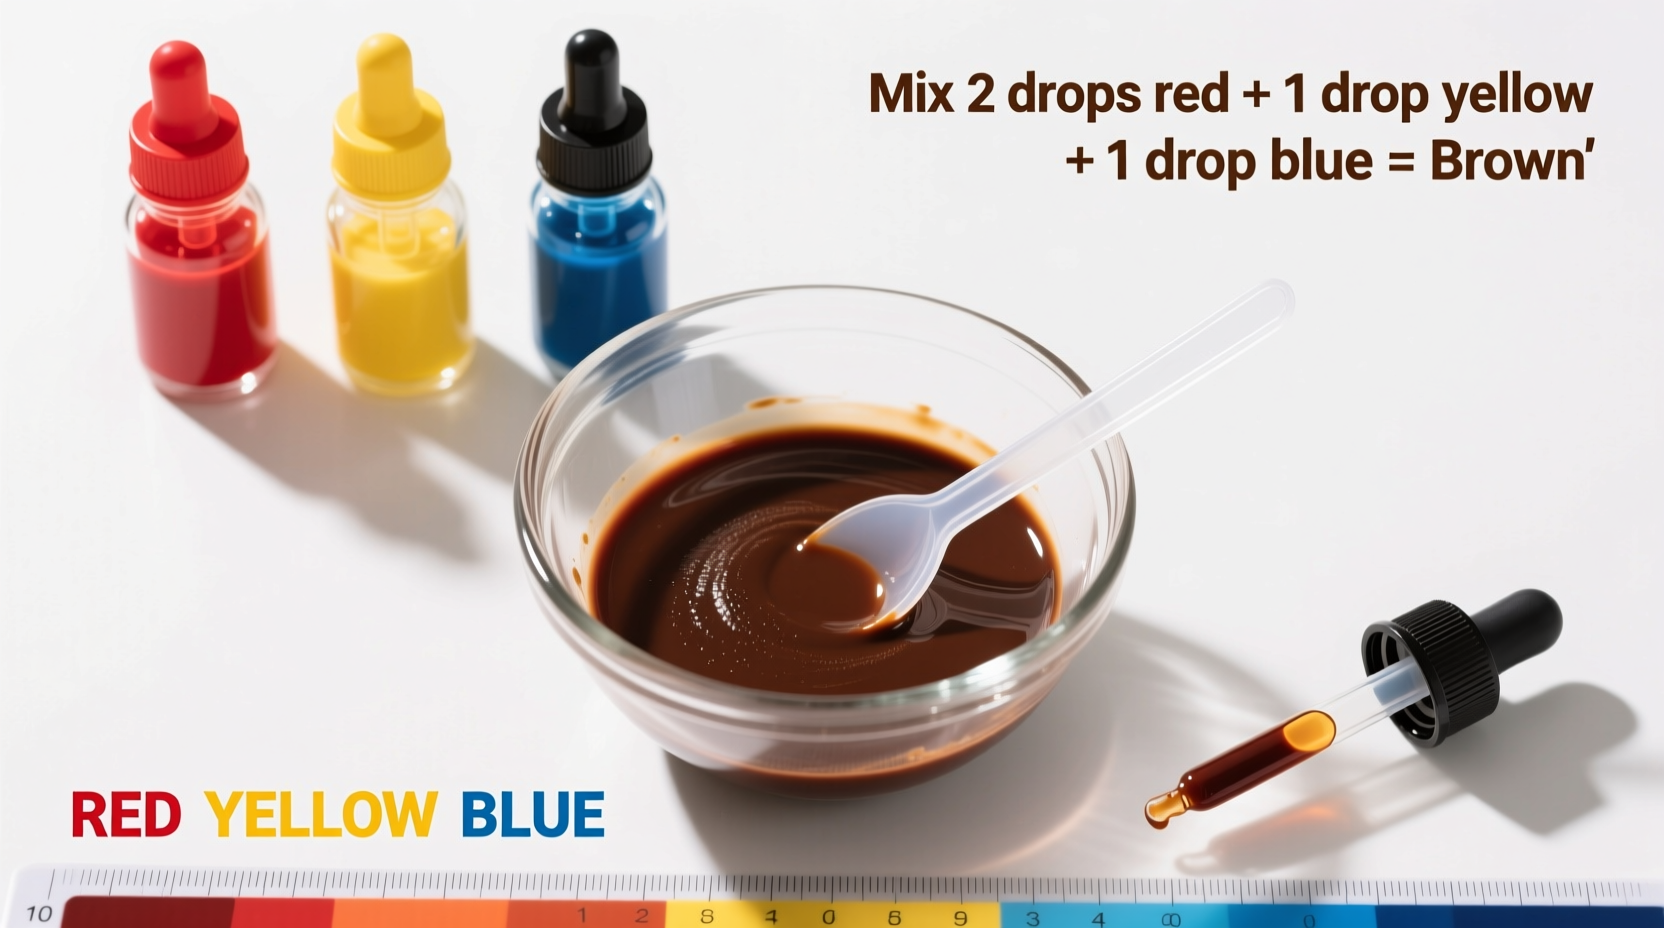
Combine red and green food coloring in a 3:1 ratio (3 drops red to 1 drop green) to create basic brown. For richer chocolate brown, add a tiny drop of blue. Start with small amounts and adjust gradually until you achieve your desired shade.
The Science Behind Creating Brown Food Coloring
Understanding color theory is essential for creating custom shades. Brown isn't a primary color in the food coloring spectrum—it's a secondary color created by mixing complementary colors. When red and green food coloring combine, they absorb certain light wavelengths while reflecting others, producing that familiar earthy brown tone.
Professional bakers and cake decorators rely on this technique daily when specific shades aren't available in standard food coloring kits. The key is knowing which color combinations work best and how to adjust ratios for different applications.
What You'll Need for Perfect Brown Coloring
Before mixing, gather these essentials:
- Liquid or gel food coloring (gel provides more concentrated color)
- White base (frosting, icing, or batter)
- Small mixing bowls
- Toothpicks or micro-droppers for precise application
- Color mixing chart (helpful for beginners)
Step-by-Step Brown Mixing Guide
Follow these professional techniques for consistent results every time:
Method 1: The Primary Color Approach (Most Reliable)
This technique uses the color wheel principle where complementary colors create brown when mixed:
- Start with a small amount of white base (frosting works best for visibility)
- Add 3 drops of red food coloring
- Slowly incorporate 1 drop of green food coloring
- Mix thoroughly and assess the color
- Adjust by adding tiny amounts of either color until desired shade is achieved
Method 2: The Chocolate Brown Technique
For richer, darker brown suitable for chocolate-themed desserts:
- Begin with the 3:1 red-to-green ratio
- Add a tiny drop of blue food coloring (about 1/4 drop)
- Mix well—blue helps neutralize any reddish undertones
- For espresso brown, add a minuscule drop of black (use sparingly)
| Desired Brown Shade | Red | Green | Blue | Black |
|---|---|---|---|---|
| Light Brown | 2 drops | 1 drop | 0 | 0 |
| Medium Brown | 3 drops | 1 drop | 0 | 0 |
| Chocolate Brown | 3 drops | 1 drop | 1/4 drop | 0 |
| Espresso Brown | 3 drops | 1 drop | 1/4 drop | 1/8 drop |
Troubleshooting Common Brown Coloring Problems
Even with the right ratios, you might encounter these issues:
When Brown Turns Out Too Red
This happens when there's insufficient green to neutralize the red. Solution: Add green food coloring in tiny increments (1/4 drop at a time) while mixing thoroughly between additions. Remember that gel coloring is more concentrated than liquid, so adjust accordingly.
When Brown Appears Too Green
Excess green creates an olive tone rather than true brown. Solution: Add red in small amounts until the green undertone disappears. If you've added too much green, start over with a fresh batch of white base.
When Brown Looks Muddy or Gray
This occurs when colors are overmixed or incorrect ratios are used. Solution: Add a tiny bit more red to warm up the color. For chocolate applications, a minuscule drop of blue can help achieve that rich brown rather than gray.
Application-Specific Tips for Different Baking Projects
The same brown mixture won't work equally well across all applications. Professional decorators know that context matters when creating brown shades:
- Frosting/Icing: Use gel coloring for more vibrant results. Start with less color than you think you need—colors deepen as they set.
- Cake Batter: Add 25% more coloring than for frosting, as the brown will lighten during baking.
- Chocolate Ganache: You'll need less coloring since the base is already brown.
- White Chocolate: Requires more coloring due to its opacity.
America's Test Kitchen research shows that gel food coloring maintains color integrity better in baked goods compared to liquid varieties, especially for achieving deep brown shades without adding excess liquid to recipes.
Advanced Techniques for Professional Results
Seasoned bakers use these pro tips to perfect their brown shades:
- Build gradually: Always start with less color than needed—you can add more, but you can't remove it.
- Test in small batches: Mix colors in a separate bowl before adding to your main batch.
- Wait for color to develop: Some colors deepen after 15-20 minutes as the food coloring fully integrates.
- Consider your lighting: Natural daylight shows true color better than artificial light.
- Keep records: Note your ratios for future reference—this is especially important for multi-tiered cakes requiring consistent coloring.
According to the International Food Information Council, understanding how food coloring interacts with different ingredients helps prevent unexpected color shifts during baking. Acidic ingredients like buttermilk can alter color outcomes, so test your brown mixture in a small portion of your actual recipe when possible.
Why Certain Brown Mixtures Work Better Than Others
The effectiveness of different color combinations depends on the specific pigments used in food coloring. Most commercial red dyes contain both red and yellow pigments, while green contains blue and yellow. When you mix red and green, you're essentially combining all primary colors (red, blue, yellow), which creates brown.
Some food scientists at the U.S. Food and Drug Administration note that the precise chemical composition of food dyes affects how they interact. This explains why the same ratios might produce slightly different results with different brands.
Final Thoughts on Creating Perfect Brown
Mastering brown food coloring takes practice but follows straightforward principles. Start with the 3:1 red-to-green ratio as your foundation, then adjust based on your specific application and desired shade. Remember that small increments make big differences—patience yields the most professional results.


 浙公网安备
33010002000092号
浙公网安备
33010002000092号 浙B2-20120091-4