

Discover exactly how to transform store-bought or saved garlic bulbs into a thriving home garden crop. This comprehensive guide reveals the precise timing, soil requirements, and care techniques that produce plump, flavorful garlic bulbs—whether you're gardening in USDA Zone 3 or Zone 9. You'll learn critical distinctions between hardneck and softneck varieties, avoid common beginner mistakes, and master the curing process that extends your harvest for months.
Garlic Growing Fundamentals: Bulb vs. Clove Clarification
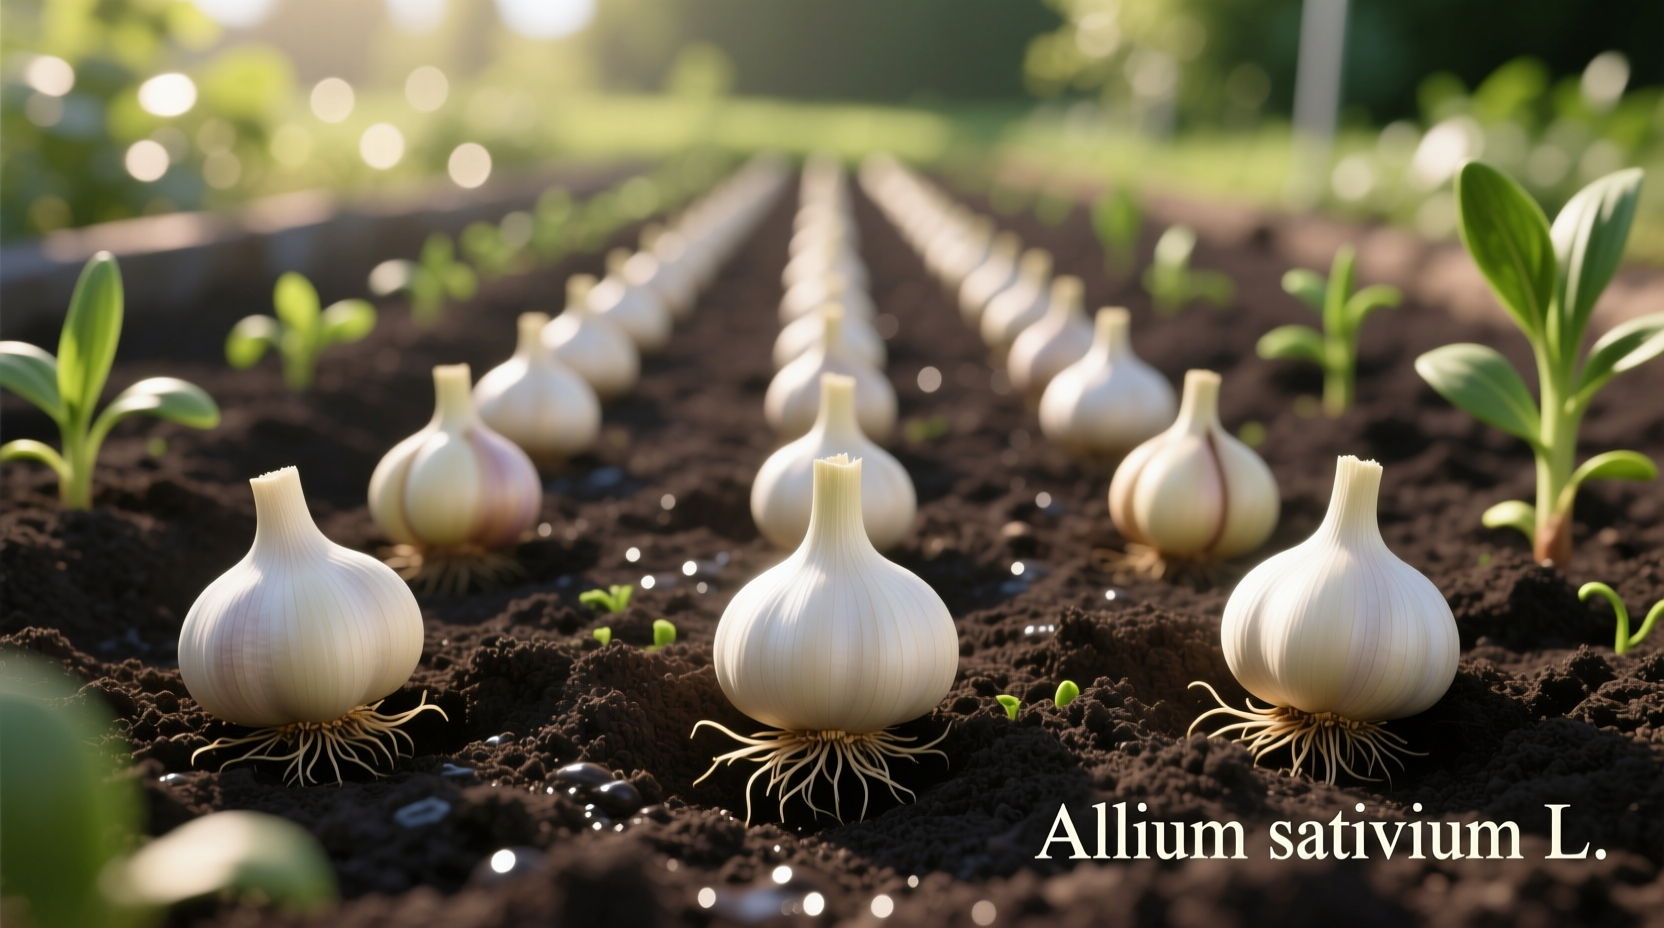
Before planting, understand that what we commonly call a "garlic bulb" actually consists of individual cloves. Each clove you plant will develop into a new full bulb. The entire head (what you buy at the store) is technically a bulb composed of multiple cloves. When selecting planting stock, choose the largest, healthiest cloves from organic bulbs—these produce the most vigorous plants.
| Characteristic | Hardneck Garlic | Softneck Garlic |
|---|---|---|
| Cold Tolerance | Excellent (best for Zones 1-6) | Moderate (best for Zones 7-10) |
| Storage Life | 5-8 months | 9-12 months |
| Flower Stalks | Produces edible scapes | No scapes |
| Peeling Ease | Easier to peel | More difficult to peel |
This comparison comes from the University of Minnesota Extension Service, which has conducted extensive garlic variety trials across North American growing zones. Your climate determines which type will thrive—hardnecks generally perform better in colder regions while softnecks excel in milder climates.
Optimal Planting Timeline for Your Region
Timing makes or breaks your garlic harvest. The universal rule: plant 4-6 weeks before your ground freezes. This allows roots to establish without significant top growth before winter. In most temperate regions, this means:
- Northern zones (3-5): Late September to mid-October
- Middle zones (6-7): October to early November
- Southern zones (8-10): November to December
Planting too early causes excessive top growth vulnerable to winter kill. Planting too late prevents root development, resulting in weak plants come spring. The USDA Plant Hardiness Zone Map provides precise timing guidance based on your specific location.
Soil Preparation: Creating the Perfect Garlic Bed
Garlic demands well-draining soil with pH between 6.0-7.0. Before planting:
- Clear the planting area of weeds and debris
- Amend soil with 3-4 inches of compost or well-rotted manure
- Work in 10-20 pounds of bone meal per 100 square feet for phosphorus
- Create raised beds 6-8 inches high if drainage is questionable
Avoid fresh manure which can cause disease. The Cornell University Gardeners' Resource states that garlic growing in poorly draining soil develops smaller bulbs and higher disease incidence. Test your soil pH—a simple $10 kit from garden centers provides accurate readings.
Step-by-Step Planting Process
Follow these precise steps for successful garlic planting:
- Separate cloves from bulb 1-2 days before planting (keep papery skin intact)
- Select largest cloves for planting (smaller ones make good eating)
- Plant pointy-end up, 2 inches deep in heavy soil, 3 inches in sandy soil
- Space cloves 6 inches apart in rows 12-18 inches apart
- Cover with soil and gently firm the surface
- Mulch immediately with 4-6 inches of straw or shredded leaves
Mulching is non-negotiable in most climates—it regulates soil temperature, prevents heaving during freeze-thaw cycles, and suppresses spring weeds. Remove mulch gradually in spring as shoots emerge to prevent rot.
Seasonal Care: Watering, Feeding, and Maintenance
Garlic requires consistent moisture but hates soggy conditions. Follow this seasonal schedule:
- Fall: Water after planting if rainfall is less than 1 inch per week
- Winter: No additional care needed under mulch
- Early spring: Remove mulch when shoots reach 4 inches
- Spring growth: Water 1 inch per week during dry periods
- May-June: Reduce watering as harvest approaches
Apply a nitrogen-rich fertilizer (like fish emulsion) when shoots reach 6 inches tall and again in early spring. Hardneck varieties produce scapes (flower stalks)—remove these when they curl for larger bulbs. The Rodale Institute's organic gardening trials show that scape removal increases bulb size by 15-25%.
Harvesting and Curing: The Critical Final Steps
Harvest timing determines storage success. Watch for these signs:
- Lower third of leaves turn brown
- Top leaves remain green (don't wait for complete browning)
- Bulb wrappers become dry and papery
Use a garden fork to carefully lift bulbs—never pull by the stem. Brush off excess soil but don't wash. Cure in a warm, dry, shaded area with good air circulation for 2-3 weeks. The University of California Cooperative Extension recommends 75-85°F with 70-80% humidity for optimal curing. Properly cured garlic develops protective wrappers that prevent mold during storage.
Troubleshooting Common Garlic Growing Problems
Even experienced gardeners encounter these issues:
- Small bulbs: Usually from late planting, poor soil, or overcrowding
- Moldy cloves: Caused by wet soil or improper curing
- Yellowing leaves: Could indicate nutrient deficiency or water stress
- No bulb formation: Often from insufficient cold exposure (vernalization)
Prevent disease by rotating planting locations every 3-4 years. Garlic belongs to the Allium family—don't plant where onions, leeks, or shallots grew recently. The USDA Natural Resources Conservation Service notes that crop rotation reduces soil-borne diseases by up to 70% in Allium crops.
Storing Your Harvest for Maximum Shelf Life
After proper curing, store garlic in:
- Cool (55-65°F), dark location with good air circulation
- Braided in bunches (softnecks only) or in mesh bags
- Avoid refrigeration which triggers sprouting
- Check monthly for soft spots or mold
Hardneck varieties typically store 5-8 months while softnecks last 9-12 months. Never store garlic in oil at room temperature due to botulism risk. For long-term preservation, freeze minced garlic in olive oil or make garlic powder from surplus cloves.


 浙公网安备
33010002000092号
浙公网安备
33010002000092号 浙B2-20120091-4