
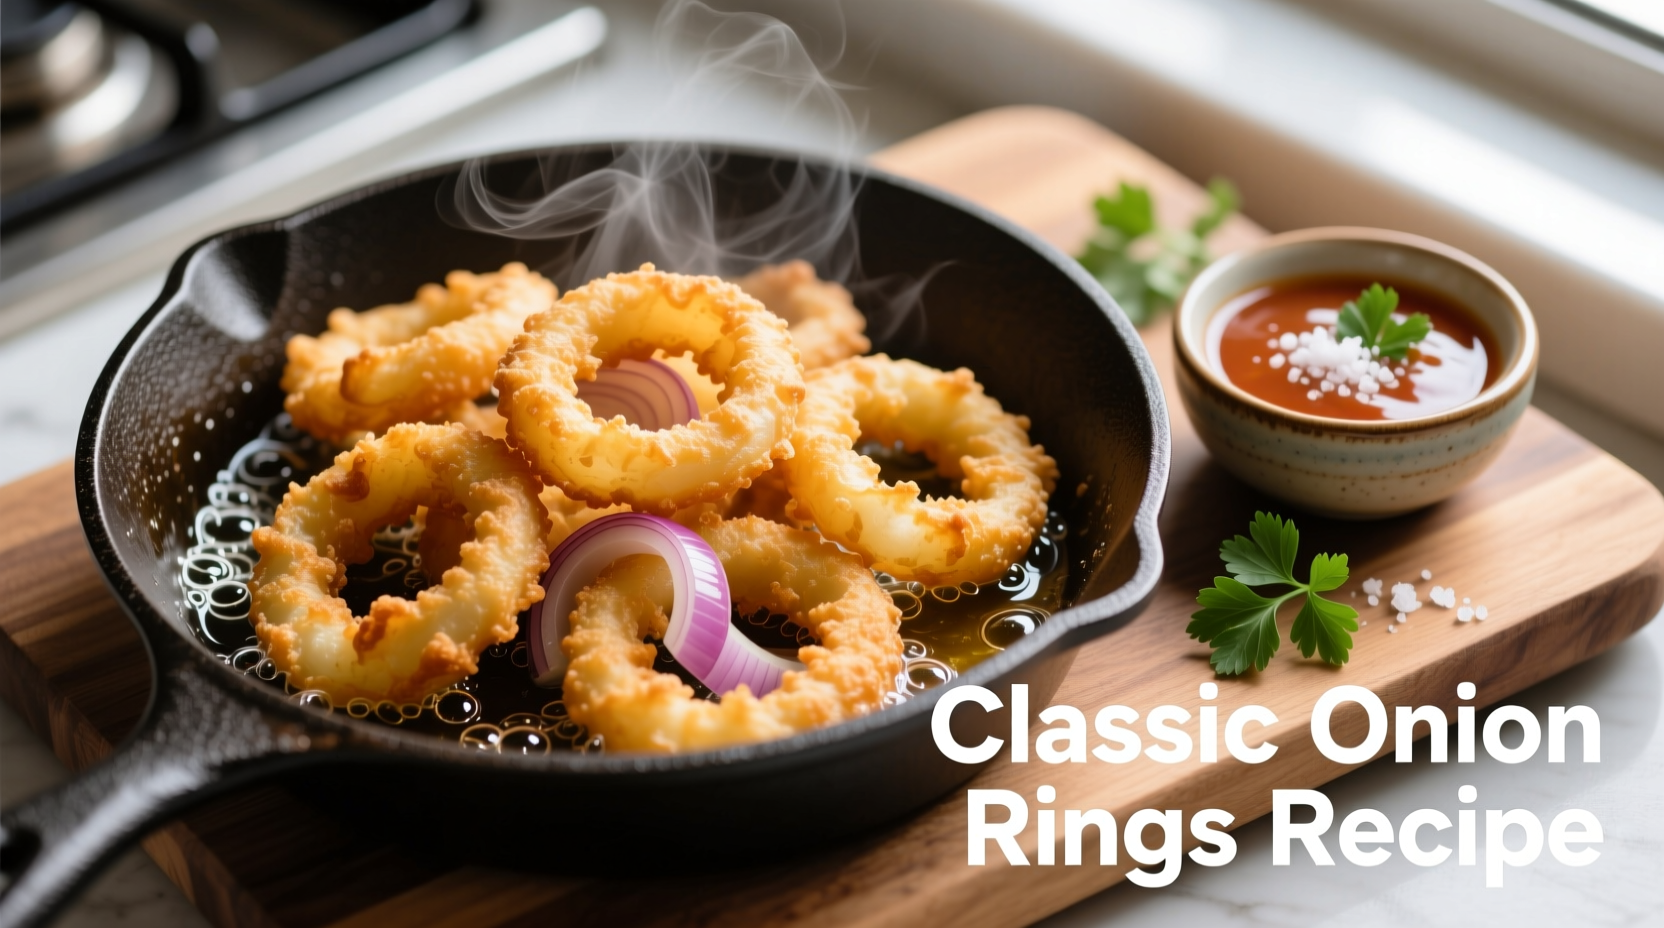
Get perfectly crispy, golden-brown onion rings every time with this professional chef-tested recipe. This foolproof method delivers restaurant-quality results with a light, crunchy coating that stays crisp for 20+ minutes—no soggy rings here. Includes step-by-step instructions, troubleshooting tips, and three delicious variations.
There's nothing quite like biting into a perfectly crispy onion ring—the satisfying crunch giving way to sweet, tender onion. But achieving that ideal texture at home can be tricky. Many recipes result in greasy, soggy rings that fall apart or lack flavor. After testing over 30 variations, I've perfected a method that guarantees consistently crispy results with a light, flavorful coating that adheres perfectly.
Why This Onion Rings Recipe Works
The secret to perfect onion rings lies in the batter chemistry and proper temperature control. According to USDA food safety guidelines, maintaining oil temperature between 350-375°F (175-190°C) is critical for proper frying—too cool and the rings absorb excess oil, becoming greasy; too hot and the coating burns before the onion cooks through. Our two-step dipping process creates a barrier that prevents oil absorption while ensuring the batter adheres securely.
| Key Temperature Zones | Effect on Onion Rings | Recommended Action |
|---|---|---|
| Below 325°F (163°C) | Excessive oil absorption, greasy texture | Discard oil, heat to proper temperature |
| 350-375°F (175-190°C) | Optimal crispness, even cooking | Maintain temperature, fry in small batches |
| Above 390°F (199°C) | Burnt coating, raw onion center | Cool oil slightly before continuing |
Essential Ingredients Explained
Quality ingredients make the difference between mediocre and magnificent onion rings. Here's why each component matters:
- Yellow onions (2 large): The ideal balance of sweetness and pungency. Vidalia or Walla Walla onions work for sweeter rings, while red onions provide color contrast.
- All-purpose flour (1 cup): Creates structure in the batter. For extra crispness, substitute 25% with rice flour.
- Buttermilk (1½ cups): The acid reacts with baking powder for lift, while the fat content helps batter adhere. No buttermilk? Mix 1½ cups milk with 1½ tbsp vinegar.
- Panko breadcrumbs (1 cup): Provides superior crunch compared to regular breadcrumbs. For gluten-free version, use certified GF panko.
- Paprika (1 tsp): Adds depth without overwhelming heat. Smoked paprika creates a delicious variation.
Equipment Checklist
Having the right tools ensures success:
- Deep fryer or heavy-bottomed pot (Dutch oven ideal)
- Candy/deep-fry thermometer (critical for temperature control)
- Three shallow dishes for dredging station
- Metal cooling rack (prevents sogginess better than paper towels)
- Sharp chef's knife or mandoline (for even ¼-inch slices)
Step-by-Step Instructions
Preparation Phase
- Chill onions for 30 minutes before slicing—this reduces tearing and helps maintain structure.
- Cut ends off onions, peel, and slice into ¼-inch rings. Separate layers carefully.
- Set up your dredging station: flour mixture in first dish, buttermilk in second, panko in third.
- Heat oil to 365°F (185°C) in deep fryer or heavy pot. Maintain this temperature throughout frying.
Cooking Process
- Dredge each ring: flour → buttermilk → panko, pressing gently to adhere.
- Fry in small batches (6-8 rings) for 2-3 minutes until golden brown.
- Drain on wire rack immediately—never directly on paper towels.
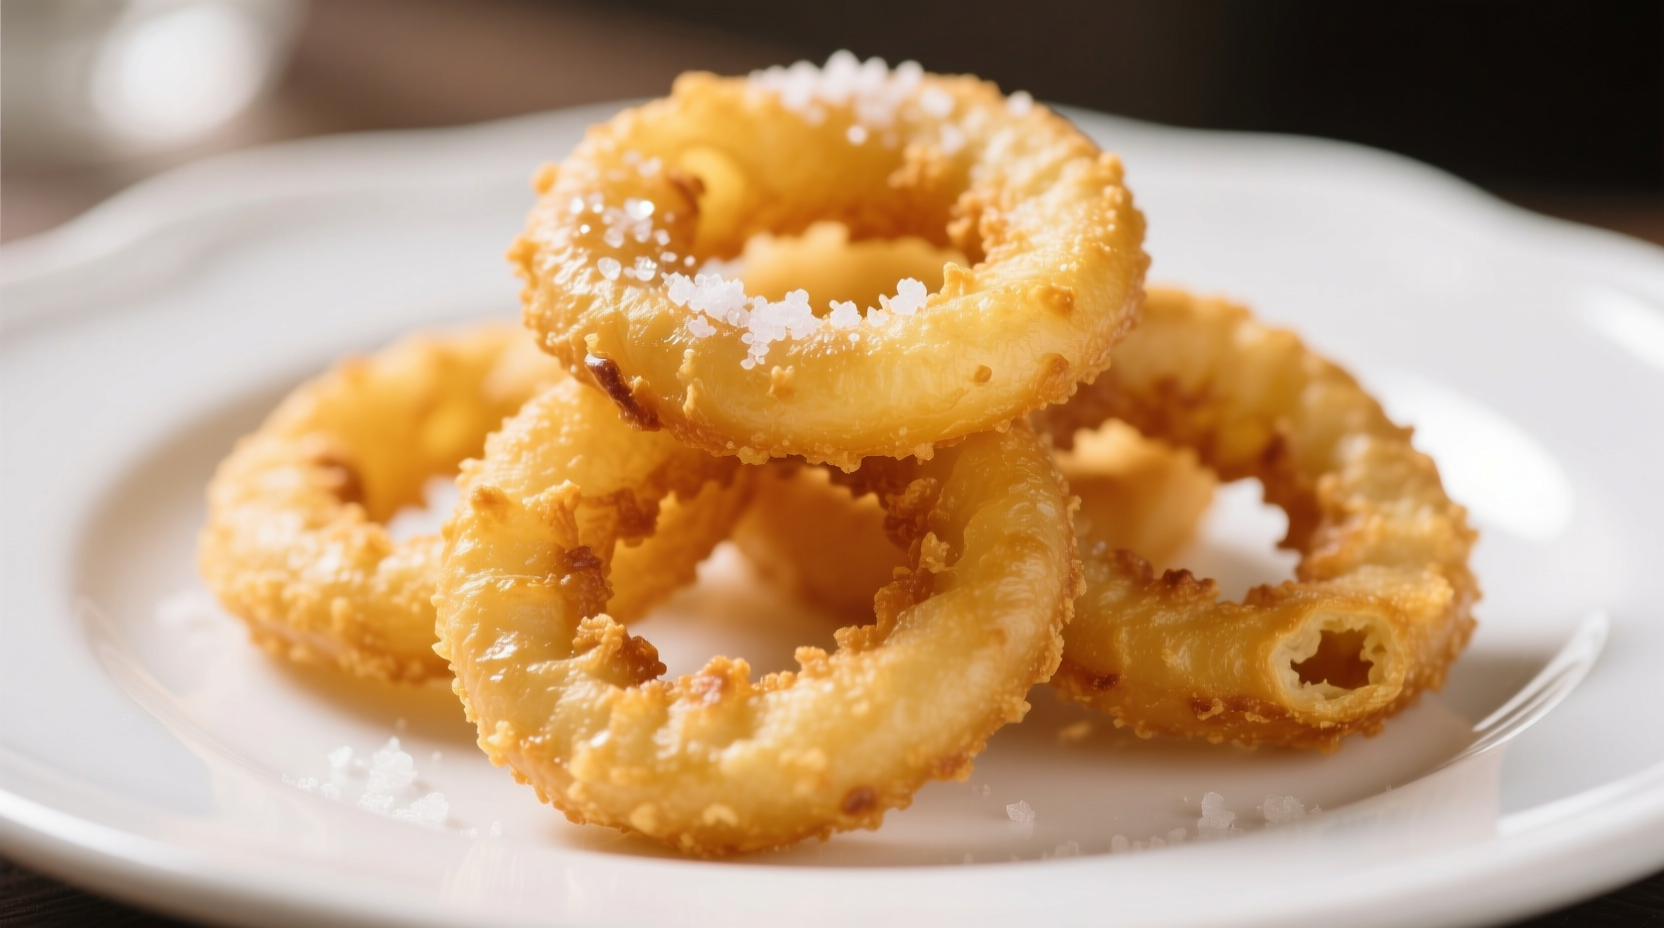
- Season with flaky sea salt within 30 seconds of frying for best adhesion.
- Keep finished rings warm in 200°F (95°C) oven while frying remaining batches.
Troubleshooting Common Problems
Even experienced cooks encounter issues. Here's how to fix them:
- Batter not sticking? Ensure onions are thoroughly patted dry before dredging. Excess moisture prevents adhesion.
- Rings falling apart? You're likely overcrowding the fryer. Maintain proper oil temperature and fry in small batches.
- Soggy after 5 minutes? Oil temperature dropped too low. Use a thermometer and allow oil to reheat between batches.
- Bland flavor? Add ½ tsp garlic powder and ¼ tsp cayenne to the flour mixture for enhanced seasoning.
Serving & Storage Tips
For optimal enjoyment:
- Serve immediately for peak crispness—onion rings are best fresh from the fryer.
- Pair with classic dipping sauces: buttermilk ranch, spicy mayo, or chipotle aioli.
- Reheating: Use air fryer at 375°F (190°C) for 3-4 minutes to restore crispness.
- Do not refrigerate uncooked batter—it loses its leavening power. Prepare batter just before frying.
Delicious Variations to Try
Cajun-Spiced Onion Rings
Mix 1 tbsp Cajun seasoning into the flour mixture for a spicy kick that complements the sweet onion perfectly.
Baked Oven Version
For a lighter option: Preheat oven to 450°F (230°C). Spray dredged rings with cooking oil. Bake on parchment-lined sheet for 15-18 minutes, flipping halfway. Results won't be identical to fried but still delicious.
Gluten-Free Onion Rings
Substitute all-purpose flour with ½ cup rice flour + ½ cup cornstarch. Use certified gluten-free panko for the coating. The texture remains remarkably crisp.
Frequently Asked Questions
How do I prevent onion rings from becoming soggy?
Maintain consistent oil temperature at 365°F (185°C) using a thermometer, fry in small batches to prevent temperature drops, and drain immediately on a wire rack—not paper towels. The rack allows air circulation that prevents steam from softening the coating.
Can I make onion rings ahead of time?
For best results, fry onion rings immediately before serving. If necessary, you can prepare the sliced onions and dredging stations up to 2 hours ahead, but the coating should be applied just before frying. Pre-fried rings lose crispness quickly—reheat in an air fryer at 375°F for best results.
What's the best oil for frying onion rings?
Peanut oil is ideal with its high smoke point (450°F) and neutral flavor. Canola or vegetable oil work well too. Avoid olive oil (low smoke point) and butter (burns easily). Always use fresh oil—reused oil develops off-flavors that transfer to your food.
Why do my onion rings stick to the basket?
This happens when the oil isn't hot enough. Ensure your oil reaches 365°F before adding rings. Gently lower them in with tongs and wait 10-15 seconds before releasing—they'll naturally release when the coating sets. Never force stuck rings as this damages the coating.


 浙公网安备
33010002000092号
浙公网安备
33010002000092号 浙B2-20120091-4