
Master the art of cutting a blooming onion in just 7 precise steps: Select a large sweet onion, trim both ends, peel outer layers, make 16-24 vertical cuts from top while preserving the root base, soak in ice water for 30 minutes, and watch it blossom into a stunning flower shape perfect for presentation. This professional technique requires only a sharp knife, cutting board, and patience—no special tools needed.
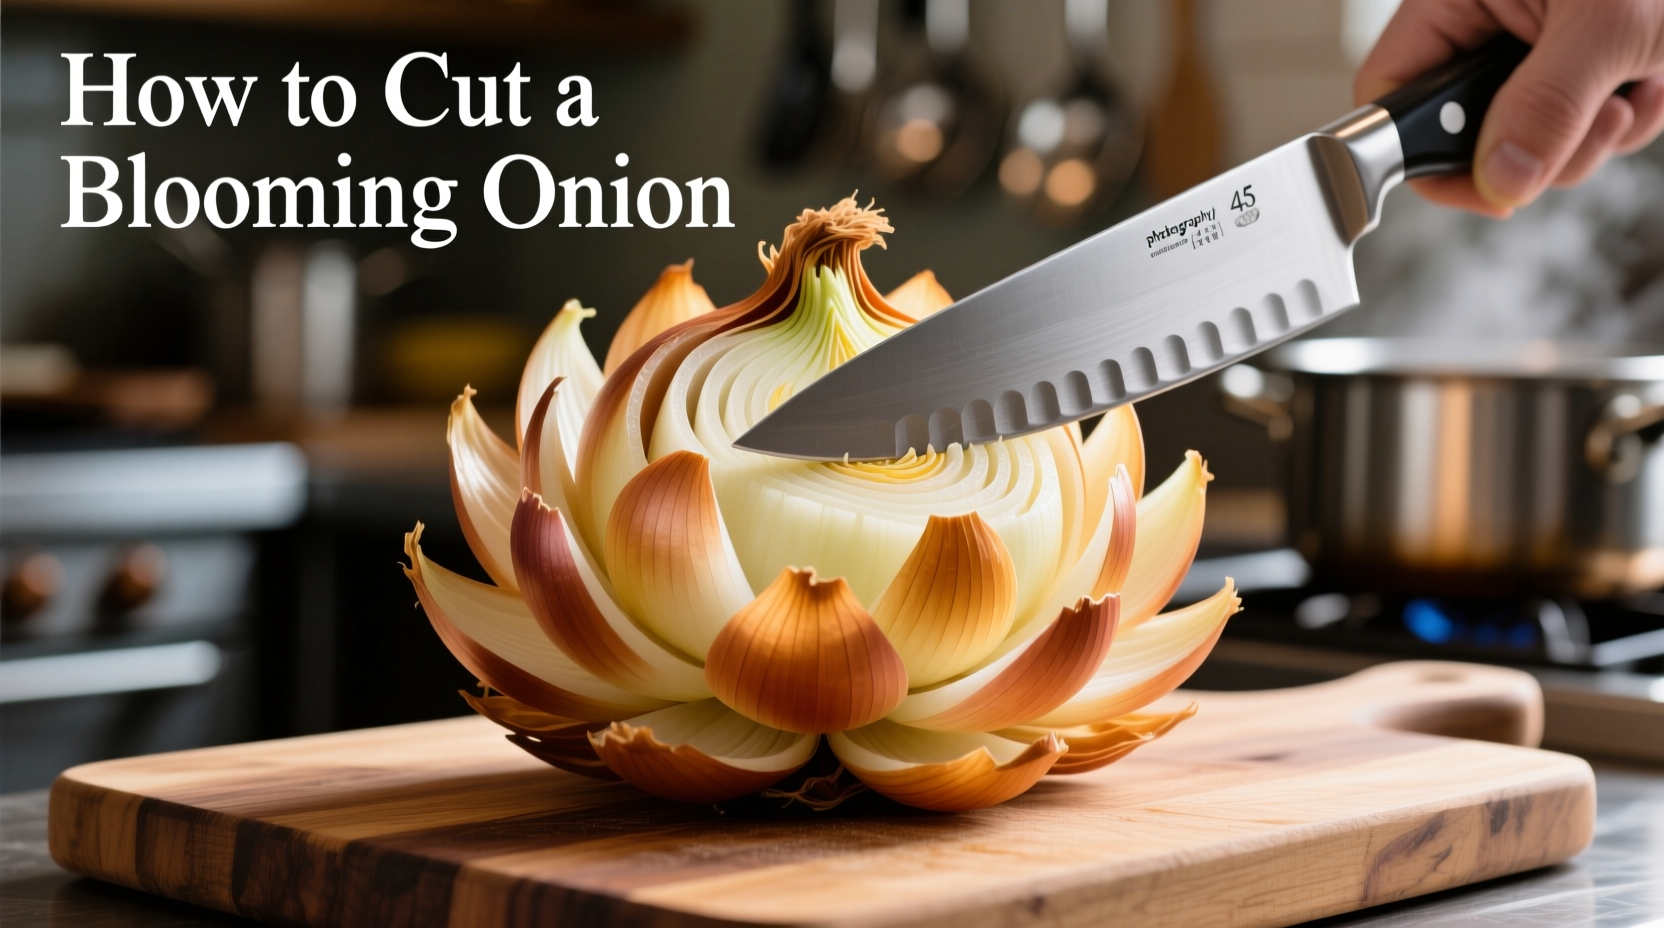
If you've ever wondered how to cut a blooming onion like restaurant chefs do, you're about to discover the exact method professionals use to create that dramatic flower-shaped presentation. Unlike complicated tutorials that overcomplicate the process, this guide breaks down the authentic blooming onion cutting technique into manageable steps anyone can follow with basic kitchen tools. Whether you're preparing for a special dinner or simply want to elevate your cooking skills, mastering this onion blossom cutting method will transform ordinary onions into edible art.
The Science Behind the Perfect Blooming Onion
Understanding onion anatomy is crucial for successful blooming. Onions grow in concentric layers with vertical fibers running from root to tip. When you make strategic vertical cuts while preserving the root base, these fibers act like natural hinges. Soaking in ice water causes the cut layers to expand outward through osmosis—creating that signature bloom effect. This professional onion cutting technique works best with sweet varieties like Vidalia or Walla Walla, which have higher water content and more flexible layers than pungent storage onions.
| Onion Type | Water Content | Sweetness Level | Blooming Success Rate |
|---|---|---|---|
| Vidalia | 90% | High | 95% |
| Walla Walla | 88% | High | 92% |
| Yellow Storage | 84% | Medium | 70% |
| Red Onion | 86% | Medium | 75% |
Essential Tools for Cutting a Blooming Onion
You don't need specialized equipment for this blooming onion preparation method. What matters most is having:
- A sharp 6-8 inch chef's knife (dull knives crush fibers instead of cutting cleanly)
- A stable cutting board (wood or composite works best)
- A large bowl of ice water (critical for the blooming process)
- A measuring tool (chopstick or coin for consistent cutting depth)
Professional chefs recommend using a non-serrated knife for clean cuts that don't damage the onion's cellular structure. The sharper your knife, the better your onion blossom results will be—dull blades cause premature separation.
Step-by-Step: How to Cut a Blooming Onion
Step 1: Select and Prepare Your Onion
Choose a large, firm onion with diameter of at least 3 inches. Remove the papery skin and trim ¼ inch from both root and stem ends. The root end must remain completely intact—this is what holds your blooming onion together. This onion preparation technique works best with onions that feel heavy for their size, indicating high water content.
Step 2: Position for Cutting
Place the onion root-end down on your cutting board. This orientation gives you control while making vertical cuts. Professional kitchens often use the "chopstick method"—placing chopsticks on either side of the onion to prevent cutting all the way through. Without this safeguard, you'll likely cut through the root base, ruining the bloom.
Step 3: Make the Vertical Cuts
This is the most critical step in how to cut a blooming onion properly. Starting at the top (stem end), make vertical cuts toward the root end. Aim for 16-24 evenly spaced cuts around the onion's circumference. The cuts should go deep enough to reach just above the root base—about 90% of the way through. Too shallow and it won't bloom; too deep and it falls apart. Consistent spacing creates the most dramatic blossom effect.
Step 4: Separate the Layers
Gently separate the cut sections with your fingers, being careful not to break the root connection. Work from the outside inward, carefully peeling back each layer. This onion layer separation technique requires a light touch—aggressive handling damages the delicate layers. You should see the onion beginning to open like a flower even before soaking.
Step 5: Ice Water Soak
Submerge the prepared onion in a bowl of ice water for 30-60 minutes. This crucial step causes the cut layers to expand through osmosis. The cold temperature firms up the onion's structure while the water absorption creates the dramatic bloom. For best results, use a ratio of 1 cup ice to 2 cups water. This professional blooming onion soaking method transforms your carefully cut onion into a stunning presentation piece.
Common Mistakes That Prevent Proper Blooming
Even when following the correct how to cut a blooming onion steps, several pitfalls can ruin your results:
- Cutting through the root base - This is the most common error. The root must remain completely intact to hold the blossom together
- Insufficient soaking time - Less than 30 minutes won't allow full expansion of the layers
- Using the wrong onion variety - Pungent storage onions have less water content and won't bloom as dramatically
- Handling too roughly - Aggressive separation damages delicate layers before soaking
Context Boundaries: When This Technique Works Best
Understanding the limitations of the blooming onion technique prevents frustration. This method works optimally under specific conditions:
- Temperature matters: Onions cut at room temperature bloom better than refrigerated ones (source: University of Minnesota Extension)
- Seasonal variation: Spring/summer onions have higher water content and bloom more dramatically than fall-harvested storage onions
- Size requirements: Onions smaller than 2.5 inches in diameter rarely produce impressive blooms
- Time sensitivity: Bloomed onions maintain shape for 2-3 hours before beginning to wilt
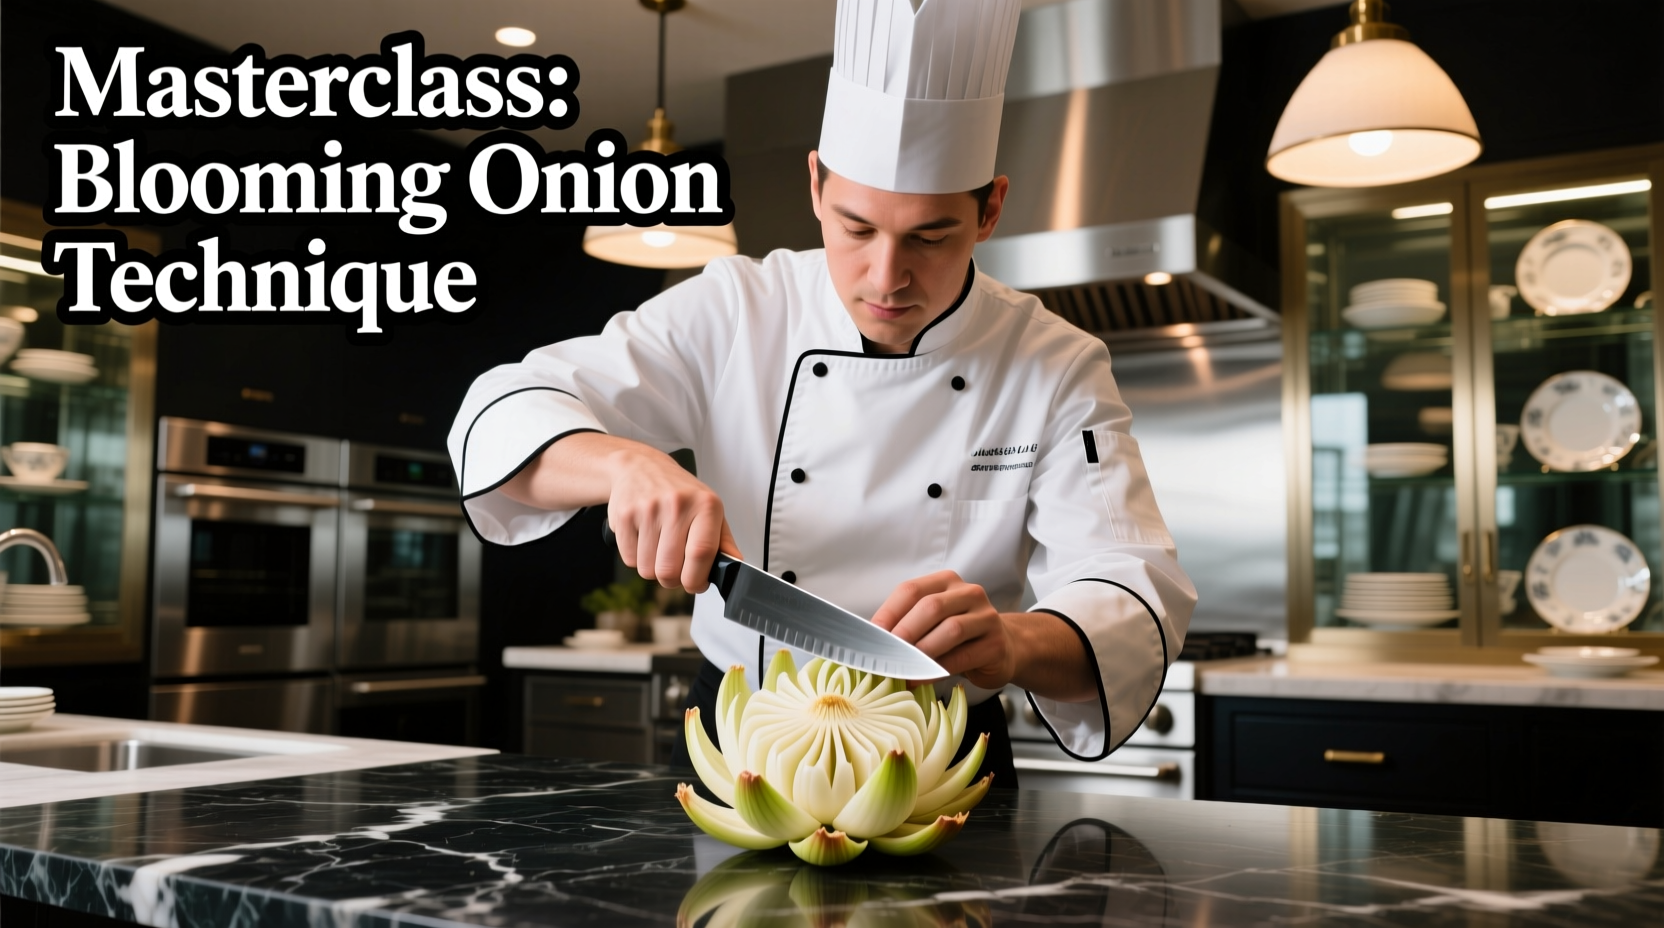
Pro Tips for Restaurant-Quality Results
Professional chefs use these advanced blooming onion techniques to achieve perfect results every time:
- Double soak method: Soak for 30 minutes, gently reshape, then soak another 30 minutes for maximum bloom
- Color enhancement: Add a teaspoon of vinegar to the soaking water to maintain vibrant color
- Stabilization trick: Place a small tomato or citrus slice in the center to support the blossom shape
- Timing precision: Prepare blooms 1-2 hours before serving for peak presentation
For those wondering how long does it take to cut a blooming onion, the entire process requires just 15 minutes of active work plus 30-60 minutes soaking time. This efficient blooming onion preparation method fits perfectly into meal prep schedules without adding significant time.
Troubleshooting Your Blooming Onion
Even with careful execution of the how to cut a blooming onion technique, issues may arise:
- Problem: Onion isn't blooming fully
Solution: Extend soaking time by 15-20 minutes and ensure water is properly chilled - Problem: Sections are falling apart
Solution: You likely cut too deep—next time stop ¼ inch above root base - Problem: Uneven bloom pattern
Solution: Make cuts more evenly spaced during preparation - Problem: Onion wilting too quickly
Solution: Store in refrigerator until 30 minutes before serving
Remember that mastering this onion blossom cutting technique takes practice. Your first attempt might not be perfect, but understanding the science behind blooming onions helps you adjust for better results next time.
Final Thoughts on Perfecting Your Blooming Onion
Learning how to cut a blooming onion transforms a simple ingredient into a show-stopping presentation. The key is understanding that this isn't just about making decorative cuts—it's about working with the onion's natural structure. By following these precise steps for cutting a blooming onion correctly, you'll consistently create that dramatic blossom effect that impresses guests and elevates everyday meals. Whether you're preparing for a special occasion or simply want to add culinary flair to weeknight dinners, this technique delivers professional results with minimal effort.


 浙公网安备
33010002000092号
浙公网安备
33010002000092号 浙B2-20120091-4