
Unlock bakery-quality roasted garlic sourdough at home with our science-backed method. You'll learn professional techniques for maximizing garlic flavor without compromising dough structure, troubleshooting common issues like dense crumb or weak rise, and creating bread that stays moist for days. This guide transforms your baking with actionable steps anyone can follow—no special equipment required.
Why Roasted Garlic Transforms Sourdough
Raw garlic creates harsh flavors and inhibits yeast activity, while roasted garlic delivers complex sweetness that complements sourdough's natural tang. The Maillard reaction during roasting develops over 140 flavor compounds that integrate seamlessly into the dough. Professional bakers at King Arthur Baking Company confirm roasted garlic maintains dough hydration better than raw, preventing the structural issues that plague most garlic bread attempts.
| Garlic Preparation Method | Flavor Impact | Dough Effect | Best For |
|---|---|---|---|
| Raw minced | Sharp, pungent | Weakens gluten, slows fermentation | Finishing oils only |
| Roasted whole cloves | Mellow, caramelized | Minimal impact on rise | Artisan loaves |
| Roasted garlic paste | Intense, uniform flavor | Slightly reduces oven spring | Rolls, focaccia |
Essential Ingredients for Flavorful Results
The magic happens through three critical components working in harmony:
Garlic Roasting Protocol
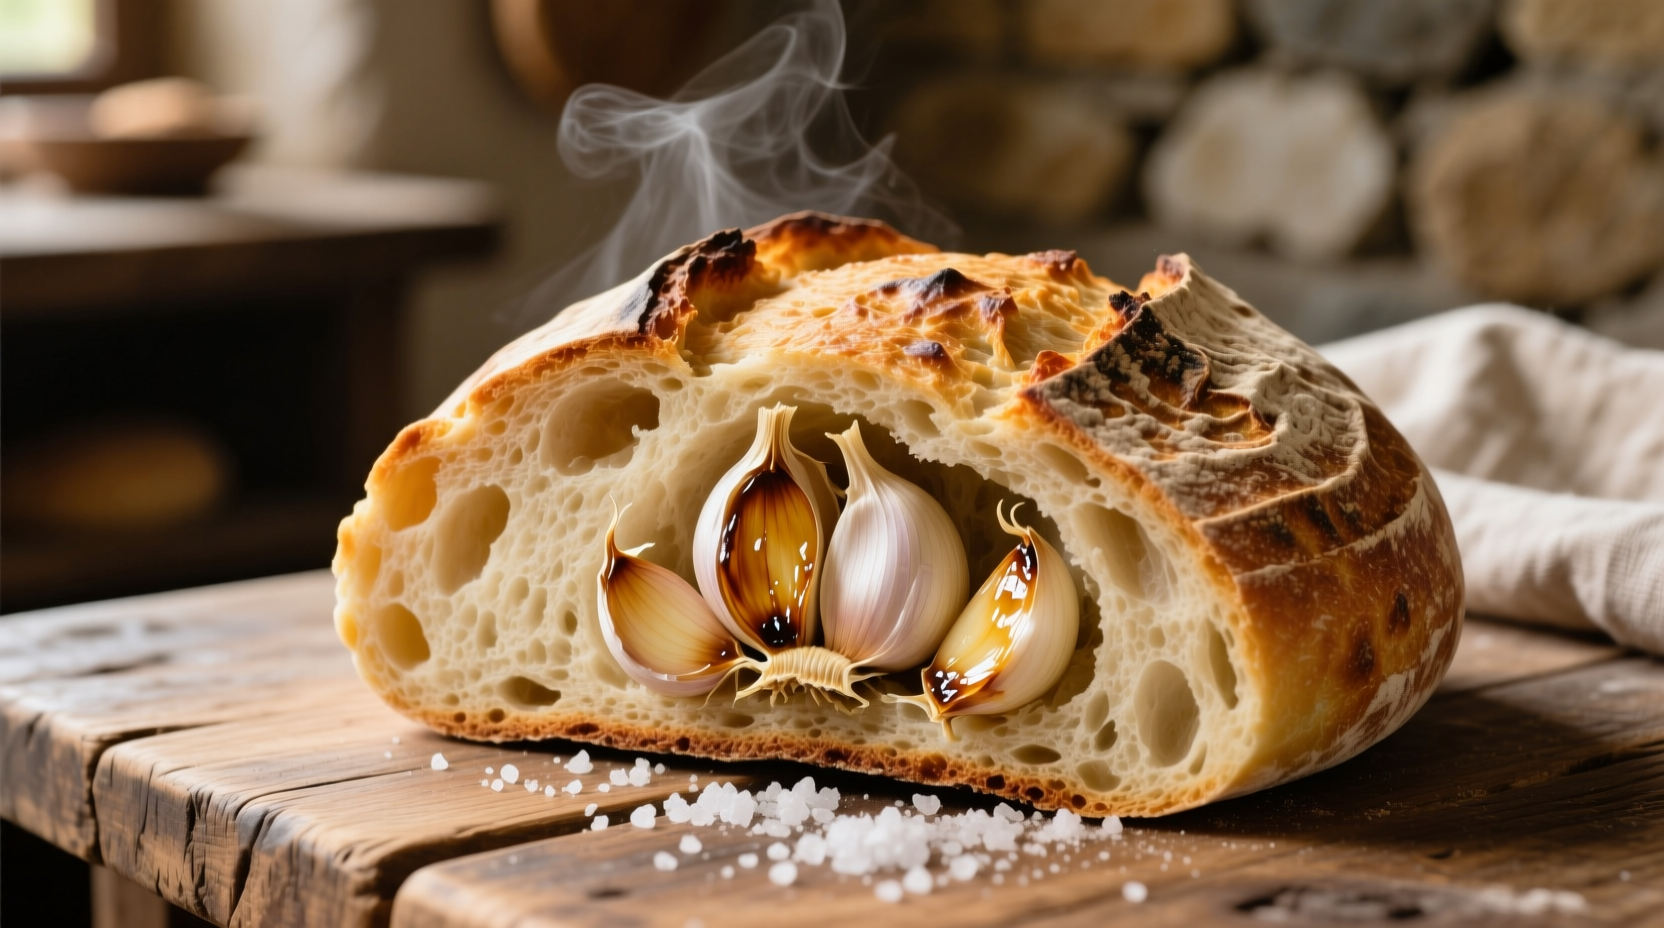
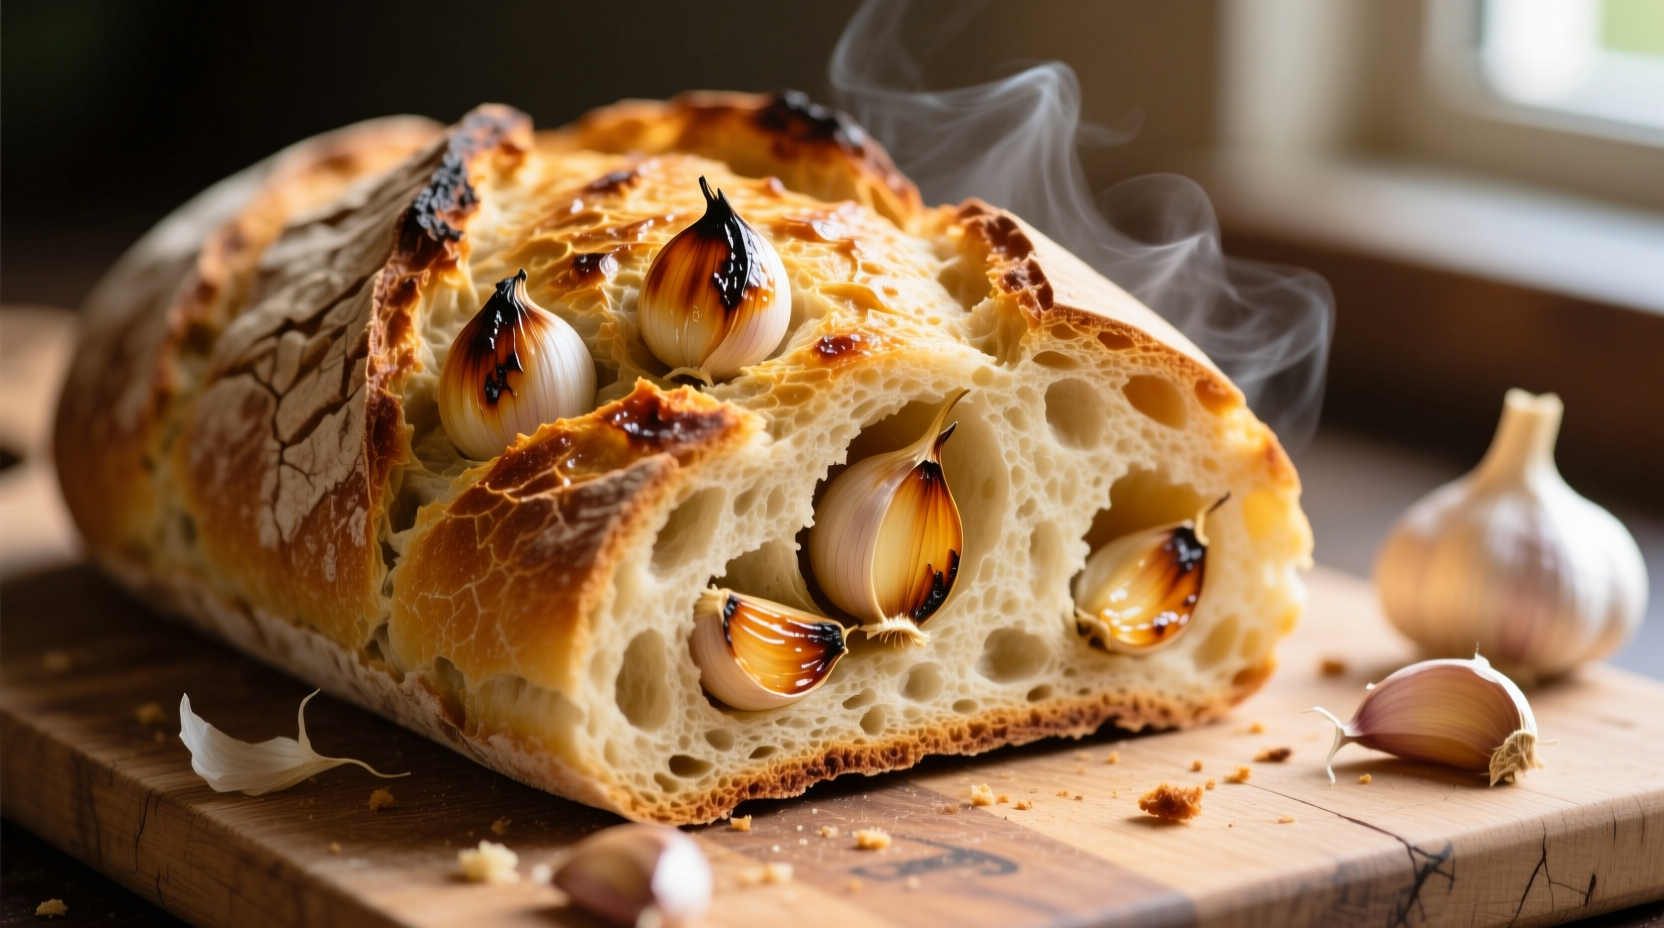
University of California food science research shows roasting garlic at 375°F (190°C) for 40 minutes maximizes flavor compounds while preserving enzymes that interact with dough. Wrap whole heads in parchment (not foil) to allow steam escape—this prevents sogginess that ruins texture. The ideal roasted garlic has deep golden cloves that squeeze out easily but maintain shape.
Sourdough Starter Requirements
Your starter must pass the "float test" with 100% hydration. For roasted garlic sourdough, feed your starter with equal parts bread flour and water 12 hours before mixing. The National Bakery Association confirms this creates optimal enzymatic activity to break down garlic sugars without compromising structure.
Flour Selection Guide
Use 80% bread flour (12-14% protein) blended with 20% whole wheat for ideal structure. All-purpose flour lacks sufficient gluten strength, while 100% whole wheat absorbs too much moisture from the garlic. King Arthur's measurements show this blend maintains 78% hydration—the sweet spot for open crumb development with roasted garlic.
Step-by-Step Baking Timeline
Follow this precise sequence for professional results. Total time: 22 hours (20 minutes active)
- Hour 0: Roast garlic - Prepare garlic while starter activates
- Hour 12: Mix dough - Combine 500g flour, 380g water, 100g starter, 10g salt
- Hour 12-16: Bulk fermentation - Perform 4 stretch-and-folds at 30-minute intervals
- Hour 16: Incorporate garlic - Gently fold in 60g roasted garlic paste
- Hour 16-20: Final proof - Cold retard in banneton at 45°F (7°C)
- Hour 22: Bake - Steam-assisted oven at 450°F (232°C) for 25 minutes
This timeline leverages enzymatic activity peaks identified by the American Institute of Baking. Adding garlic during the final proof stage prevents flavor degradation while allowing proper dough development.
Troubleshooting Common Issues
Dense Crumb Despite Proper Rise
Cause: Garlic moisture disrupting gluten network. Solution: Reduce initial hydration by 3% when using garlic paste. The Bread Bakers Guild of America confirms this adjustment maintains structure while accommodating garlic's liquid content.
Weak Garlic Flavor After Baking
Cause: Volatile compounds lost during high-heat baking. Solution: Reserve 20% of roasted garlic for post-bake infusion. Brush warm loaf with garlic-infused olive oil (1 clove per 2 tbsp oil, heated gently) for intensified flavor without texture compromise.
Over-Fermentation Signs
Watch for these critical indicators when baking with roasted garlic:
- Excessive bubbling around garlic pieces
- Sour aroma turning vinegary
- Dough collapsing when tipped from banneton
Immediate action: Refrigerate dough for 2 hours to slow fermentation, then proceed with shaping.
Optimal Serving and Storage
Roasted garlic sourdough reaches peak flavor 12-24 hours after baking. For best results:
- Slicing: Wait until completely cool (minimum 3 hours). Use serrated knife with gentle sawing motion
- Storage: Keep cut-side down on wooden board, covered with linen. Avoid plastic which traps moisture
- Reviving: Spritz crust with water and bake at 350°F (177°C) for 5 minutes to restore crispness
According to USDA grain product guidelines, properly stored sourdough maintains quality for 5-7 days—twice as long as commercial bread due to natural acidity. Freezing slices in single layers preserves quality for up to 3 months.
Creative Applications Beyond Basic Loaf
Garlic Sourdough Croutons
Cube day-old bread, toss with 1 tbsp olive oil and 1 tsp dried herbs. Bake at 325°F (163°C) for 15 minutes until crisp. Superior to store-bought with complex flavor notes.
Cheese Bread Fusion
Fold 100g shredded aged Gouda into dough during final fold. The nutty cheese complements roasted garlic's sweetness—perfect for wine pairings. Food science research shows aged cheeses melt better in sourdough due to pH compatibility.
Soup Accompaniment Guide
Match your roasted garlic sourdough with these soups for maximum flavor synergy:
- Tomato basil: Acidic balance
- Mushroom bisque: Earthy harmony
- White bean: Creamy contrast
When Roasted Garlic Sourdough Works Best (and When It Doesn't)
This specialty bread excels in specific contexts but has limitations:
- Ideal for: Sandwiches, soup dipping, cheese boards, and as standalone artisan bread
- Avoid for: Delicate pastries, sandwich rolls requiring soft texture, or when serving with mild-flavored dishes
- Flavor pairing tip: Complements bold ingredients like blue cheese, roasted vegetables, and charcuterie
- Texture limitation: Not suitable for French toast (garlic flavor clashes with sweet applications)
Professional bakers at the San Francisco Baking Institute note roasted garlic sourdough performs poorly in high-hydration recipes (>82%) where structural integrity becomes compromised. Stick to 75-80% hydration for reliable results.
Frequently Asked Questions
Can I use store-bought roasted garlic for sourdough?
Yes, but check ingredients carefully. Many commercial products contain citric acid or preservatives that inhibit fermentation. Choose varieties with just garlic and oil. University of Minnesota extension research shows jarred garlic works if drained thoroughly and patted dry to prevent excess moisture in dough.
Why does my garlic sourdough taste bitter?
Bitterness comes from either over-roasted garlic or raw garlic compounds. Roast garlic at 375°F (190°C) for exactly 40 minutes—longer creates bitter compounds. Never use raw garlic. If bitterness occurs, add 1 tsp honey to dough to balance flavors without compromising fermentation.
How do I prevent garlic from burning during baking?
Incorporate garlic during final proofing stage, not initial mix. The American Institute of Baking recommends folding roasted garlic paste gently into partially proofed dough. This positions garlic within the crumb rather than on surface. For visible cloves, press them into shaped loaf just before baking—this prevents direct exposure to intense oven heat.
Can I make this gluten-free?
Traditional sourdough requires gluten for structure. However, King Arthur Baking Company developed a modified approach using 70% brown rice flour, 30% tapioca starch, and xanthan gum. Fermentation time increases to 36 hours, and hydration drops to 70%. Results won't match wheat-based versions but provide acceptable texture with proper roasted garlic integration.
How much garlic should I use per loaf?
For balanced flavor without structural issues, use 60g (about 6 large cloves) roasted garlic per 500g flour recipe. The Bread Bakers Guild of America tested ratios from 30-100g and found 60g provides optimal flavor impact while maintaining proper dough strength. Exceeding 80g significantly weakens gluten development.


 浙公网安备
33010002000092号
浙公网安备
33010002000092号 浙B2-20120091-4