
Many home gardeners avoid growing celery, believing it's too difficult for beginners. But with the right approach, you can harvest crisp, flavorful stalks that far surpass store-bought varieties in both taste and nutritional value. This comprehensive guide walks you through every stage of celery cultivation, from seed selection to harvest, based on proven horticultural practices that ensure success even for first-time growers.
Celery isn't just a crunchy snack—it's a nutritional powerhouse packed with vitamins K and C, potassium, and antioxidants. Growing your own guarantees pesticide-free produce and lets you enjoy celery at its peak freshness, when flavor compounds are most vibrant. Whether you have a sprawling garden or just a sunny windowsill, this guide adapts techniques to your space constraints.
Planning Your Celery Growing Project
Before planting, understand celery's specific requirements. This cool-season crop thrives in temperatures between 60-70°F (15-21°C) and struggles in extreme heat. The USDA recommends growing celery in zones 2-10, but with proper timing and protection, it can succeed in most climates.
Celery Growing Timeline
- 10-12 weeks before last frost: Start seeds indoors
- Last frost date: Transplant seedlings outdoors
- 8-10 weeks after transplanting: Begin blanching process
- 130-140 days from seed: Harvest ready
Celery requires significant space—each plant needs 8-10 inches between plants and 18-24 inches between rows. If space is limited, consider container growing in pots at least 12 inches deep with adequate drainage.
Preparing for Planting Success
Soil preparation makes or breaks your celery crop. The Oregon State University Extension Service confirms celery needs consistently moist, fertile soil rich in organic matter. Amend your garden bed with 3-4 inches of compost and work it into the top 12 inches of soil.
| Soil Characteristic | Optimal Range | Testing Method |
|---|---|---|
| pH Level | 6.0-7.0 | Soil test kit |
| Organic Matter | 5% or higher | Visual assessment |
| Moisture Retention | Consistent | Feel test |
For seed selection, choose varieties suited to your climate:
- Golden Self-Blanching: Ideal for beginners, requires less blanching
- Utah: Heat-tolerant variety for warmer climates
- Red Venture: Adds color variety with deep red stalks
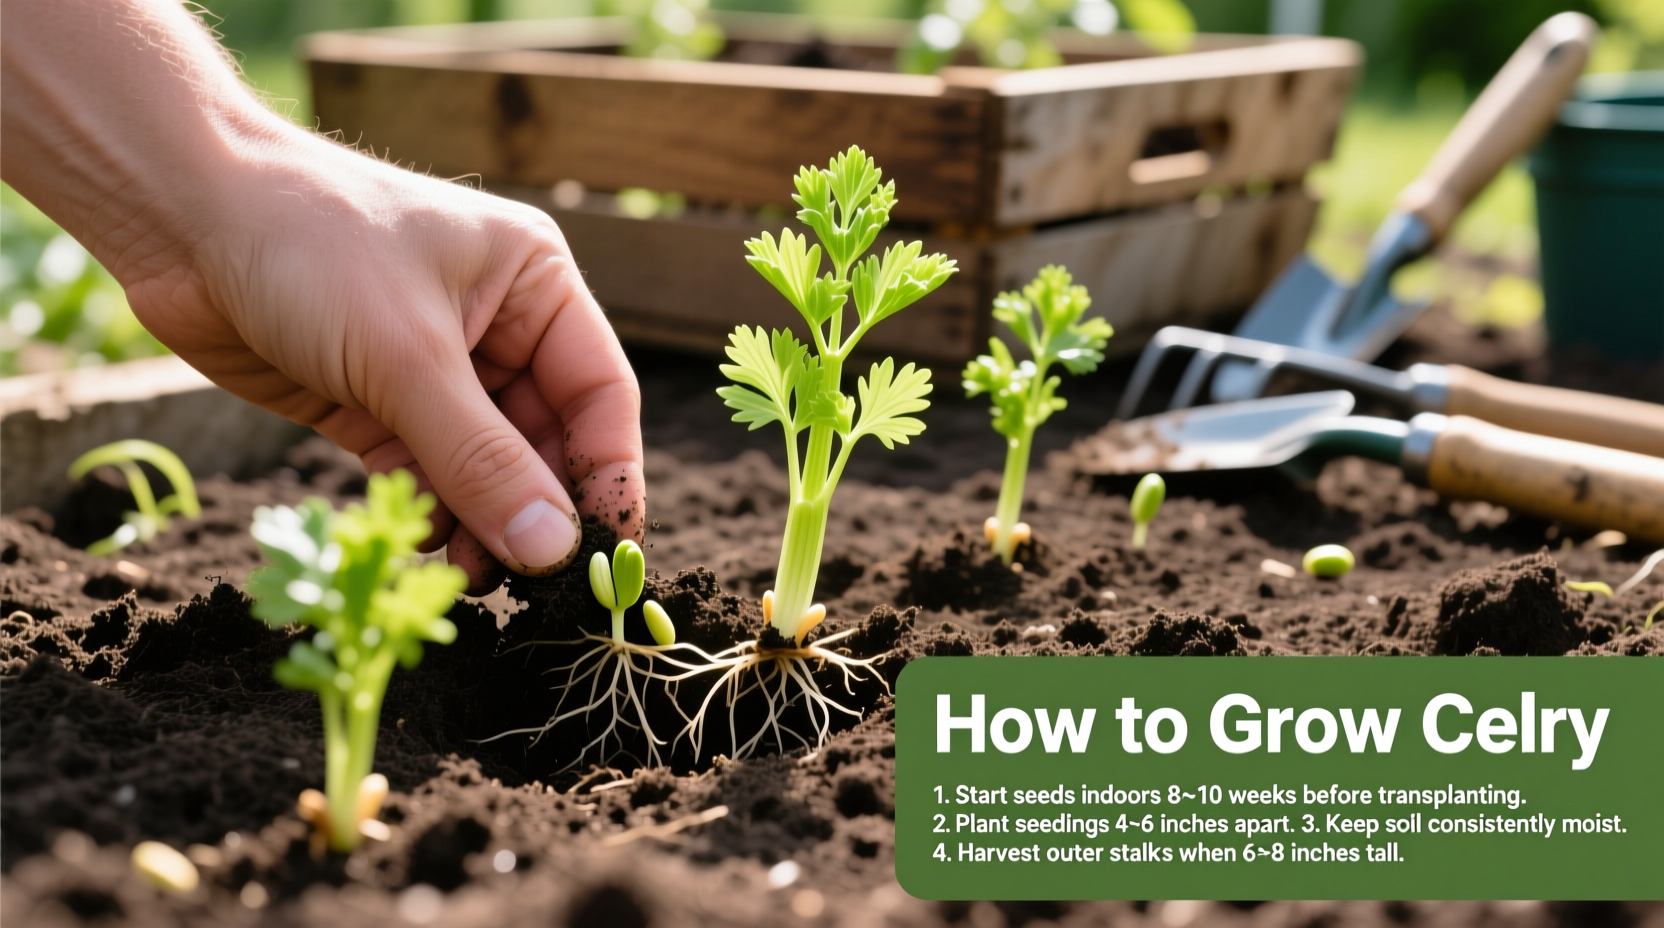
Planting Your Celery Seeds and Seedlings
Celery seeds are tiny and require specific conditions to germinate. Fill seed trays with seed-starting mix, sprinkle seeds on the surface (don't cover them), and mist with water. Maintain soil temperature at 70°F (21°C) using a heat mat. Germination typically takes 10-14 days.
Once seedlings develop their second set of true leaves, transplant them into individual 3-4 inch pots. The University of Minnesota Extension recommends hardening off plants gradually over 7-10 days before moving them outdoors. Start by placing them in a shaded area for 2 hours, gradually increasing sun exposure and time outdoors.
When transplanting to your garden:
- Dig holes slightly deeper than the root ball
- Space plants 8-10 inches apart in rows 18-24 inches apart
- Water thoroughly after planting
- Apply 2-3 inches of mulch to retain moisture
Caring for Your Growing Celery Plants
Consistent moisture is celery's most critical requirement. The crop needs 1-1.5 inches of water weekly, with no drying out between waterings. Drip irrigation works best to maintain steady soil moisture. During hot spells, you may need to water twice daily.
Fertilize every 3-4 weeks with a balanced organic fertilizer or compost tea. Celery is a heavy feeder, particularly needing nitrogen for stalk development and potassium for disease resistance.
Blanching for Tender Stalks
Blanching blocks sunlight from reaching the stalks, resulting in milder flavor and tender texture. Begin when plants reach 12 inches tall:
- Traditional method: Mound soil around stalks, leaving only top leaves exposed
- Container method: Place cardboard tubes or pots around individual plants
- Timing: Start 2-3 weeks before harvest
Monitor for common pests like aphids and leaf miners. The Oregon State University Extension recommends using row covers to prevent pest access and applying insecticidal soap for infestations.
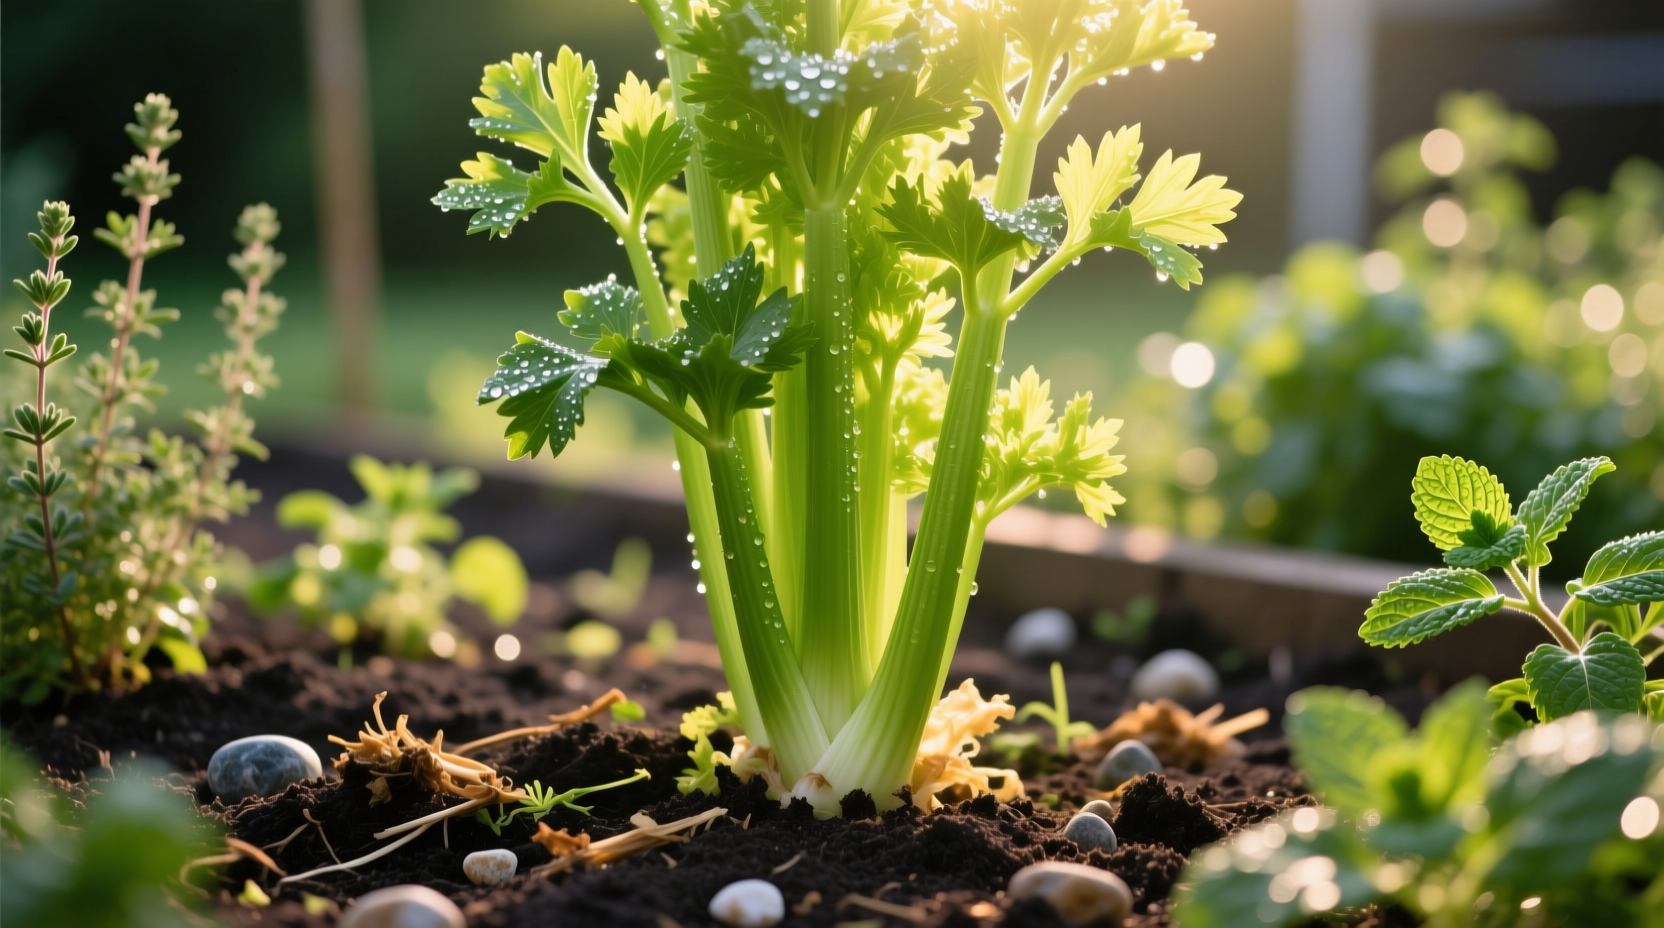
Harvesting and Storing Your Homegrown Celery
Harvest celery when stalks reach 8-10 inches tall and are about 1 inch thick at the base. The best time is early morning when stalks are most crisp. You have two harvesting options:
- Whole plant harvest: Cut the entire plant at soil level
- Outer stalk harvest: Remove only the outer stalks, allowing the plant to continue producing
For storage, wrap celery in aluminum foil and store in the refrigerator crisper drawer. Properly stored, homegrown celery lasts 3-4 weeks—significantly longer than store-bought celery. You can also freeze chopped celery for soups and stews.
Troubleshooting Common Growing Problems
Hollow stalks: Caused by inconsistent watering or nutrient deficiency. Maintain steady moisture and fertilize regularly.
Bitter flavor: Results from heat stress or insufficient water. Provide afternoon shade in hot climates and increase watering.
Leaf spot diseases: Improve air circulation, avoid overhead watering, and remove affected leaves promptly.


 浙公网安备
33010002000092号
浙公网安备
33010002000092号 浙B2-20120091-4