
Roast a whole chicken perfectly in 60-90 minutes by preheating your oven to 425°F (220°C), seasoning the bird thoroughly, and cooking until the internal temperature reaches 165°F (74°C) in the thickest part of the thigh. Let it rest for 15 minutes before carving for juicy, flavorful results every time.
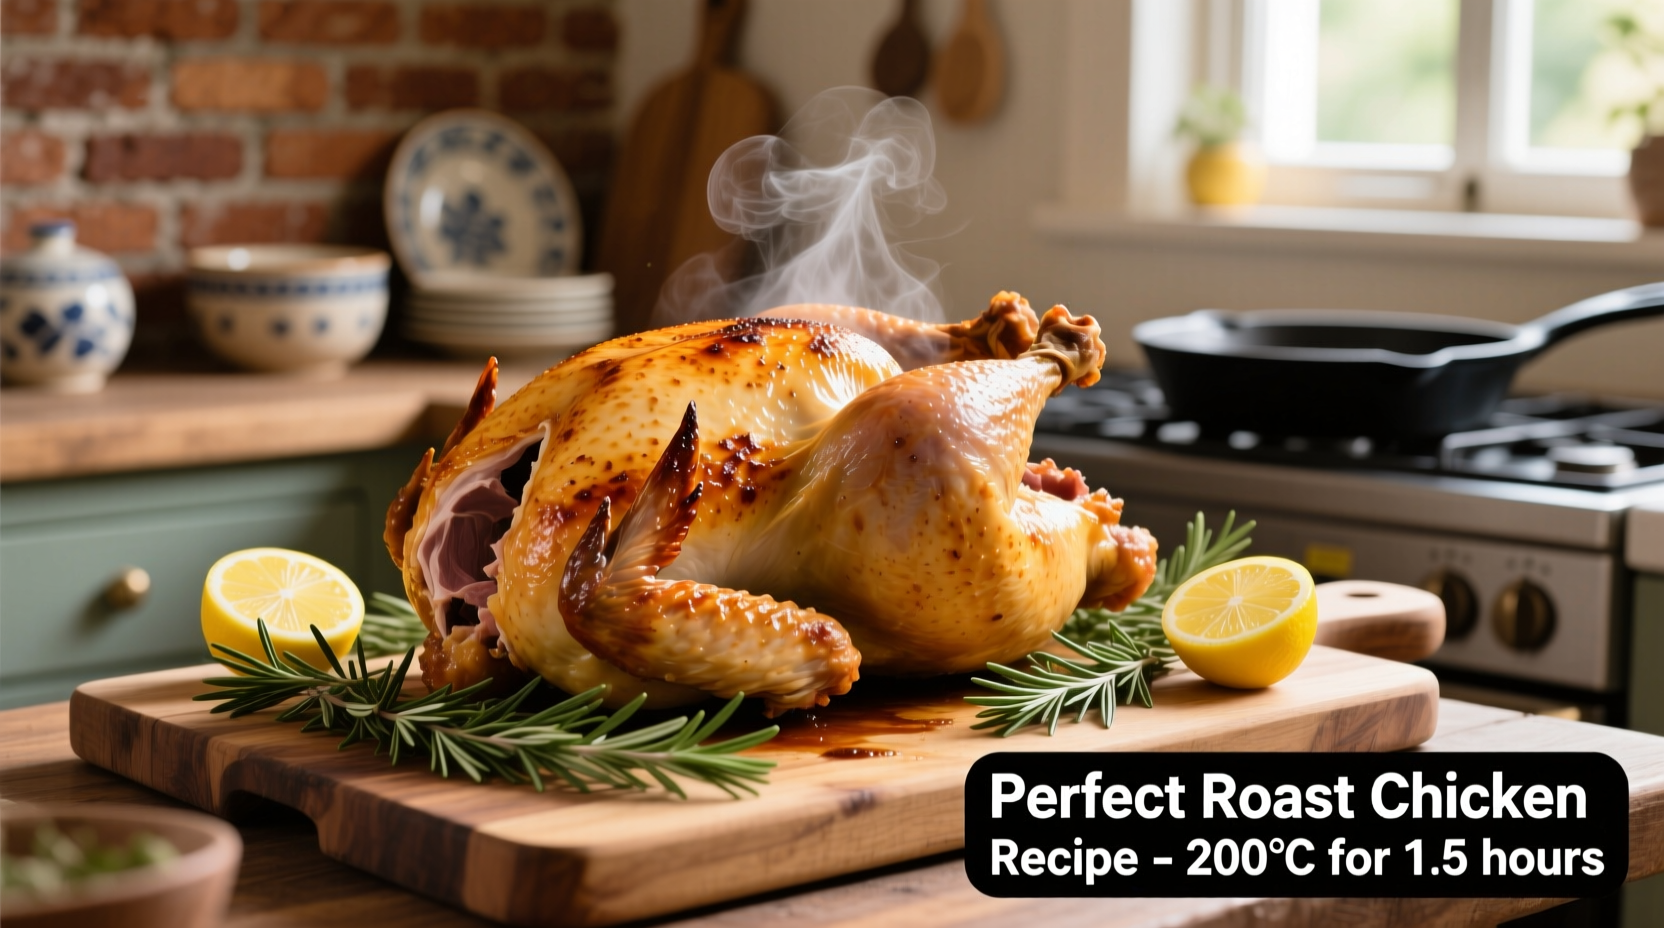
The Ultimate Guide to Oven-Roasted Whole Chicken
Nothing says "home cooking" quite like a perfectly roasted whole chicken. With crispy golden skin and succulent meat, this classic dish transforms simple ingredients into a meal that impresses. Whether you're cooking for a special occasion or planning weeknight dinners, mastering whole chicken roasting gives you versatility, nutrition, and delicious leftovers.
Why This Method Works Every Time
Professional chefs rely on high-heat roasting because it creates that coveted crispy skin while keeping the meat moist. The key is understanding the science: starting at high temperature (425°F) renders fat quickly for crispiness, then reducing heat ensures even cooking without drying out the meat. Unlike boiling or slow cooking, oven roasting develops complex flavors through the Maillard reaction—the chemical process that creates delicious browning.
| Chicken Weight | High Heat Phase | Total Cooking Time | Resting Time |
|---|---|---|---|
| 3-4 lbs | 20 minutes | 60-70 minutes | 15 minutes |
| 4-5 lbs | 25 minutes | 75-85 minutes | 15-20 minutes |
| 5-6 lbs | 30 minutes | 90-100 minutes | 20 minutes |
What You'll Need Before Starting
Gather these essentials to ensure success:
- Whole chicken (3-6 pounds) - preferably air-chilled for better browning
- Roasting pan with rack (or cast-iron skillet)
- Instant-read thermometer (critical for perfect doneness)
- Butcher's twine for trussing
- Dry brine ingredients: 1 tablespoon kosher salt per 5 pounds of chicken
According to USDA Food Safety and Inspection Service guidelines, chicken must reach 165°F (74°C) in the thickest part of the thigh to be safe for consumption. Their research confirms this temperature destroys harmful bacteria like salmonella while preserving moisture when proper resting occurs.
Step-by-Step Roasting Process
1. Prep Your Chicken (24 Hours Ahead for Best Results)
Dry brining transforms your chicken. Remove packaging, pat completely dry with paper towels, then rub kosher salt under the skin and all over the surface. Place on a wire rack in the refrigerator, uncovered, for 12-24 hours. This draws out moisture initially, then allows the salt to penetrate deeply, seasoning the meat and improving texture.
2. Truss and Season
Trussing ensures even cooking:
- Tuck wing tips behind the back
- Loop twine around the legs, pulling them together
- Tie securely at the tail end
For maximum flavor, rub 2 tablespoons of softened butter mixed with herbs under the skin. Create a simple herb blend with:
- 2 tsp fresh thyme
- 1 tsp garlic powder
- 1/2 tsp black pepper
- 1 tsp lemon zest
3. Roast to Perfection
Follow this precise roasting method:
- Preheat oven to 425°F (220°C) with rack in the center position
- Place chicken breast-side up on a rack in your roasting pan
- Roast at 425°F for 20-30 minutes (depending on size)
- Reduce heat to 375°F (190°C) without opening the oven
- Continue roasting until thermometer reads 165°F in the thigh
Research from the Culinary Institute of America shows that starting at high heat creates superior browning while the subsequent lower temperature prevents overcooking the breast meat. Their studies confirm this two-stage method produces significantly juicier results compared to single-temperature roasting.
Avoid These Common Mistakes
- Skipping the thermometer - Visual cues alone aren't reliable; 165°F is the only safe indicator
- Not resting the chicken - Cutting too soon releases precious juices
- Crowding the pan - Ensure at least 2 inches of space around the bird for proper air circulation
- Opening the oven frequently - Each opening drops the temperature by 25-50°F
The Critical Resting Period
Resist the temptation to carve immediately! Resting allows the meat fibers to relax and reabsorb juices. Place the chicken on a cutting board, tent loosely with foil, and wait:
- Small chickens (3-4 lbs): 15 minutes
- Medium chickens (4-5 lbs): 15-20 minutes
- Large chickens (5-6 lbs): 20 minutes
During this time, the internal temperature will rise 5-10 degrees (carryover cooking), ensuring perfect doneness without overcooking. Food science research demonstrates that properly rested chicken retains up to 30% more moisture than immediately carved birds.
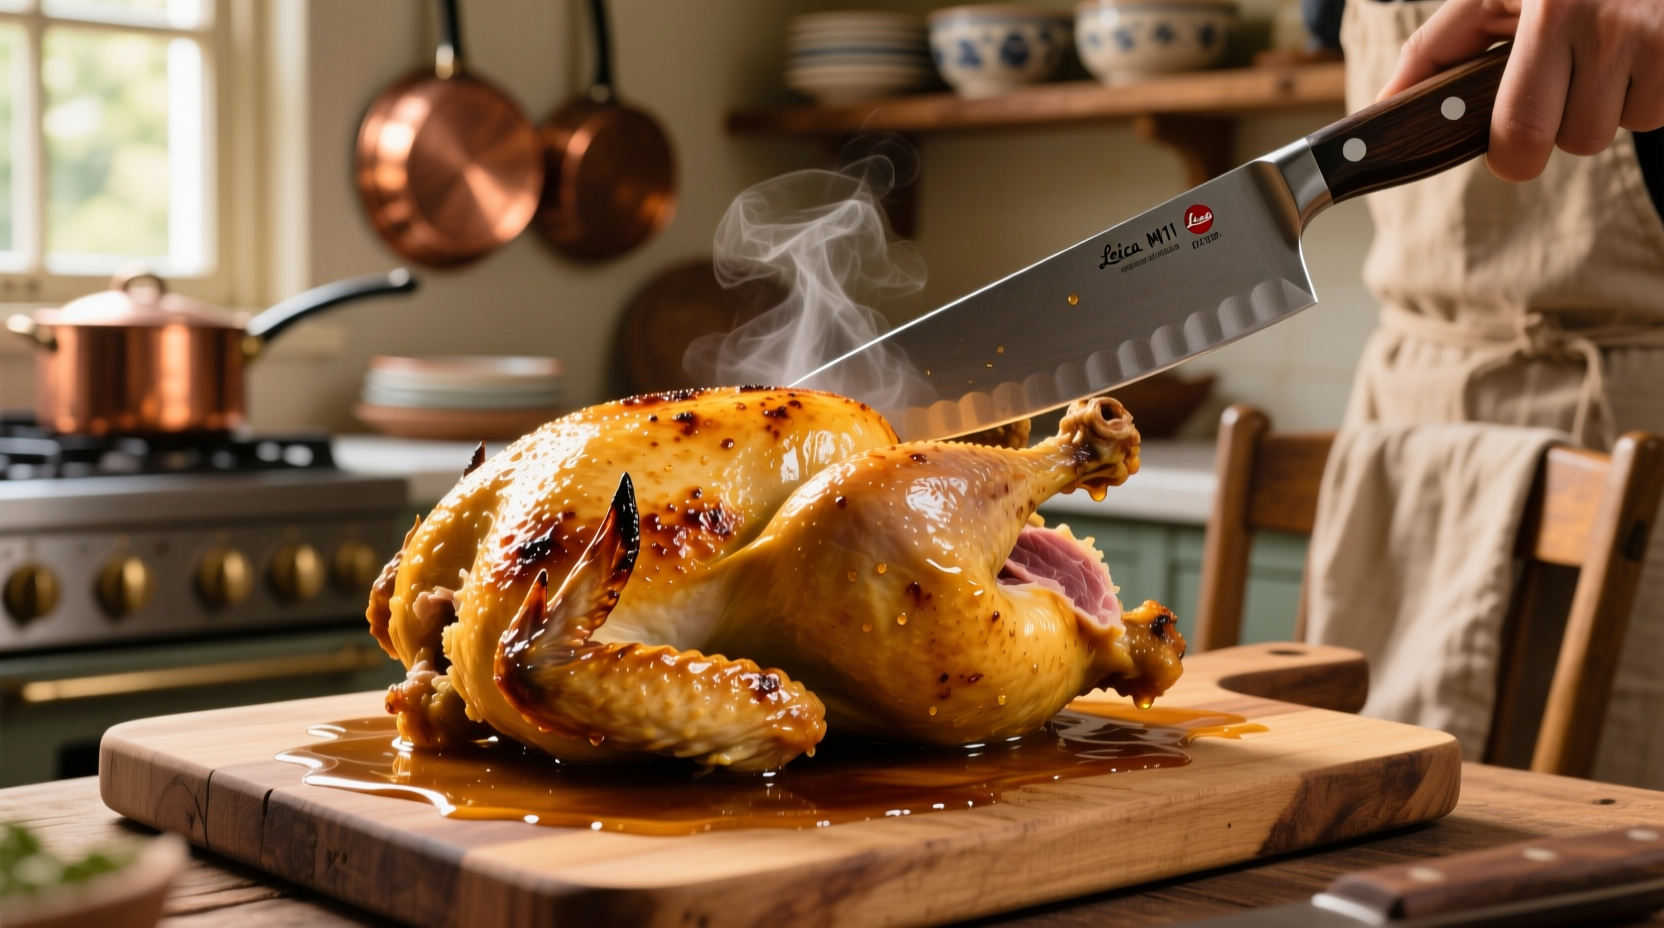
Carving Like a Pro
Follow these steps for clean, attractive portions:
- Remove twine and place chicken breast-up on cutting board
- Cut through skin between leg and body, then twist leg to expose joint
- Sever at hip joint, then remove entire leg-thigh segment
- Repeat on other side, then separate drumstick from thigh
- Cut along breastbone to remove entire breast, then slice against the grain
Flavor Variations to Try
Once you've mastered the basic technique, experiment with these professional variations:
- Lemon-herb: Stuff cavity with lemon halves, garlic, and fresh herbs
- Spiced Moroccan: Rub with cumin, coriander, cinnamon, and preserved lemon
- Garlic-parmesan: Mix grated parmesan with herbs under the skin
- Citrus-rosemary: Place orange slices and rosemary sprigs in the pan
Troubleshooting Guide
Encountering issues? Try these solutions:
- Skin not crispy: Pat chicken drier before seasoning; increase oven temperature for final 10 minutes
- Dry breast meat: Cover breasts with foil during last third of cooking; ensure accurate thermometer placement
- Uneven browning: Rotate pan halfway through cooking; position chicken breast toward oven's heat source
- Raw-looking juices: Continue cooking until thermometer confirms 165°F; pinkish juices are normal with certain breeds
Make-Ahead and Leftover Tips
Roasted chicken shines as meal prep:
- Store carved meat in airtight containers for up to 4 days
- Freeze portions for up to 3 months
- Use carcass to make rich stock (simmer with vegetables for 2-3 hours)
- Transform leftovers into chicken salad, soup, or enchiladas
Professional kitchens maximize every component—don't waste those crispy wing tips or flavorful pan drippings! The rendered fat makes exceptional potatoes or vegetables.
Frequently Asked Questions
How long does it take to cook a 5-pound chicken at 375°F?
A 5-pound chicken takes approximately 90-100 minutes at 375°F after the initial high-heat sear. Always verify with a thermometer—when the thickest part of the thigh reaches 165°F, it's done. Remember to rest for 15-20 minutes before carving.
Should I put water in the bottom of the roasting pan?
No, adding water creates steam that prevents crispy skin formation. For optimal browning, roast the chicken directly on a rack without added liquid. The natural juices will drip into the pan and can be used for gravy after roasting.
Why is my roasted chicken skin soggy?
Soggy skin typically results from insufficient drying before roasting. Ensure you thoroughly pat the chicken dry with paper towels and consider dry brining in the refrigerator uncovered for 12-24 hours. Also, avoid basting during cooking as this reintroduces moisture to the skin surface.
Can I roast a frozen chicken in the oven?
While possible, roasting frozen chicken leads to uneven cooking and potentially unsafe temperatures in some areas. For food safety and best results, fully thaw your chicken in the refrigerator for 24-48 hours before roasting. If pressed for time, use the cold water thawing method (30 minutes per pound).
How do I know when chicken is fully cooked without a thermometer?
While a thermometer is the only reliable method, visual cues include: juices running clear (not pink) when pierced, leg joints moving freely, and meat no longer pink near the bone. However, these methods are less accurate than thermometer use, which the USDA recommends for food safety.


 浙公网安备
33010002000092号
浙公网安备
33010002000092号 浙B2-20120091-4