
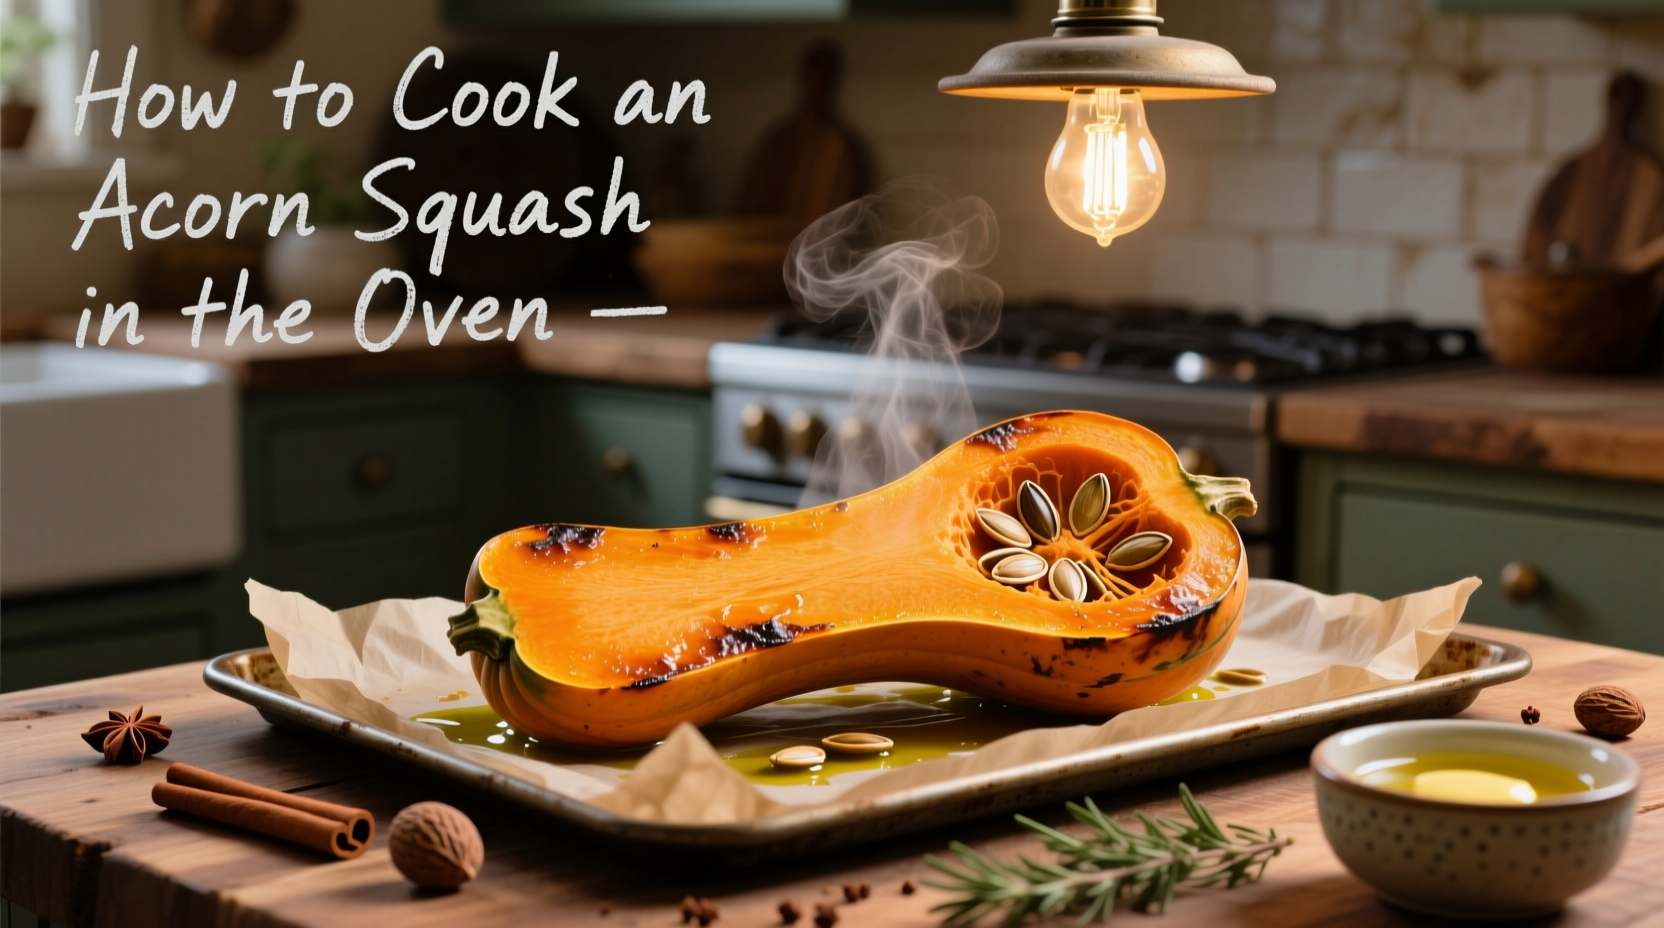
Roasting acorn squash in the oven delivers perfectly tender flesh with caramelized edges in just 45-60 minutes at 400°F. This foolproof method requires only 3 essential tools, produces minimal cleanup, and creates naturally sweet, nutty results that pair beautifully with savory seasonings or sweet toppings.
Why Oven-Roasting Beats Other Methods
While microwaving offers speed, oven-roasting develops complex flavors through the Maillard reaction that transforms acorn squash's natural sugars. According to the USDA Food Safety and Inspection Service, roasting vegetables at 400°F ensures proper caramelization while maintaining nutritional integrity better than boiling, which leaches water-soluble vitamins.
Your Essential Toolkit
Before starting, gather these three non-negotiable items:
- Sharp chef's knife (8-10 inches) - Acorn squash has tough skin requiring proper cutting technique
- Sturdy cutting board - Place a damp towel underneath for stability
- Heavy-duty baking sheet - Thin sheets warp under high heat, causing uneven cooking
Step-by-Step Roasting Process
Preparation Timeline (5 minutes)
| Time | Action | Visual Cue |
|---|---|---|
| 0:00 | Wash and dry squash thoroughly | No visible dirt on skin |
| 1:00 | Cut vertically from stem to base using rocking motion | Knife penetrates center seam |
| 3:00 | Scoop seeds with sturdy spoon | Cavity clean to orange flesh |
| 5:00 | Brush cut surfaces with oil | Even sheen without pooling |
The Critical First Cut
Safety first: Place the squash vertically on your board. Make a small starter incision at the stem end, then use a rocking motion with firm downward pressure. Never force the knife - let the blade do the work. According to the CDC National Electronic Injury Surveillance System, improper vegetable cutting causes over 40,000 kitchen injuries annually.
Perfect Roasting Conditions
Preheat your oven to 400°F (204°C) with rack in the center position. Line your baking sheet with parchment paper for effortless cleanup. Place squash halves cut-side down on the sheet - this steam-roasting method prevents drying while concentrating flavors.
Roast for 45-60 minutes depending on squash size:
- Small squash (1-1.5 lbs): 45 minutes
- Medium squash (1.5-2 lbs): 50-55 minutes
- Large squash (2+ lbs): 60 minutes
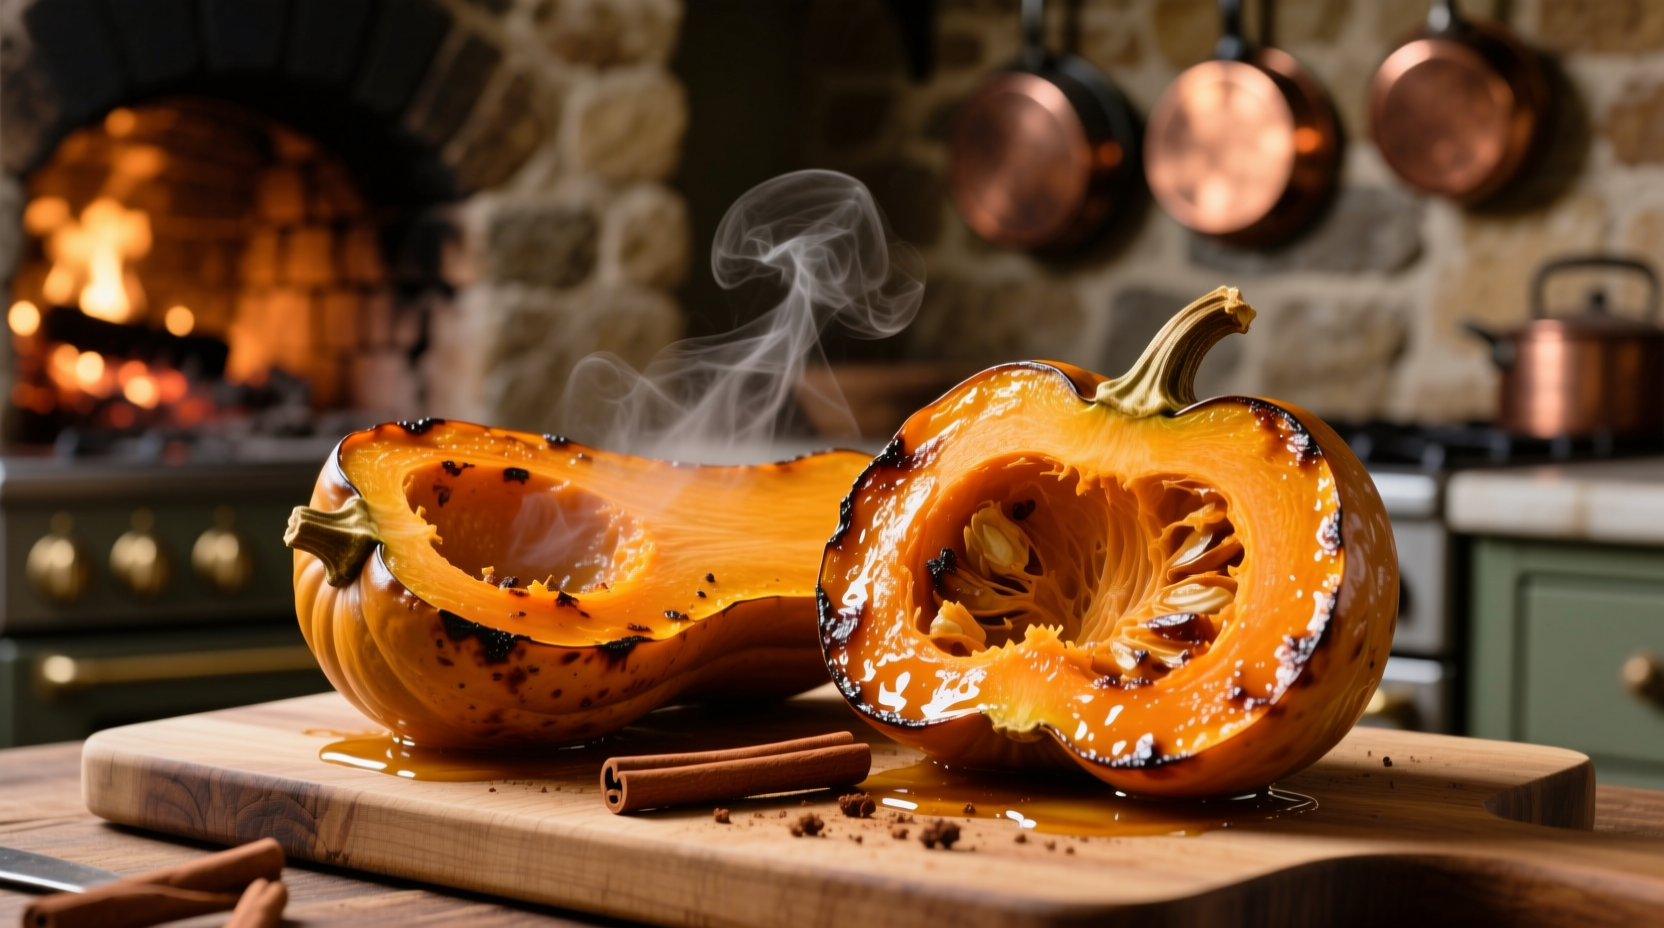
Doneness indicators: Skin appears slightly shrunken, fork inserts easily into flesh, and caramelized edges develop at the cut surface.
Flavor Enhancement Options
Elevate your roasted squash with these chef-tested combinations. The American Culinary Federation recommends applying seasonings during the last 15 minutes of cooking for optimal flavor absorption:
| Flavor Profile | Seasoning Combination | Application Timing |
|---|---|---|
| Savory Herb | 2 tbsp olive oil + 1 tsp thyme + ¼ tsp garlic powder | Last 15 minutes |
| Sweet & Spiced | 1 tbsp maple syrup + ¼ tsp cinnamon + pinch of cayenne | Last 10 minutes |
| Umami Boost | 1 tbsp soy sauce + 1 tsp sesame oil + toasted pumpkin seeds | After roasting |
Serving & Storage Guidelines
Let roasted squash rest 5 minutes before serving. Scoop flesh directly from the skin using a spoon - the tender texture separates easily. For meal prep, store cooled squash in airtight containers for up to 4 days. Reheat in a 350°F oven for 10-15 minutes to maintain texture (microwaving makes squash rubbery).
When This Method Works Best
Oven-roasting excels for:
- Whole squash preparation (halves or quarters)
- Developing complex caramelized flavors
- Meal prep requiring multiple servings
Consider alternative methods when:
- You need squash in under 15 minutes (try microwave)
- Creating purees (steaming preserves more moisture)
- Working with limited oven space (air fryer works well)
Pro Tips for Consistent Results
- Choose uniform squash - Select specimens with similar size for even cooking
- Pat dry before roasting - Moisture creates steam that prevents proper browning
- Rotate the pan - Ovens have hot spots; rotate sheet 180° at the halfway mark
- Test doneness properly - Insert fork near the stem end, which takes longest to cook
Frequently Asked Questions
Can I roast acorn squash with the skin on?
Yes, but you'll need to increase cooking time by 10-15 minutes. The skin becomes edible when fully roasted, though most prefer to scoop out the tender flesh. For skin-on roasting, pierce the skin in several places with a fork before cooking to prevent bursting.
Why is my roasted acorn squash watery?
Excess moisture typically occurs when squash is cut-side up during roasting. Always place cut-side down to allow natural sugars to caramelize rather than steam. Also ensure your oven has fully preheated - roasting in a cold oven creates steam that prevents proper browning.
How do I prevent acorn squash from sticking to the pan?
Use parchment paper instead of foil for reliable non-stick results. If using foil, generously coat with high-heat oil (avocado or grapeseed). Never use non-stick spray directly on hot pans - the propellants can create a sticky residue that worsens adhesion.
What internal temperature indicates perfectly cooked acorn squash?
Acorn squash reaches ideal tenderness at 205-210°F internally. Use an instant-read thermometer inserted into the thickest part near the stem. Below 195°F indicates undercooking, while above 215°F risks mushy texture. The fork-tender test remains the most reliable method for home cooks without thermometers.
Can I freeze roasted acorn squash?
Yes, freeze cooled squash in airtight containers for up to 3 months. For best results, freeze in portion-sized containers with 1/2 inch headspace. Thaw overnight in the refrigerator before reheating. Note that texture becomes slightly softer after freezing, making thawed squash ideal for soups or purees rather than standalone side dishes.


 浙公网安备
33010002000092号
浙公网安备
33010002000092号 浙B2-20120091-4