
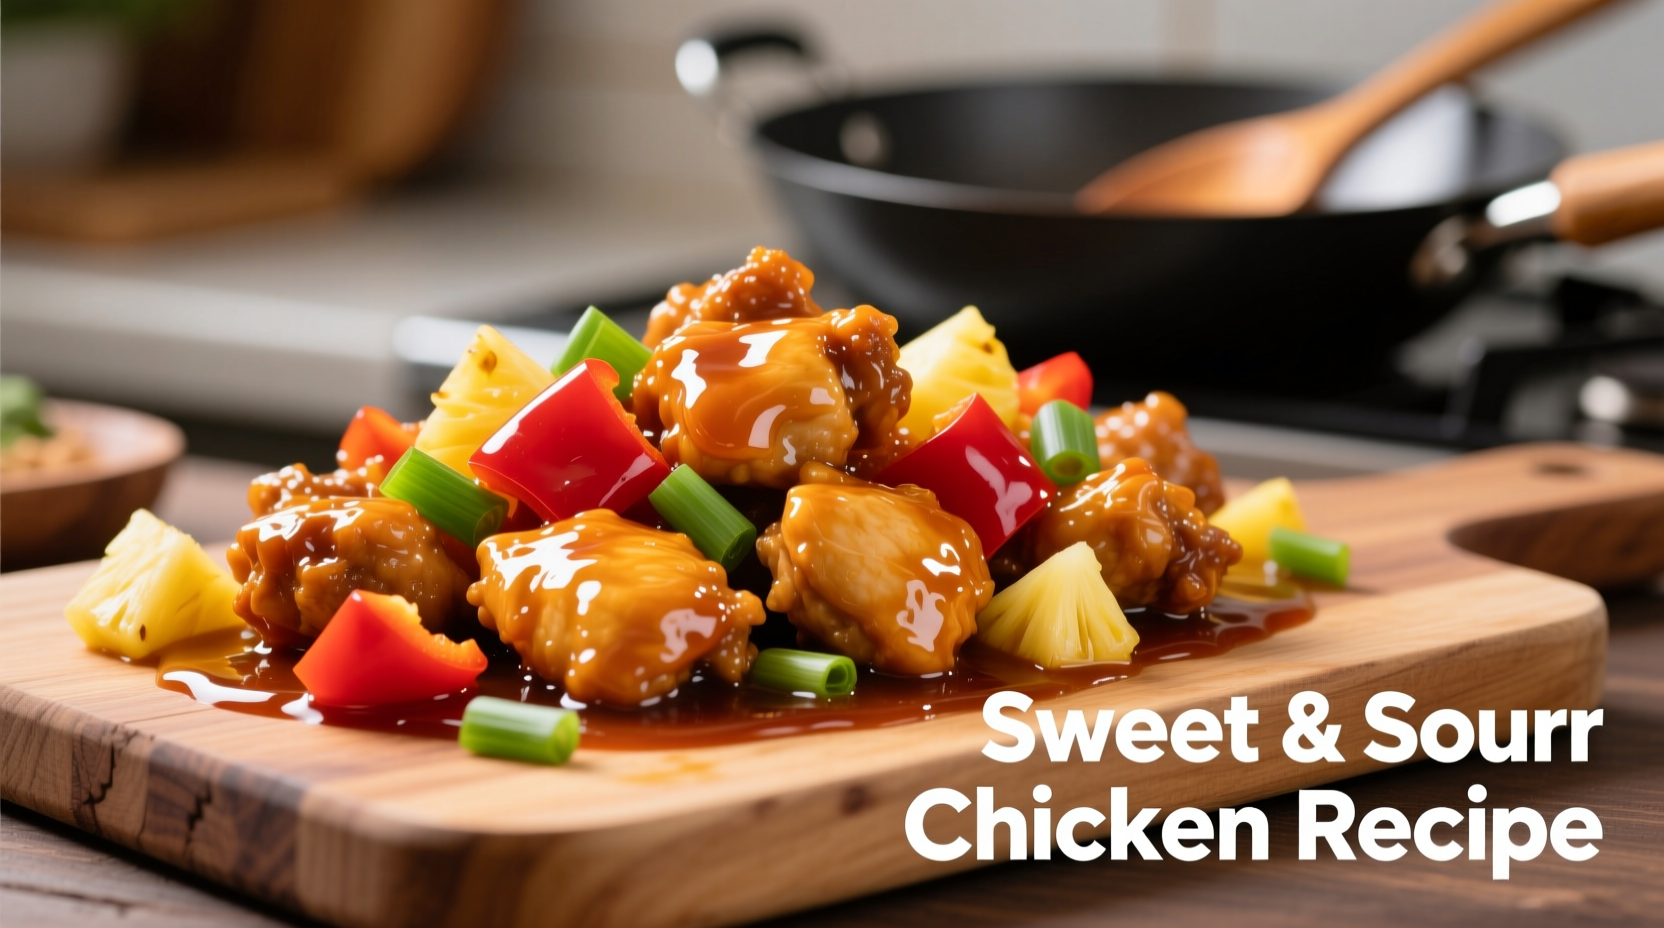
The Essential Sweet and Sour Chicken Blueprint
If you've ever wondered how to cook sweet and sour chicken that rivals your favorite restaurant, you're about to discover the exact method chefs use. This Cantonese-American classic combines crispy fried chicken with a glossy, perfectly balanced sauce that's neither too sweet nor too tart. The key lies in understanding the sauce chemistry and proper chicken preparation technique.
Why This Sweet and Sour Chicken Recipe Works
Unlike many simplified versions, this recipe respects the culinary principles behind authentic sweet and sour preparation while adapting for home kitchen success. The magic happens through three critical elements:
- Double-frying technique for ultra-crispy chicken that stays crunchy even when coated in sauce
- Three-stage sauce development that builds complex flavor layers rather than just mixing pre-made ingredients
- Temperature control that prevents sauce from becoming gluey or separating
Sweet and Sour Chicken: Historical Evolution Timeline
Sweet and sour flavor profiles have existed in Chinese cuisine for centuries, but the chicken version we know today has a fascinating evolution:
| Time Period | Development | Key Changes |
|---|---|---|
| Tang Dynasty (618-907) | Early sweet-sour sauces | Vinegar and honey combinations for fish dishes |
| Ming Dynasty (1368-1644) | Sweet and sour pork (Gu Lao Rou) | Rice vinegar, sugar, and pickled vegetables |
| 19th Century | Chinese immigration to North America | Adaptation to local ingredients and Western palates |
| 1930s-1940s | First recorded sweet and sour chicken | Created in American Chinese restaurants using available ingredients |
| 1970s-Present | Global popularity | Regional variations developed worldwide while maintaining core flavor profile |
Perfect Sweet and Sour Chicken: Quick Reference Guide
- Prep time: 25 minutes
- Cook time: 15 minutes
- Total time: 40 minutes
- Difficulty: Intermediate
- Servings: 4
- Optimal sauce ratio: 3 parts sweet to 2 parts sour
Authentic Ingredients Breakdown
The difference between mediocre and exceptional sweet and sour chicken lies in ingredient selection and preparation. Here's what you need and why each matters:
For the Chicken
- 1.5 lbs boneless, skinless chicken thighs (not breasts) - Thighs stay juicier during frying and have better flavor absorption
- 1 egg white - Creates a lighter, crispier batter than whole eggs
- 2 tbsp cornstarch - Essential for the signature crispy texture that holds up to sauce
- 1 tbsp Shaoxing wine - Adds depth and removes any gamey flavors (substitute dry sherry if unavailable)
For the Sweet and Sour Sauce
- 1/2 cup rice vinegar - Provides clean, bright acidity (white vinegar creates harsher flavor)
- 1/3 cup granulated sugar - Dissolves better than brown sugar for glossy finish
- 3 tbsp ketchup - Adds tomato depth and natural sweetness (not just for color)
- 2 tbsp pineapple juice - Natural tenderizer and flavor enhancer
- 1 tbsp soy sauce - Balances sweetness with umami (use light soy sauce, not dark)
- 1 red bell pepper and 1 green bell pepper - Cut into uniform 1-inch pieces for even cooking
- 1 small onion - Yellow onions provide the best flavor foundation
- 1/2 cup fresh pineapple chunks - Canned works but fresh provides brighter flavor
Equipment Essentials for Success
Having the right tools makes all the difference when learning how to cook sweet and sour chicken properly:
- Carbon steel or cast iron wok - Retains heat better than non-stick for proper searing
- Candy/deep-fry thermometer - Critical for maintaining oil at 350°F (175°C)
- Slotted spoon with wide surface area - For efficient sauce thickening
- Mandoline slicer - Ensures uniform vegetable cuts for even cooking
Step-by-Step Cooking Process
Step 1: Prepare the Chicken (The Crispiness Secret)
- Cut chicken into 1.5-inch cubes, removing any visible fat
- In a bowl, combine chicken with egg white, cornstarch, Shaoxing wine, and 1/2 tsp salt
- Refrigerate for 20 minutes - this crucial step allows the cornstarch to bind properly
Step 2: Create the Perfect Sweet and Sour Sauce Base
- In a small bowl, whisk together rice vinegar, sugar, ketchup, pineapple juice, and soy sauce until sugar fully dissolves
- Prepare a slurry with 2 tbsp cornstarch and 3 tbsp cold water - this will thicken the sauce without lumps
Step 3: Double-Fry Technique for Maximum Crispiness
- Heat 2 inches of vegetable oil to 325°F (163°C) in your wok or deep skillet
- Fry chicken in batches for 3-4 minutes until lightly golden (first fry)
- Remove and drain on wire rack, then increase oil temperature to 375°F (190°C)
- Refry chicken for 60-90 seconds until deeply golden and super crispy (second fry)
- Drain thoroughly - excess oil is the enemy of good sweet and sour chicken
Step 4: Wok-Fried Vegetables and Sauce Development
- Drain all but 1 tbsp oil from wok, heat over high flame
- Add onions and bell peppers, stir-fry for 90 seconds until slightly tender but still crisp
- Add pineapple chunks and cook 30 seconds more
- Pour in sauce mixture and bring to vigorous boil
- Stir slurry and gradually add to sauce while stirring constantly
- Cook 1-2 minutes until sauce thickens to glossy, coat-the-back-of-a-spoon consistency
Step 5: The Final Toss (Where Most Home Cooks Fail)
- Remove wok from heat completely - this prevents overcooking the sauce
- Add crispy chicken to sauce and gently fold together for 20-30 seconds
- The residual heat will coat the chicken without making it soggy
- Serve immediately over steamed jasmine rice
Pro Tips for Authentic Flavor
Based on decades of Chinese culinary tradition, these professional techniques will elevate your how to cook sweet and sour chicken results:
- Sauce temperature control - Never let your sauce boil after adding the cornstarch slurry, as this breaks down the starch molecules and creates a thin, watery sauce
- Chicken resting time - Allow fried chicken to rest for 5 minutes before adding to sauce; this lets the crust stabilize
- Acid balance test - Dip a spoon in your sauce and let it cool slightly; it should taste slightly too sour before adding to chicken (the chicken will mellow it perfectly)
- Wok hei (breath of the wok) - Achieved by cooking over extremely high heat with constant motion, creating that distinctive restaurant flavor
Common Mistakes to Avoid
Even experienced home cooks make these critical errors when attempting how to cook sweet and sour chicken:
- Using chicken breast instead of thighs - Breast dries out during frying and lacks the fat content needed to carry flavors
- Skipping the double-fry technique - Single-fried chicken becomes soggy immediately when coated in sauce
- Adding chicken to boiling sauce - This is the #1 reason for soggy sweet and sour chicken
- Overcooking vegetables - They should retain crispness for textural contrast
- Using bottled sweet and sour sauce - These contain preservatives that prevent proper thickening and flavor development
Food Safety Considerations for Poultry
According to the USDA Food Safety and Inspection Service, chicken must reach an internal temperature of 165°F (73.8°C) to be safe for consumption. When double-frying, the initial fry brings the chicken close to this temperature, and the second fry ensures it reaches food-safe levels while creating the perfect crispy exterior. Always use a reliable instant-read thermometer to verify doneness, especially when adapting recipes. Proper handling and cooking temperatures prevent foodborne illness while maintaining optimal texture.
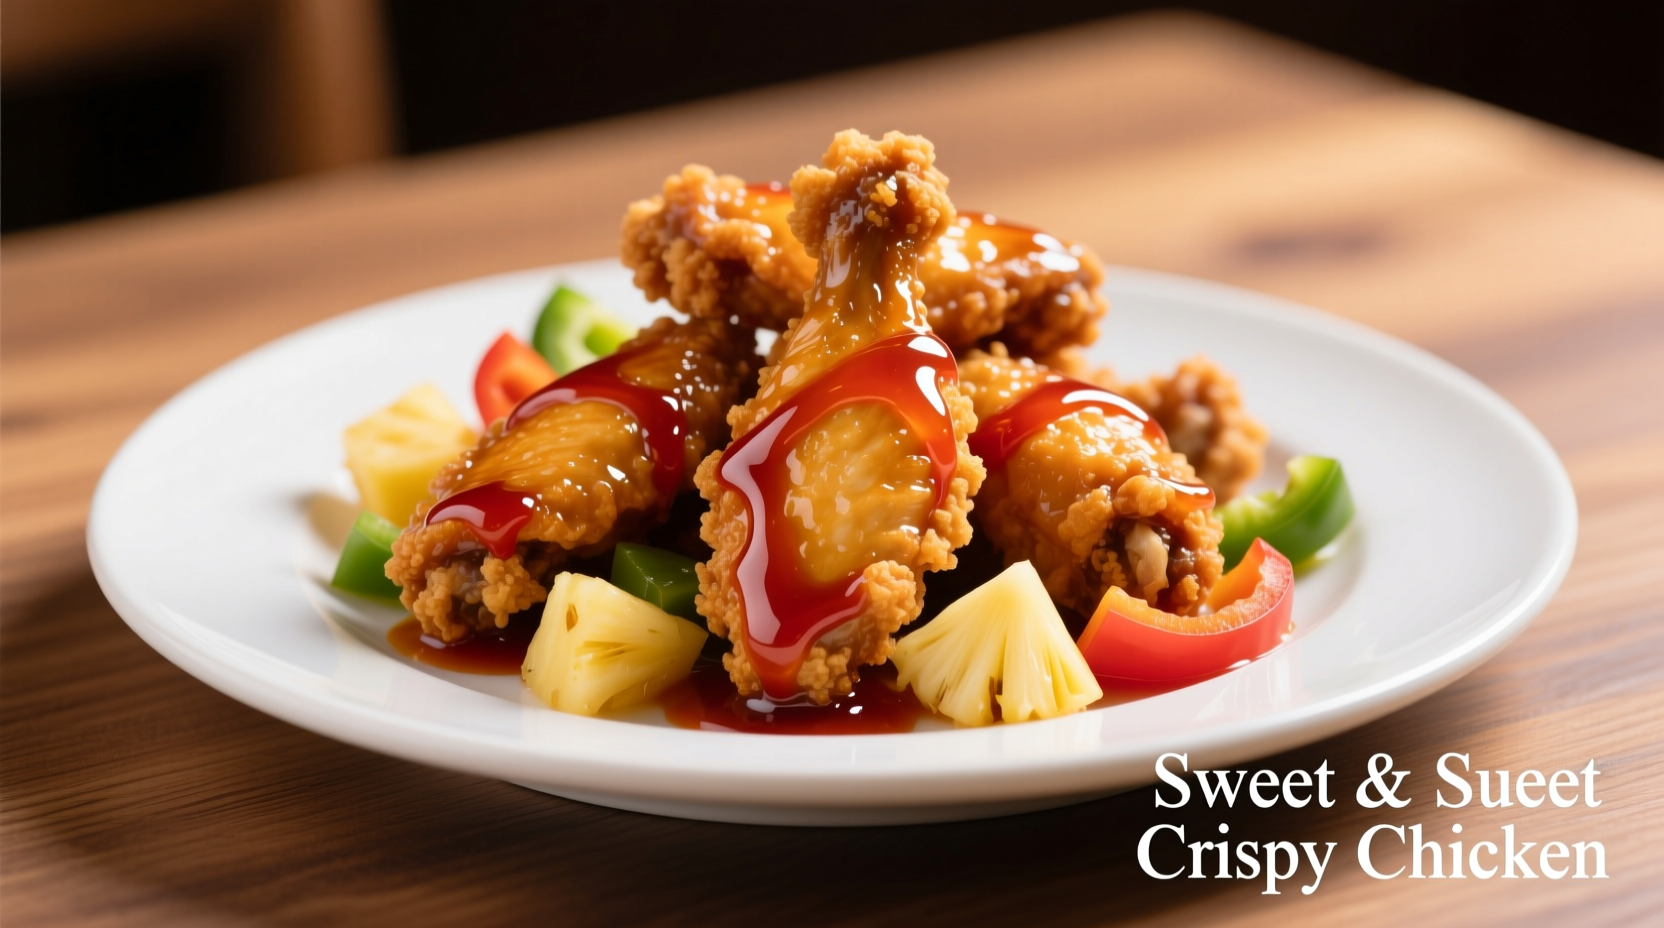
Serving Suggestions and Pairings
Serve your perfectly prepared sweet and sour chicken immediately for best results. Traditional pairings include:
- Steamed jasmine rice (never cold rice - it should be freshly cooked)
- Simple stir-fried bok choy with garlic
- Cucumber salad with rice vinegar dressing
- Light Chinese tea like jasmine or dragon well
Storage and Reheating Instructions
Sweet and sour chicken is best enjoyed fresh, but leftovers can be stored properly:
- Store chicken and sauce separately in airtight containers
- Refrigerate for up to 2 days (sauce may thicken when cold - add 1 tsp water when reheating)
- To reheat: Place chicken on wire rack over baking sheet and warm in 375°F (190°C) oven for 8-10 minutes
- Reheat sauce separately in small saucepan over medium-low heat
- Combine only when ready to serve to maintain crispiness
Authentic vs. Americanized Sweet and Sour Chicken Comparison
Understanding these differences helps you decide which version to prepare based on your preferences:
| Characteristic | Authentic Version | Americanized Version |
|---|---|---|
| Sweet-sour ratio | 3:2 (more balanced) | 4:1 (much sweeter) |
| Chicken preparation | Light cornstarch coating | Thick batter (like orange chicken) |
| Sauce texture | Glossy but not overly thick | Very thick, almost gelatinous |
| Vegetable content | Minimal (onion, bell pepper) | Abundant (pineapple, peppers, onions) |
| Serving style | With rice, part of multi-dish meal | As standalone entree |
Frequently Asked Questions
Can I make sweet and sour chicken without deep frying?
Yes, but with texture trade-offs. For baked version: coat chicken in egg white and cornstarch mixture, place on greased wire rack over baking sheet, and bake at 425°F (220°C) for 18-20 minutes, flipping halfway. The texture won't be as crispy as deep-fried, but it's a healthier alternative. Finish by tossing with sauce off-heat as usual.
Why does my sweet and sour sauce become watery after I add the chicken?
This happens when the sauce isn't properly thickened before adding chicken or when chicken is still too hot. Ensure your sauce has reached a full boil and thickened to coat the back of a spoon before removing from heat. Let fried chicken rest 5 minutes to cool slightly before tossing with sauce. The residual heat should be enough to coat without breaking the sauce.
What's the secret to getting restaurant-quality glossy sauce?
The glossy finish comes from proper cornstarch slurry technique and temperature control. Use cold water with cornstarch, whisk thoroughly, and add to vigorously boiling sauce while stirring constantly. Immediately reduce heat after thickening - prolonged boiling breaks down the starch. For extra shine, finish with 1/2 tsp sesame oil stirred in off-heat.
Can I substitute rice vinegar with apple cider vinegar?
Yes, but with flavor adjustments. Apple cider vinegar has a fruitier profile that works well in sweet and sour sauce. Use 3/4 the amount of cider vinegar and increase sugar by 10% to balance the stronger acidity. White wine vinegar is another acceptable substitute, but avoid distilled white vinegar as it creates a harsh flavor.
How can I make sweet and sour chicken gluten-free?
For gluten-free version: replace soy sauce with tamari or coconut aminos, ensure cornstarch is certified gluten-free (some brands process in facilities with wheat), and verify your Shaoxing wine is gluten-free (many Chinese cooking wines contain wheat). The batter and sauce thickeners will still work perfectly with these substitutions.


 浙公网安备
33010002000092号
浙公网安备
33010002000092号 浙B2-20120091-4