

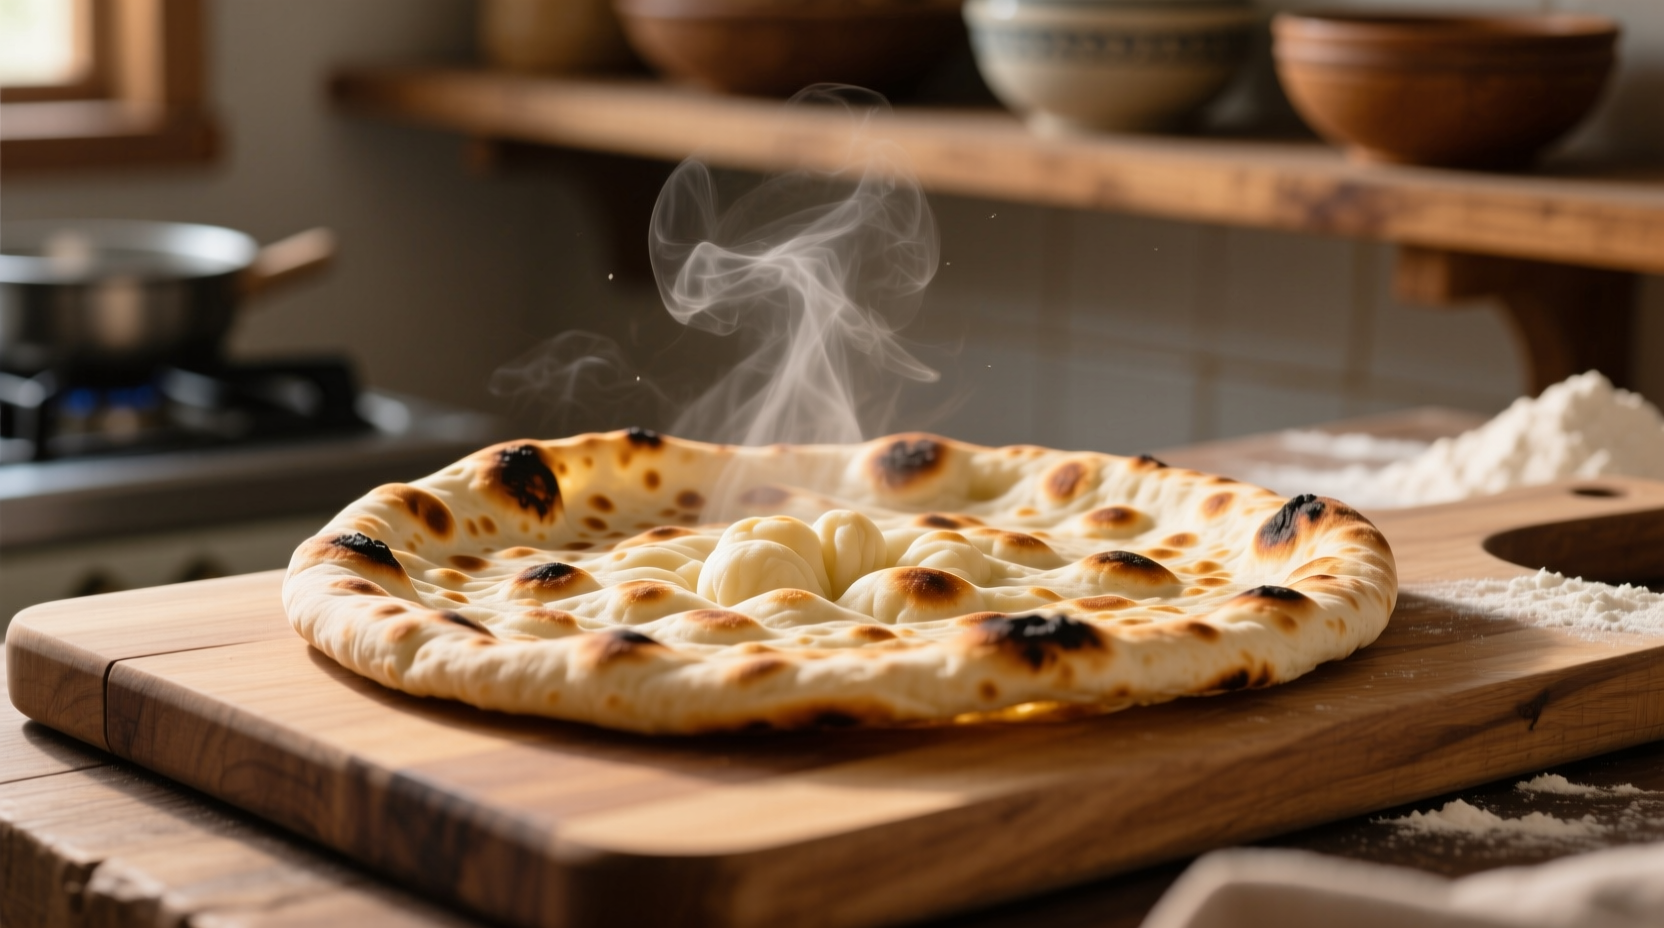
Learn how to cook flatbread with this simple 5-ingredient recipe that yields soft, pliable flatbread in under 30 minutes. Follow our step-by-step instructions for perfect results every time, whether you're using a stovetop, oven, or grill.
Mastering homemade flatbread unlocks a world of culinary possibilities from naan to pita, tortillas to lavash. This versatile staple has nourished civilizations for millennia, with archaeological evidence showing flatbread production dating back to 14,400 years ago in Jordan's Black Desert region according to research published in Nature journal. Today, we've refined ancient techniques into an accessible process that transforms basic pantry staples into something extraordinary.
Essential Ingredients and Equipment
Before you start cooking flatbread, gather these six simple ingredients and tools. The beauty of this recipe lies in its flexibility—most components can be substituted based on what's available in your kitchen.
| Essential Items | Alternatives | Pro Tips |
|---|---|---|
| All-purpose flour (2 cups) | Whole wheat, bread flour, or gluten-free blend | Measure by spooning flour into cup then leveling |
| Warm water (3/4 cup) | Milk or buttermilk for richer flavor | 110°F (43°C) is ideal for yeast activation |
| Active dry yeast (2 tsp) | Baking powder (1 tbsp) for yeast-free version | Test yeast in warm water with pinch of sugar |
| Olive oil (2 tbsp) | Ghee, vegetable oil, or melted butter | Reserve some for brushing finished bread |
Step-by-Step Flatbread Preparation
Mixing the Dough
Dissolve yeast in warm water with 1 teaspoon sugar and let sit for 5-10 minutes until foamy. In a large bowl, combine 2 cups flour and 1 teaspoon salt. Create a well in the center and pour in the yeast mixture plus 2 tablespoons olive oil. Stir with a wooden spoon until a shaggy dough forms.
Critical visual cue: The dough should pull away from the bowl sides but remain slightly sticky. If too dry, add water 1 tablespoon at a time; if too wet, add flour sparingly. Proper hydration creates that desirable chewy-yet-tender texture characteristic of professional flatbread.
Kneading Technique
Turn dough onto lightly floured surface and knead for 8-10 minutes until smooth and elastic. Professional bakers use the "windowpane test" to check gluten development—stretch a small piece of dough; if you can see light through it without tearing, your gluten is properly developed. This step is crucial for achieving that perfect pliable yet sturdy flatbread structure.
Resting Period
Place dough in oiled bowl, cover with damp cloth, and let rest in warm spot for 15-20 minutes. Unlike yeast breads requiring hours of rising, flatbread benefits from a shorter rest that relaxes gluten without excessive fermentation. This sweet spot in resting time explains why many traditional cultures prepare flatbread fresh for each meal rather than storing it.
Cooking Methods Compared
Flatbread's versatility shines through various cooking techniques, each yielding distinctive textures and flavors. Your equipment and desired outcome should guide your method selection.
| Method | Temperature | Cooking Time | Best For |
|---|---|---|---|
| Cast iron skillet | Medium-high (400°F/200°C) | 60-90 seconds per side | Beginners, consistent results |
| Gas grill | High direct heat | 45-60 seconds per side | Authentic char, outdoor cooking |
| Oven broiler | Maximum heat | 2-3 minutes total | Batch cooking, pita-style pocket formation |
Stovetop Cooking Process
- Divide rested dough into 4 equal portions and roll each into ball
- On floured surface, roll each ball into 1/8-inch thick circle
- Heat cast iron skillet or heavy pan over medium-high heat
- Place dough in hot, dry skillet (no oil needed)
- Cook until bubbles form and bottom develops golden spots (60-90 seconds)
- Flip and cook second side until puffed and cooked through
- Immediately brush with reserved olive oil and wrap in clean towel
Troubleshooting Common Issues
Even experienced cooks encounter flatbread challenges. Understanding these common problems helps you adjust technique for perfect results:
- Tough, chewy flatbread: Over-kneading or insufficient resting time. Let dough rest longer to relax gluten strands.
- Dough won't stretch: Gluten too tight—cover and rest 5 more minutes before rolling.
- Burning before cooking through: Heat too high—reduce temperature slightly while maintaining cooking surface heat.
- No bubbles forming: Dough too thick or pan not hot enough—roll thinner and ensure proper preheating.
Storage and Serving Suggestions
Flatbread tastes best fresh but can be stored properly for later use. Wrap cooled flatbread in clean kitchen towel, then place in airtight container at room temperature for up to 2 days. For longer storage, freeze between parchment paper in zip-top bag for up to 3 months.
Revive stored flatbread by wrapping in damp paper towel and microwaving for 20 seconds, or heating directly over gas flame for 10 seconds per side. Serve with hummus, as a wrap for grilled meats, or alongside stews and curries for authentic meal experience.
Regional Variations to Explore
Once you've mastered the basic technique, experiment with these authentic variations:
- Indian Roti: Substitute half the water with yogurt and add 1/4 tsp cumin for traditional flavor
- Middle Eastern Za'atar: Brush cooked flatbread with olive oil and sprinkle with za'atar spice blend
- Mexican Flour Tortillas: Replace yeast with 1 tsp baking powder and use lard instead of oil
- Greek Pita: Roll slightly thicker (1/4 inch) to encourage pocket formation when baking


 浙公网安备
33010002000092号
浙公网安备
33010002000092号 浙B2-20120091-4