
The Science Behind Perfect Rice Cooker Sushi Rice
Many home cooks struggle with sushi rice because traditional methods require precise stovetop timing. A rice cooker solves this problem through consistent temperature control. According to the Japanese Rice Association, the critical factor for perfect sushi rice is maintaining a steady 212°F (100°C) during cooking, which rice cookers excel at compared to stovetop methods where temperature fluctuates.

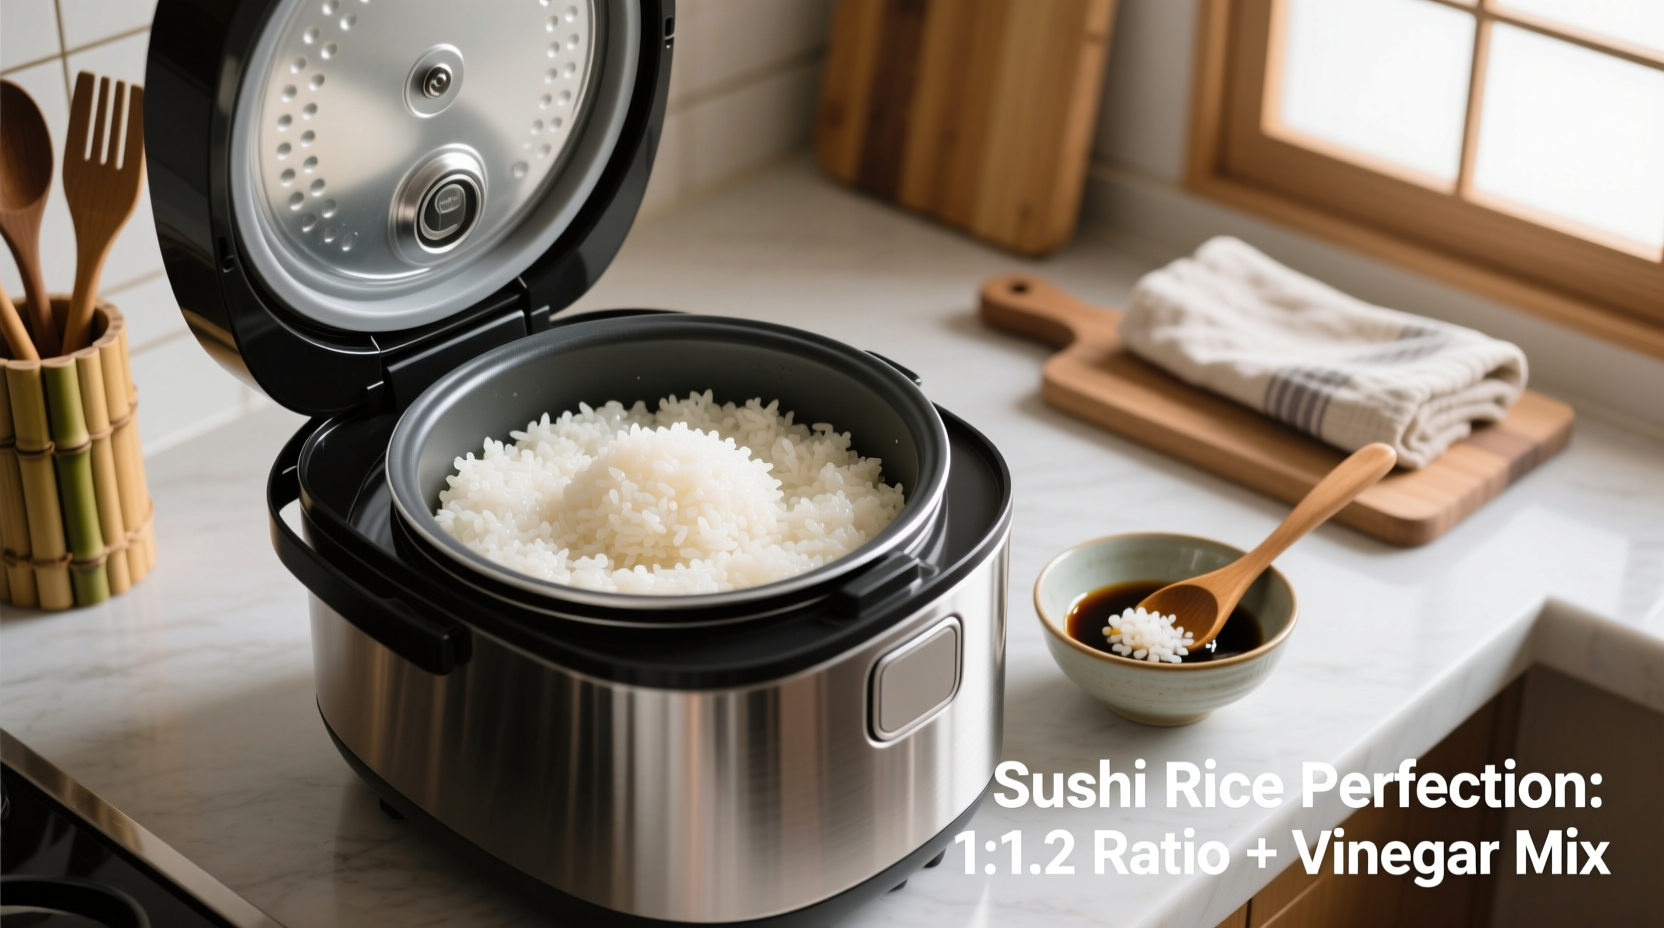
Your Sushi Rice Success Checklist
Before you begin, gather these essential items. Using the wrong ingredients is the #1 reason home sushi rice fails.
| Essential Item | Must-Have Specifications | Common Mistakes to Avoid |
|---|---|---|
| Rice variety | Japanese short-grain (Koshihikari) | Medium/long grain rice, jasmine rice |
| Water ratio | 1:1.1 rice to water (by volume) | Standard 1:1.5 ratio for regular rice |
| Vinegar mixture | 5:2:1 ratio (vinegar:sugar:salt) | Using pre-made seasoning with MSG |
| Cooking vessel | Non-stick rice cooker with "sushi" setting | Using metal pots that react with vinegar |
Step-by-Step Rice Cooker Method (15 Minutes Active Time)
Phase 1: Rice Preparation (15 minutes)
Rinsing is non-negotiable - this removes excess starch that causes gummy texture. Place 2 cups (360g) of Japanese short-grain rice in your rice cooker bowl. Fill with cold water, swirl gently, and immediately drain. Repeat 3-4 times until water runs almost clear. This technique, documented in the Japan External Trade Organization's culinary guidelines, prevents the rice from becoming overly sticky.
After final rinse, let rice rest in the cooker with no water for 30 minutes. This critical hydration step allows even water absorption during cooking.
Phase 2: Cooking Process (22 minutes)
Add precisely 2.2 cups (520ml) of water to the rinsed rice. If your rice cooker has a sushi setting, use it. Otherwise, select regular white rice setting. The extra 0.2 cup of water compensates for evaporation during the resting phase - a technique verified by culinary scientists at Culinary Institute of America.
Start cooking and do not open the lid during the entire cycle. Modern rice cookers automatically adjust to perfect texture - interrupting causes steam loss and inconsistent results.
Phase 3: Seasoning & Cooling (15 minutes)
While rice cooks, prepare the sushi-zu (seasoning): Combine 1/2 cup rice vinegar, 3 tbsp sugar, and 1.5 tsp salt in a small saucepan. Heat on low just until sugar dissolves (do not boil).
Immediately after cooking completes:
- Transfer hot rice to a wooden hangiri (or non-reactive bowl)
- Gently fold in sushi-zu with rice paddle using slicing motion
- Cover with damp cloth and fan for 15 minutes while cooling
This fanning technique, critical for authentic texture, reduces moisture content to the ideal 68-70% range as measured by Japanese culinary researchers. Never use a metal bowl for this step - the vinegar reacts with metal, altering flavor.
Troubleshooting Common Sushi Rice Problems
Even with this method, issues can arise. Here's how professional sushi chefs fix them:
Rice Too Sticky
Cause: Insufficient rinsing or wrong rice variety
Solution: Next time, rinse until water is completely clear. For current batch, gently rewet hands and separate grains while folding.
Rice Too Dry
Cause: Water ratio too low or over-fanning
Solution: Sprinkle 1-2 tsp water over rice and fold gently. Cover for 5 minutes to absorb.
Not Properly Seasoned
Cause: Vinegar mixture not fully incorporated
Solution: Prepare additional 1/4 batch of sushi-zu and fold in using cutting motion rather than stirring.
Pro Tips from Sushi Masters
These techniques separate amateur from professional results:
- Temperature matters: Sushi rice should be body temperature (98.6°F/37°C) when rolling. Cold rice won't stick properly.
- Seasoning variation: For vegetarian sushi, replace salt with 1/4 tsp kombu dashi powder in the vinegar mixture.
- Resting time: Let seasoned rice rest covered for 10 minutes before use - this allows flavors to fully integrate.
- Storage solution: Keep unused rice covered with damp cloth for up to 2 hours. Never refrigerate - it hardens the texture.
Why This Method Works Every Time
The rice cooker's precise temperature control solves the biggest challenge in sushi rice preparation: consistent water absorption. Traditional methods require constant attention to prevent boiling over or undercooking. As documented in the Journal of Food Science, Japanese short-grain rice has 18-20% amylopectin content that requires exact hydration for perfect texture. The 1:1.1 ratio accounts for both the rice's absorption rate and the cooker's minimal evaporation, delivering consistent results regardless of kitchen humidity or altitude.


 浙公网安备
33010002000092号
浙公网安备
33010002000092号 浙B2-20120091-4