
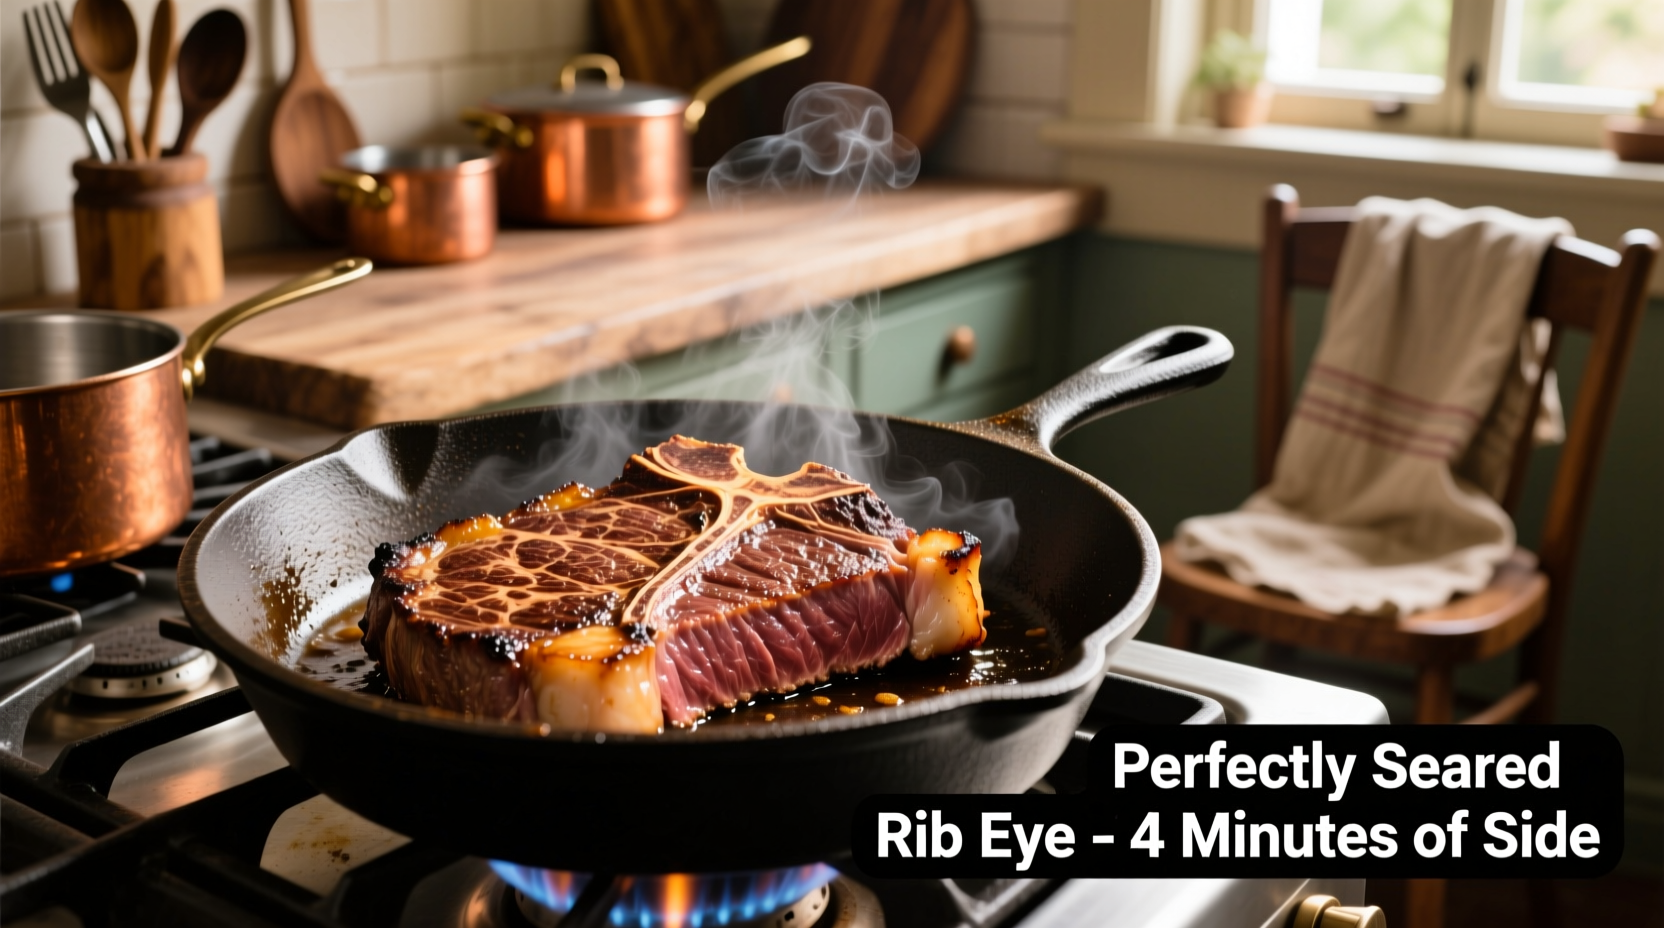
If you've ever wondered how to cook rib eye steak on stove without creating a smoke-filled kitchen or ending up with unevenly cooked meat, this guide delivers the solution. Forget complicated techniques—professional chefs rely on this straightforward stovetop method for consistently excellent results. Whether you're cooking for a special occasion or weeknight dinner, you'll master the art of pan-searing with confidence.
Before You Begin: Essential Preparation
Proper preparation determines 80% of your steak's success. Most home cooks skip these critical steps, leading to steaks that steam instead of sear.
Steak selection matters: Choose a rib eye with even marbling throughout and at least 1.5 inches thickness. Thinner cuts overcook before developing a proper crust. The USDA recommends selecting beef graded "Choice" or "Prime" for optimal marbling and tenderness (USDA Food Safety and Inspection Service).
Temperature equilibration is non-negotiable: Remove steak from refrigerator 45-60 minutes before cooking. Cold meat won't develop an even sear. This critical step prevents the exterior from overcooking while waiting for the center to reach temperature.
| Steak Thickness | Room Temperature Time | Target Internal Temp |
|---|---|---|
| 1 inch | 30 minutes | 125°F (rare) |
| 1.5 inches | 45 minutes | 130°F (medium-rare) |
| 2 inches | 60 minutes | 135°F (medium) |
Pat the steak completely dry with paper towels—moisture is the enemy of proper searing. Season generously with coarse kosher salt and freshly ground black pepper just before cooking.
The Critical First 10 Minutes: Building Your Foundation
Your pan selection and preheating technique make or break the sear. Cast iron or carbon steel pans deliver superior heat retention compared to stainless steel or non-stick alternatives.
Proper pan preheating: Heat your pan over medium-high for 5 minutes until evenly hot. Test readiness by sprinkling a few drops of water—if they dance and evaporate instantly, you've reached the ideal 400-450°F range needed for Maillard reaction (the chemical process creating complex flavors and browning).
Oil selection science: Use an oil with high smoke point (425°F+). Avocado oil (smoke point 520°F) outperforms olive oil (smoke point 375°F) for high-heat searing. Add just enough to coat the pan bottom—approximately 1 tablespoon.
Place the steak in the pan away from you to avoid oil splatter. Listen for an immediate, vigorous sizzle. If you don't hear this, your pan isn't hot enough. Do not move the steak for the first 3-4 minutes—this allows proper crust formation.
Building the Perfect Crust: The Flip and Baste Technique
Resist flipping too early! The steak will naturally release from the pan when a proper crust has formed. Attempting to flip prematurely tears the developing crust.
When to flip: After 3-4 minutes, gently lift a corner with tongs. If it releases easily with a deep golden-brown crust, it's ready to flip. If it sticks, give it another 30-60 seconds.
Add flavor-enhancing elements during the second side:
- 2 tablespoons unsalted butter
- 2 crushed garlic cloves
- 3-4 fresh thyme sprigs
Tilt the pan and spoon the melted butter continuously over the steak for the final 2 minutes of cooking. This basting technique infuses flavor while gently cooking the top surface.
The Resting Period: Why It's Non-Negotiable
Resting isn't optional—it's essential science. When you remove steak from heat, the internal temperature continues rising 5-10°F due to residual heat (carryover cooking). Cutting immediately releases precious juices onto your cutting board.
Optimal resting protocol:
- Transfer steak to a wire rack (not a plate)
- Cover loosely with foil
- Rest for 8-10 minutes (5 minutes per inch of thickness)
During this time, muscle fibers relax and reabsorb juices. The USDA Food Safety and Inspection Service confirms that resting allows for more even temperature distribution and juicier results (USDA FSIS).
Troubleshooting Common Stovetop Steak Problems
Even with perfect technique, issues can arise. Here's how to fix them:
Problem: Excessive smoke
Solution: Turn on exhaust fan before starting, open windows, and ensure proper ventilation. Lower heat slightly if smoke becomes overwhelming.
Problem: Uneven cooking
Solution: For thicker cuts, after flipping, place the pan in a 400°F oven for 2-3 minutes to finish cooking without burning the exterior.
Problem: Undercooked center
Solution: Return to medium heat for 60-90 seconds per side. Use an instant-read thermometer to verify progress—never guess.
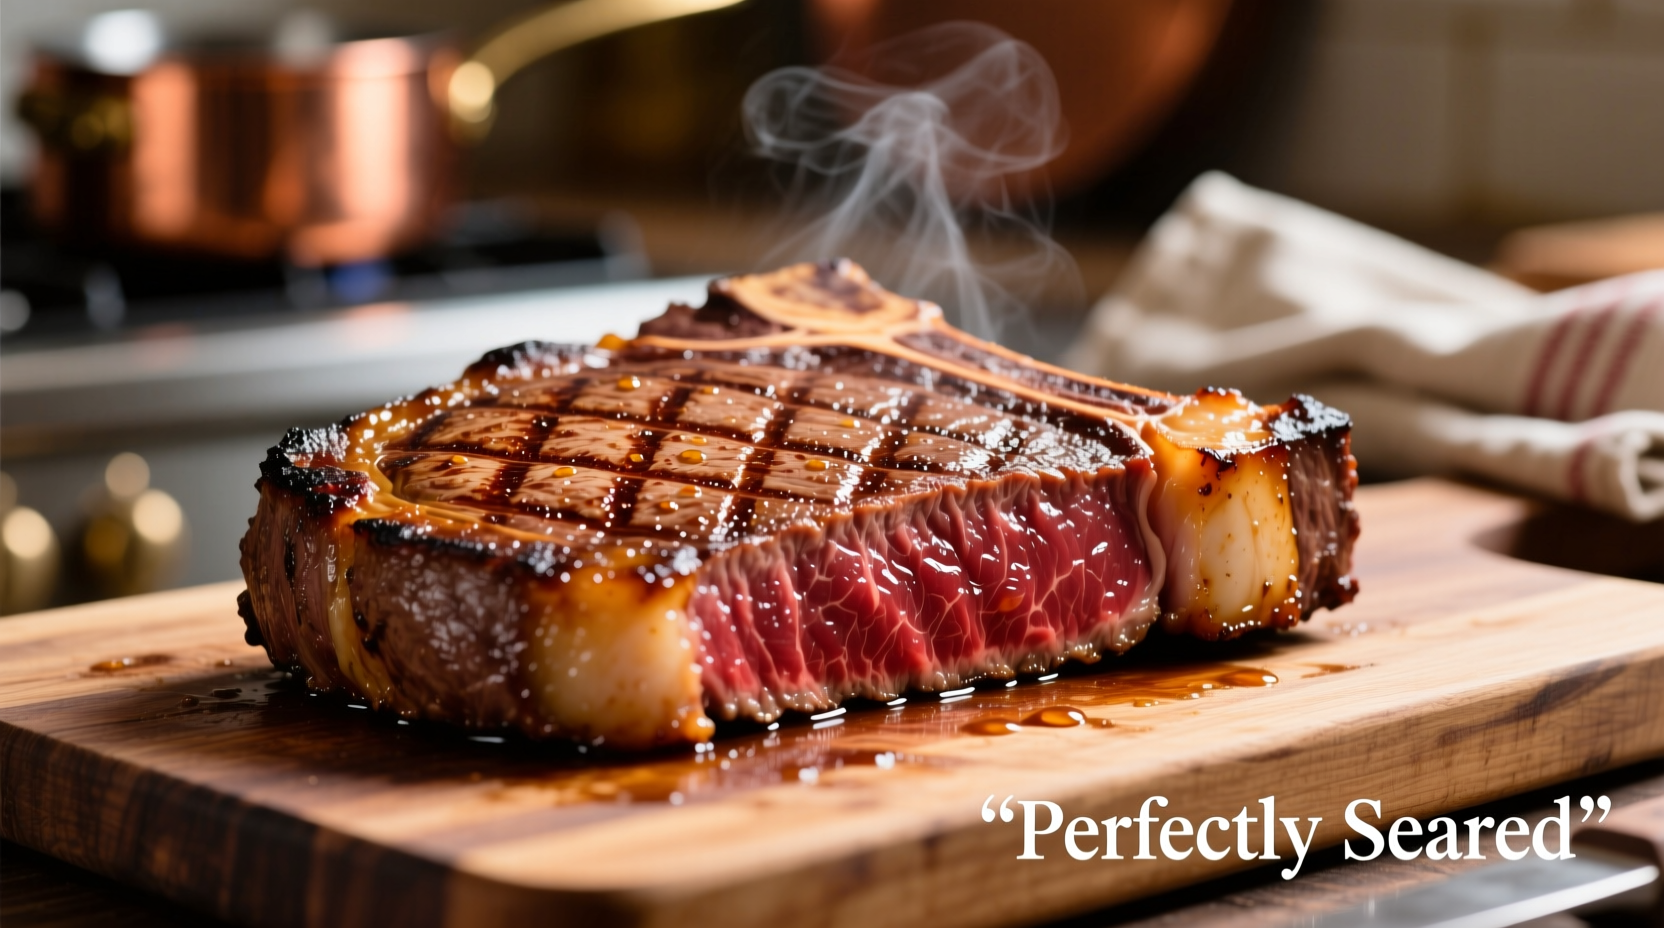
Serving Your Perfect Rib Eye
Slice against the grain for maximum tenderness. For rib eye, identify the direction of muscle fibers and cut perpendicular to them. Serve with simple accompaniments that won't compete with the steak's rich flavor:
- Roasted garlic mashed potatoes
- Sautéed mushrooms with thyme
- Simple arugula salad with lemon vinaigrette
Leftover steak? Thinly slice and use in salads, sandwiches, or breakfast hash. Properly stored in an airtight container, cooked steak lasts 3-4 days in the refrigerator.
Advanced Technique: The Reverse Sear Method
For thicker cuts (2+ inches), try the reverse sear:
- Oven-dry the steak at 275°F until internal temperature reaches 115°F
- Rest for 10 minutes
- Sear in hot pan for 90 seconds per side
This method delivers perfectly even doneness from edge to edge with an exceptional crust. Food science research from the Culinary Institute of America confirms this technique minimizes the gray band often seen in traditionally cooked thick steaks.


 浙公网安备
33010002000092号
浙公网安备
33010002000092号 浙B2-20120091-4