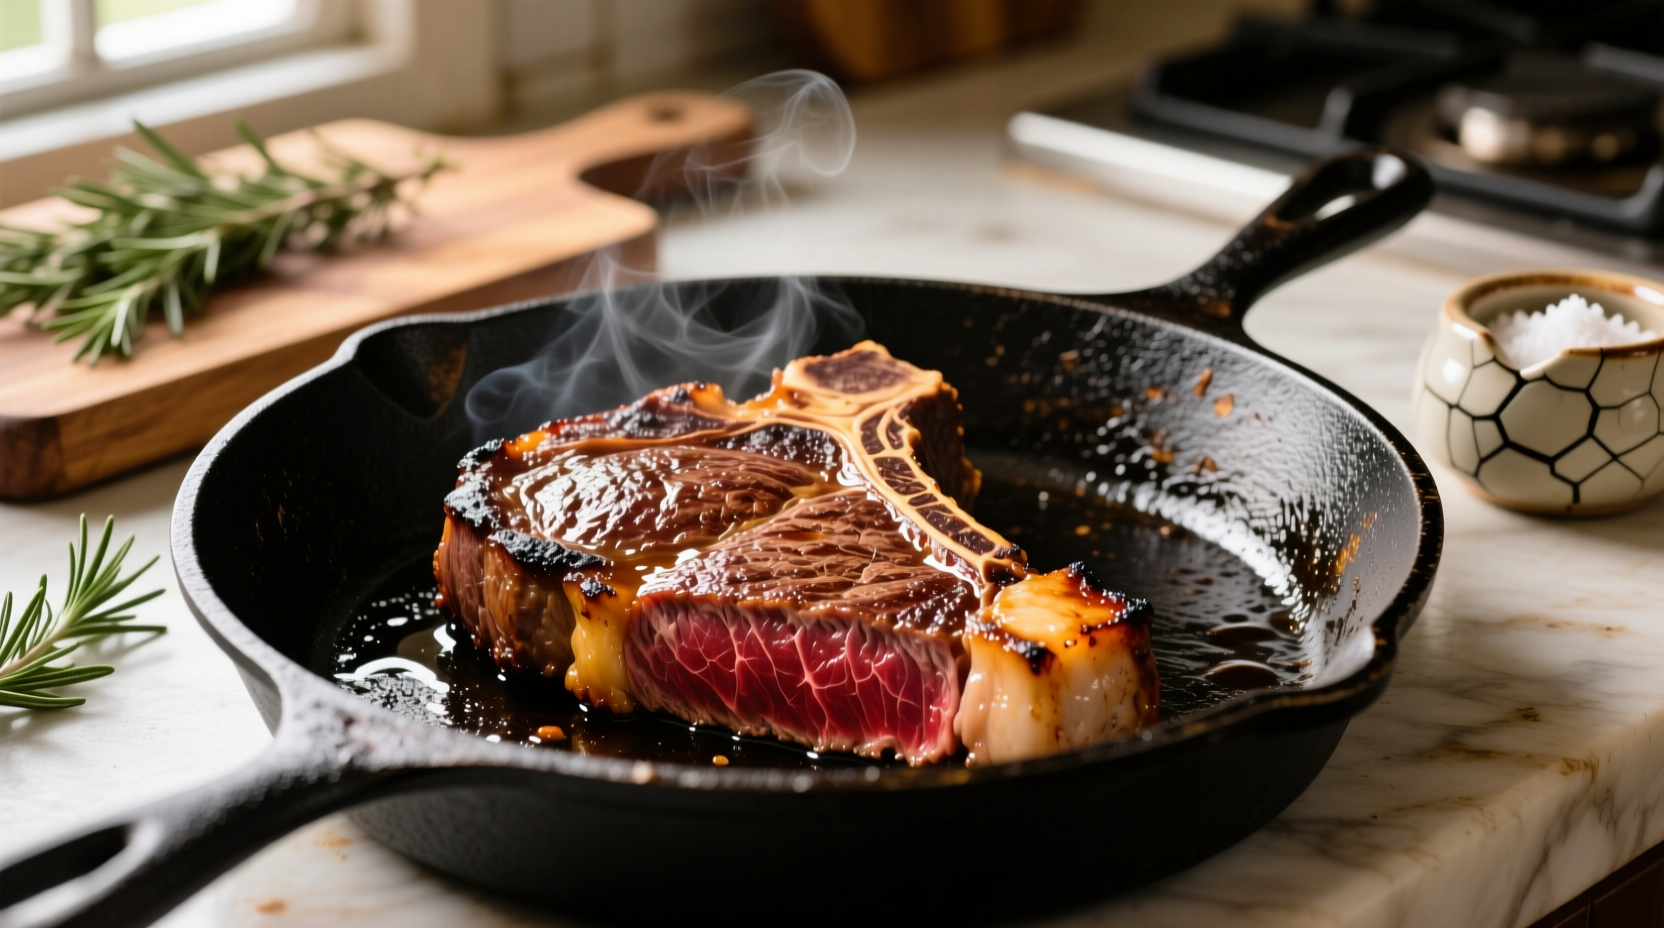
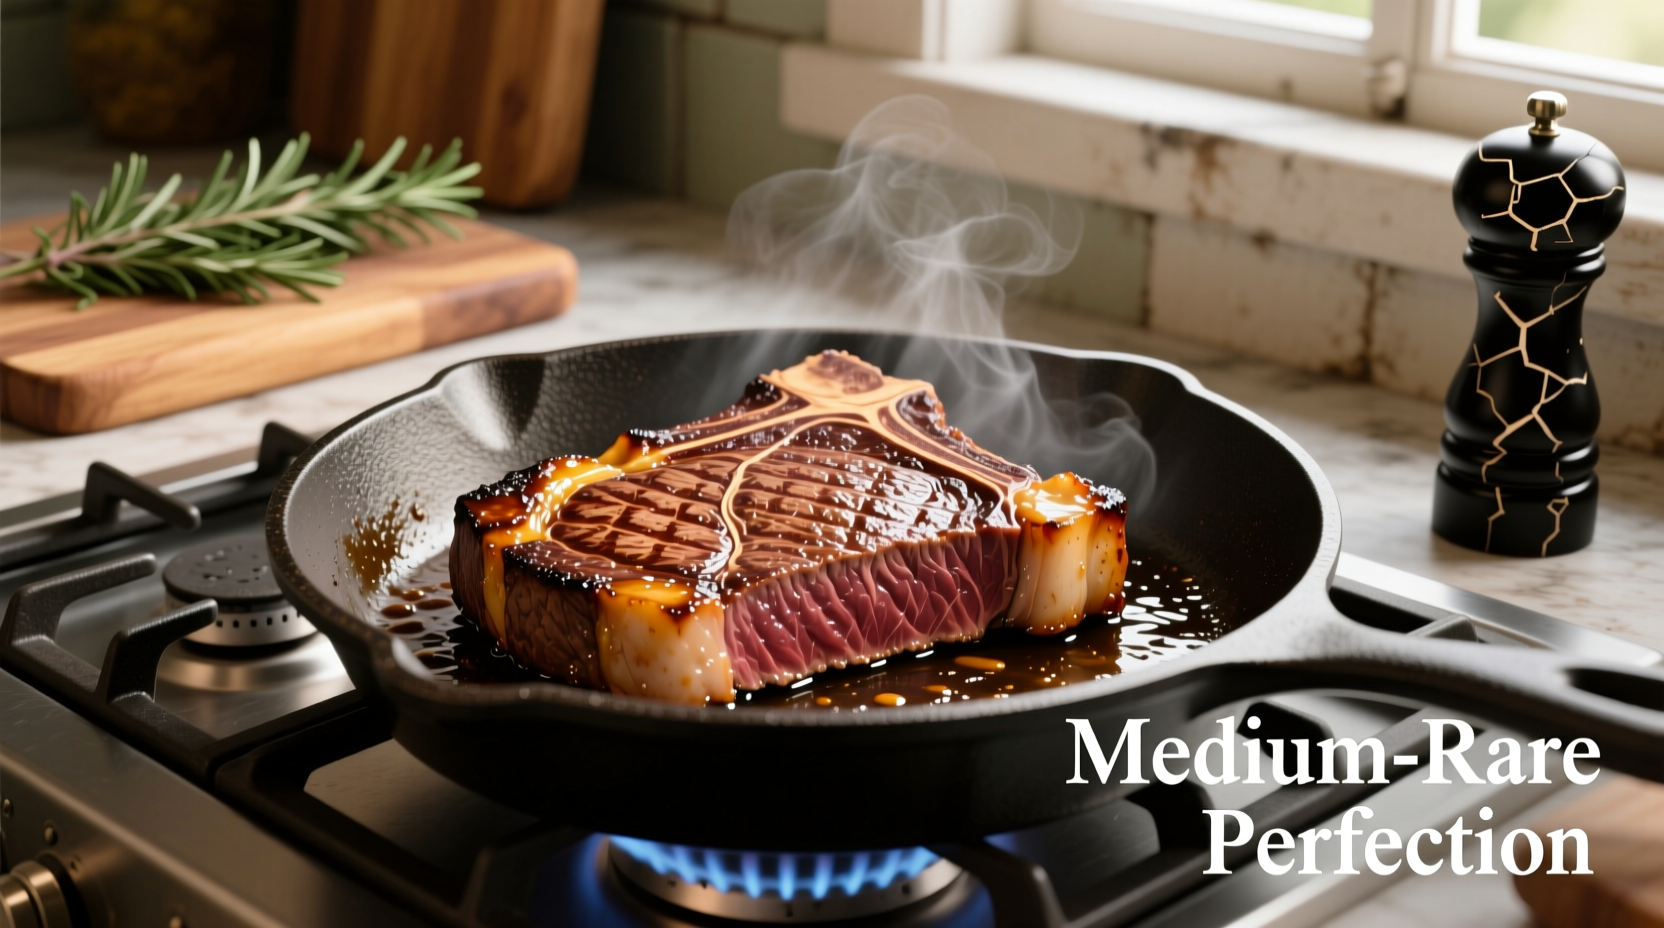
If you've ever wondered how to cook a steak on the stove without a grill but still achieve that perfect sear and juicy interior, you're not alone. Millions of home cooks face this challenge every week. The good news? With the right technique, your stovetop can produce restaurant-quality results that rival any grill. In this comprehensive guide, you'll learn exactly how to cook a steak on the stove using professional chef methods adapted for home kitchens.
Why Stovetop Steak Cooking Works When Done Right
The secret to perfect stove-cooked steak lies in understanding heat transfer and protein chemistry. Unlike grilling, stovetop cooking provides consistent, direct heat that creates an ideal Maillard reaction—the chemical process responsible for that flavorful brown crust. According to the American Meat Science Association, achieving surface temperatures between 300-500°F is critical for proper browning while maintaining interior juiciness.
Before we dive into the step-by-step process, let's address the most common misconception: you don't need expensive equipment. A standard cast-iron skillet, basic kitchen thermometer, and proper technique yield better results than specialized gadgets.
Essential Preparation: Setting Up for Success
Selecting the Right Cut and Thickness
Not all steaks perform equally on the stovetop. Thicker cuts (1.25-1.5 inches) work best because they provide a buffer between the seared exterior and desired interior doneness. Here's a quick reference for popular cuts:
| Steak Cut | Ideal Thickness | Best Doneness Range | Special Considerations |
|---|---|---|---|
| Ribeye | 1.5 inches | Medium-rare (130-135°F) | Fat marbling creates natural basting |
| New York Strip | 1.25 inches | Medium (135-140°F) | Leaner than ribeye, requires careful timing |
| Filet Mignon | 1.5-2 inches | Medium-rare (130°F) | Least fat, needs external fat source for basting |
Room Temperature Matters: The Science Behind It
Starting with a cold steak straight from the refrigerator guarantees uneven cooking. The USDA Food Safety and Inspection Service recommends allowing meat to come to room temperature for 30-60 minutes before cooking. This simple step reduces the temperature gradient, preventing a gray band of overcooked meat beneath the crust. For food safety, never leave meat at room temperature longer than two hours (or one hour if your kitchen exceeds 90°F).

The Cooking Process: Step-by-Step Guide
Preheating Your Pan to the Perfect Temperature
Most home cooks fail at this critical step. Your pan needs to reach 400-450°F—hotter than most recipes suggest. Here's how to test:
- Water droplet test: Sprinkle water on the surface; it should sizzle violently and evaporate in 1-2 seconds
- Oil behavior: When added, oil should shimmer but not smoke excessively
Use high-smoke point oils like avocado or refined canola. Avoid olive oil (smokes too early) and butter alone (burns before proper searing temperature).
Searing Technique: The First Flip
Place the steak in the hot pan away from you to avoid oil splatter. You should hear an immediate, vigorous sizzle. Resist the urge to move it for 3-4 minutes—this develops the crust. When properly seared, the steak will release naturally from the pan. If it sticks, it's not ready to flip.
Flip only once. Multiple flips disrupt crust formation. For thicker cuts (over 1.5 inches), tilt the pan and spoon hot oil over the edges during the last minute of cooking.
Butter Basting for Flavor Enhancement
During the final 2 minutes of cooking, add these ingredients to the pan:
- 2 tablespoons unsalted butter
- 2 crushed garlic cloves
- 3-4 fresh thyme or rosemary sprigs
Tilt the pan slightly and continuously spoon the melted butter mixture over the steak. This technique, used in professional kitchens, infuses flavor without burning delicate aromatics.
Temperature Monitoring: The Only Reliable Doneness Indicator
Forget the touch test—use an instant-read thermometer. The USDA recommends these safe internal temperatures:
- Rare: 120-125°F (remove from heat at 115°F)
- Medium-rare: 130-135°F (remove at 125°F)
- Medium: 140-145°F (remove at 135°F)
Remember: Temperature rises 5-10°F during resting (carryover cooking). Remove steaks 5°F below your target temperature.
Resting and Serving: The Often-Skipped Final Steps
Why Resting Transforms Your Steak
Resting isn't optional—it's essential for juiciness. When you cut into a steak immediately, juices flood out. During the 5-10 minute rest period, muscle fibers relax and reabsorb juices. Food science research from the Culinary Institute of America shows that properly rested steaks retain up to 40% more moisture.
Place the steak on a wire rack (not a plate) to prevent the bottom from steaming. Tent loosely with foil—never seal tightly, which creates steam and softens your crust.
Slicing Technique for Maximum Tenderness
Always slice against the grain at a 45-degree angle. This shortens muscle fibers, making each bite more tender. For steaks with visible grain patterns (like flank or skirt), this step is crucial. For more uniform cuts like ribeye, it still enhances texture.
Common Stove-Top Steak Problems and Solutions
When Stovetop Cooking Isn't Ideal
While excellent for most situations, stovetop cooking has limitations. Understanding these context boundaries prevents disappointment:
- Very thick cuts (over 2 inches): Consider reverse searing—oven first, then stovetop sear
- Lean cuts (like eye of round): Better suited for moist-heat methods
- Multiple steaks: Grill or oven finishing prevents overcrowding the pan
- Apartment living with smoke alarms: Use your best ventilation or consider alternative methods
Troubleshooting Guide
Problem: Steak sticks to the pan
Solution: Pan wasn't hot enough initially or you moved it too soon. Next time, ensure proper preheating and wait for natural release.
Problem: Excessive smoke
Solution: Lower heat slightly after initial sear or use an oil with higher smoke point. Turn on exhaust fan and open windows.
Problem: Uneven cooking
Solution: Rotate steak 180 degrees halfway through each side for even heat distribution.
Food Safety Essentials for Steak Preparation
Raw steak handling requires proper food safety practices. The USDA Food Safety and Inspection Service emphasizes these critical points:
- Never thaw meat at room temperature—use refrigerator, cold water, or microwave methods
- Clean all surfaces that contact raw meat with hot, soapy water
- Use separate cutting boards for meat and produce
- Wash hands thoroughly after handling raw meat
Remember: Color isn't a reliable doneness indicator. Always use a thermometer, especially for ground meat products.
Frequently Asked Questions
How long should I cook a 1-inch steak on the stove for medium-rare?
For a 1-inch steak, cook 3-4 minutes per side in a properly preheated pan. Check temperature at 3 minutes—the ideal internal temperature for medium-rare is 130-135°F. Remember to remove from heat at 125°F to account for carryover cooking during resting.
Can I cook a frozen steak on the stove?
Yes, but with adjustments. Use the reverse sear method: start on low heat to gently thaw the interior, then increase to high for searing. Cooking time increases by 50%, and you'll need to monitor carefully to prevent exterior burning before interior is done.
Why does my steak smoke so much when cooking?
Excessive smoke typically indicates your pan is too hot or you're using oil with too low a smoke point. For stove-top steak, use avocado oil (smoke point 520°F) or refined canola oil (400°F). Reduce heat slightly after initial sear, and ensure proper kitchen ventilation with exhaust fans and open windows.
Should I salt steak before or after cooking?
For best results, salt at least 40 minutes before cooking or immediately before. Salting between 3-40 minutes before causes moisture extraction that prevents proper searing. The salt draws out moisture initially, then allows it to be reabsorbed along with seasoning, enhancing both flavor and crust formation.


 浙公网安备
33010002000092号
 浙B2-20120091-4