
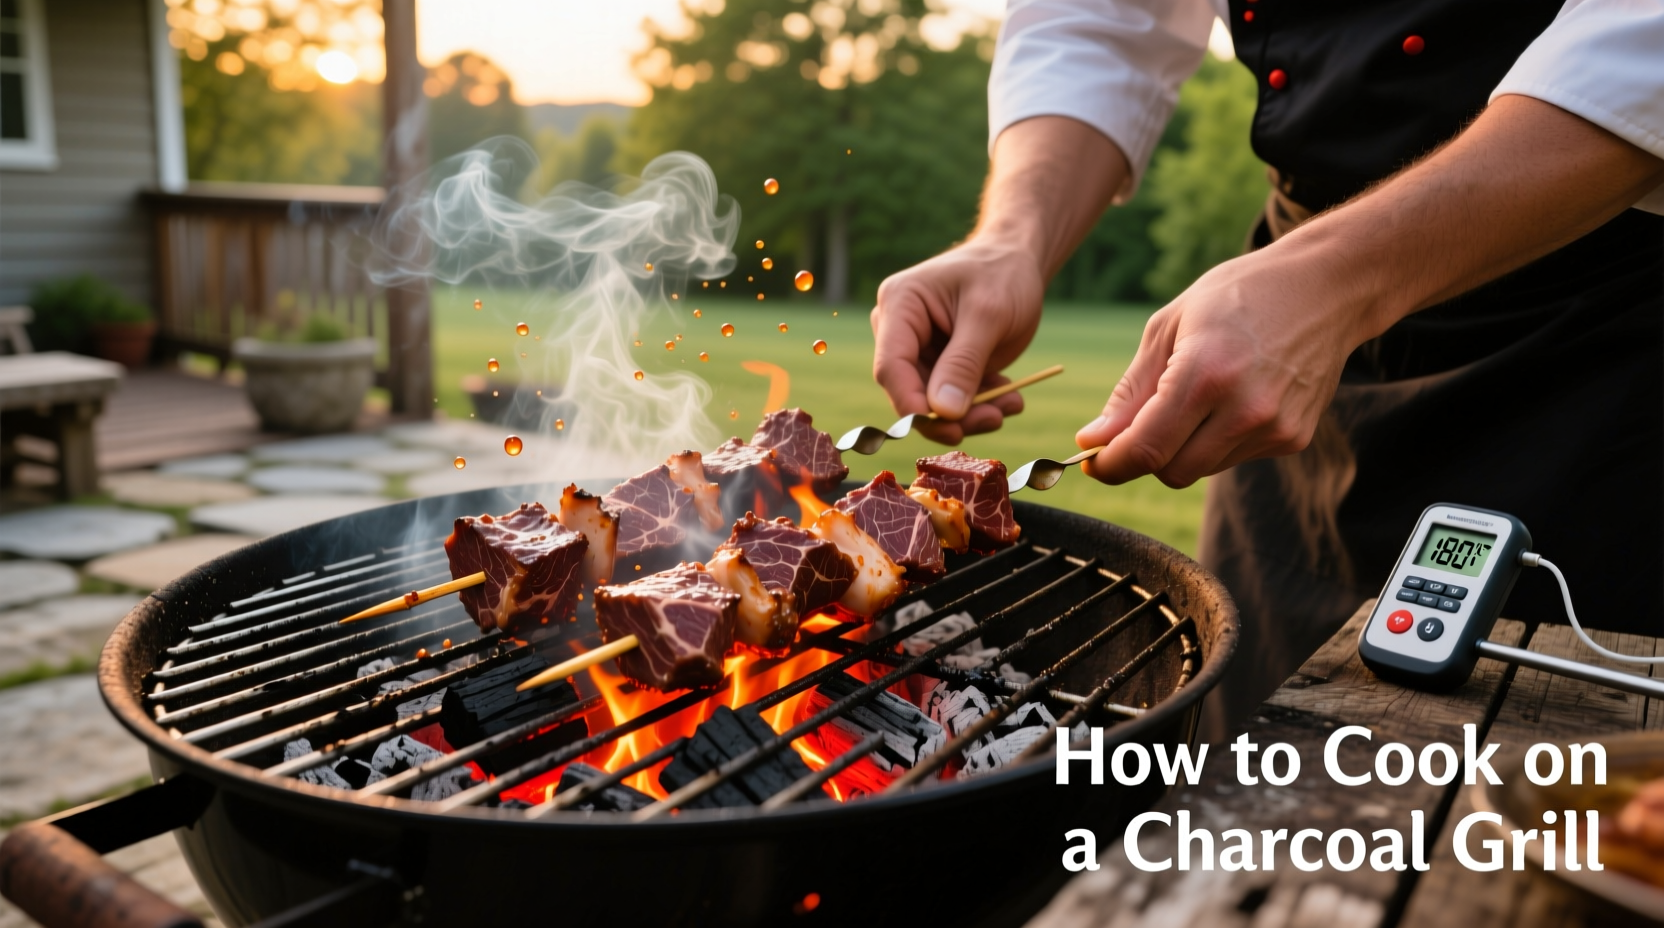
The Complete Guide to Charcoal Grilling for Beginners
Charcoal grilling creates unmatched flavor through direct radiant heat and smoke infusion that gas grills can't replicate. While seemingly simple, mastering charcoal requires understanding heat management, proper setup, and timing. This guide provides actionable techniques used by professional pitmasters to help you achieve restaurant-quality results at home.
Why Charcoal Grilling Creates Superior Flavor
Unlike gas grills that rely on convection heat, charcoal produces intense infrared radiation that sears food rapidly while allowing natural wood smoke to enhance flavor. According to culinary research from the Culinary Institute of America, the Maillard reaction (browning process) occurs more completely over charcoal's radiant heat, creating complex flavor compounds that elevate everything from burgers to vegetables.
| Charcoal Type | Heat Duration | Best For | Ignition Time |
|---|---|---|---|
| Lump Charcoal | 2-3 hours | High-heat searing, quick cooks | 15-20 minutes |
| Charcoal Briquettes | 3-4 hours | Low-and-slow cooking, consistent heat | 20-30 minutes |
| Hardwood Lump | 1.5-2 hours | Authentic wood flavor, fast ignition | 10-15 minutes |
Essential Equipment Checklist
Before you start, gather these charcoal grilling essentials:
- Quality charcoal (lump or briquettes based on your cooking needs)
- Chimney starter (eliminates lighter fluid taste)
- Long-handled tongs and spatula
- Grill thermometer (critical for temperature control)
- Heat-resistant gloves
- Drip pan for indirect cooking
- Aluminum foil for emergency repairs
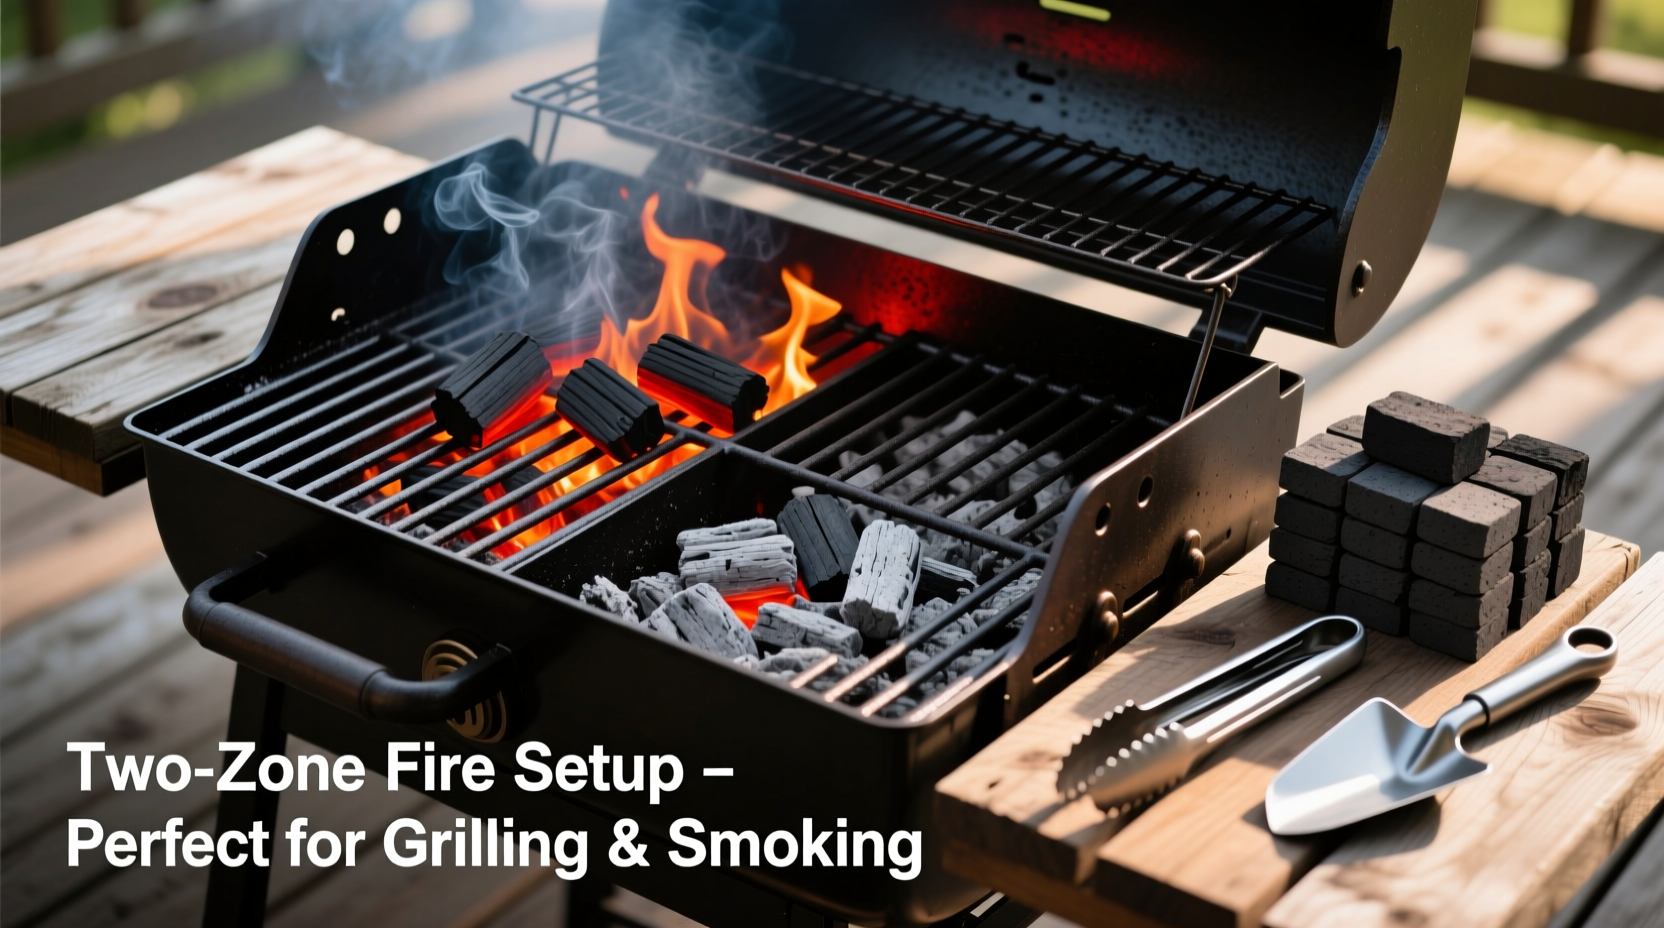
Setting Up Your Charcoal Grill for Perfect Heat Zones
Professional results require proper charcoal arrangement. The two-zone fire method creates both direct and indirect cooking areas:
- Fill chimney starter with charcoal (¾ full for medium heat)
- Place 1-2 sheets of newspaper beneath chimney and light
- Wait 20-30 minutes until coals are ash-covered and glowing
- For two-zone setup: Pour ⅔ of hot coals on one side, ⅓ on the other
- Place drip pan under indirect side for moisture retention
- Wipe cooking grate with oil-soaked paper towel using tongs
Mastering Temperature Control: The Secret to Perfect Grilling
Temperature management separates beginners from experts. Follow these professional techniques:
The Hand Test: Hold your hand 5 inches above the grill grate:
- 2 seconds: 500°F+ (searing zone)
- 3-4 seconds: 400°F-450°F (high heat cooking)
- 5-6 seconds: 300°F-375°F (medium heat)
- 7+ seconds: 225°F-275°F (low-and-slow)
Adjusting Heat During Cooking:
- To increase heat: Open vents fully and add 5-6 fresh coals
- To decrease heat: Close top vents halfway and avoid fanning flames
- To maintain temperature: Add 4-5 coals every 30 minutes as needed
- For consistent low heat: Use the minion method (few lit coals surrounded by unlit)
Food Preparation Techniques for Charcoal Success
Proper food prep prevents common grilling disasters:
- Dry surfaces: Pat meats dry before seasoning for better sear
- Room temperature: Bring meats to room temp 30 minutes before cooking
- Oiling: Oil food, not the grill, using high-smoke point oils
- Seasoning: Apply salt 45 minutes before cooking for better penetration
- Marinades: Use acid-based marinades for no more than 2 hours with delicate proteins
Step-by-Step Cooking Process
Follow this professional sequence for perfect results:
- Preheat grill to target temperature (15-20 minutes after arranging coals)
- Clean and oil cooking grate using tongs and paper towel
- Place food on hottest part for initial sear (90 seconds per side)
- Move to indirect heat zone to finish cooking to proper internal temperature
- Rotate food 90° halfway through cooking for attractive grill marks
- Use lid strategically: closed for thicker cuts, open for thin items
- Check doneness with instant-read thermometer, not by cutting
- Rest meat 5-15 minutes before serving (10% of cooking time)
Troubleshooting Common Charcoal Problems
Even experienced grillers encounter these issues. Here's how to fix them:
- Flare-ups: Move food to indirect zone temporarily; never spray with water
- Inconsistent heat: Check for blocked vents; rearrange coals into pyramid shape
- Food sticking: Ensure grate is clean, hot, and properly oiled before cooking
- Excessive smoke: Likely from fat dripping; move food to indirect zone
- Charcoal won't stay lit: Check for sufficient airflow; replace old charcoal
Safety Considerations Every Charcoal Griller Must Know
The National Fire Protection Association reports over 10,000 grill-related fires annually. Follow these safety protocols:
- Never use gasoline or accelerants to reignite coals
- Maintain 10-foot clearance from structures and flammable materials
- Keep grill on stable, non-flammable surface away from foot traffic
- Have fire extinguisher or baking soda nearby for grease fires
- Allow 48 hours for coals to completely cool before disposal
Advanced Techniques for Flavor Enhancement
Elevate your charcoal grilling with these professional methods:
- Smoke infusion: Add wood chunks (not chips) during the last 30 minutes of cooking
- Reverse sear: Cook thick cuts indirectly first, then sear at the end
- Charcoal arrangement: Create volcano shape for vertical roasting of whole chickens
- Temperature stacking: Place cooler items toward grill edges where heat is lower
- Flavor pockets: Toss herb bundles directly onto coals for aromatic smoke
Maintenance for Long-Lasting Performance
Proper care extends your grill's life and improves cooking results:
- After each use: Burn off residue with lid closed for 15 minutes
- Clean cooking grates while warm using brass brush
- Empty ash catcher after each use to maintain airflow
- Season cast iron components with high-heat oil monthly
- Store grill covered in dry location when not in use


 浙公网安备
33010002000092号
浙公网安备
33010002000092号 浙B2-20120091-4