
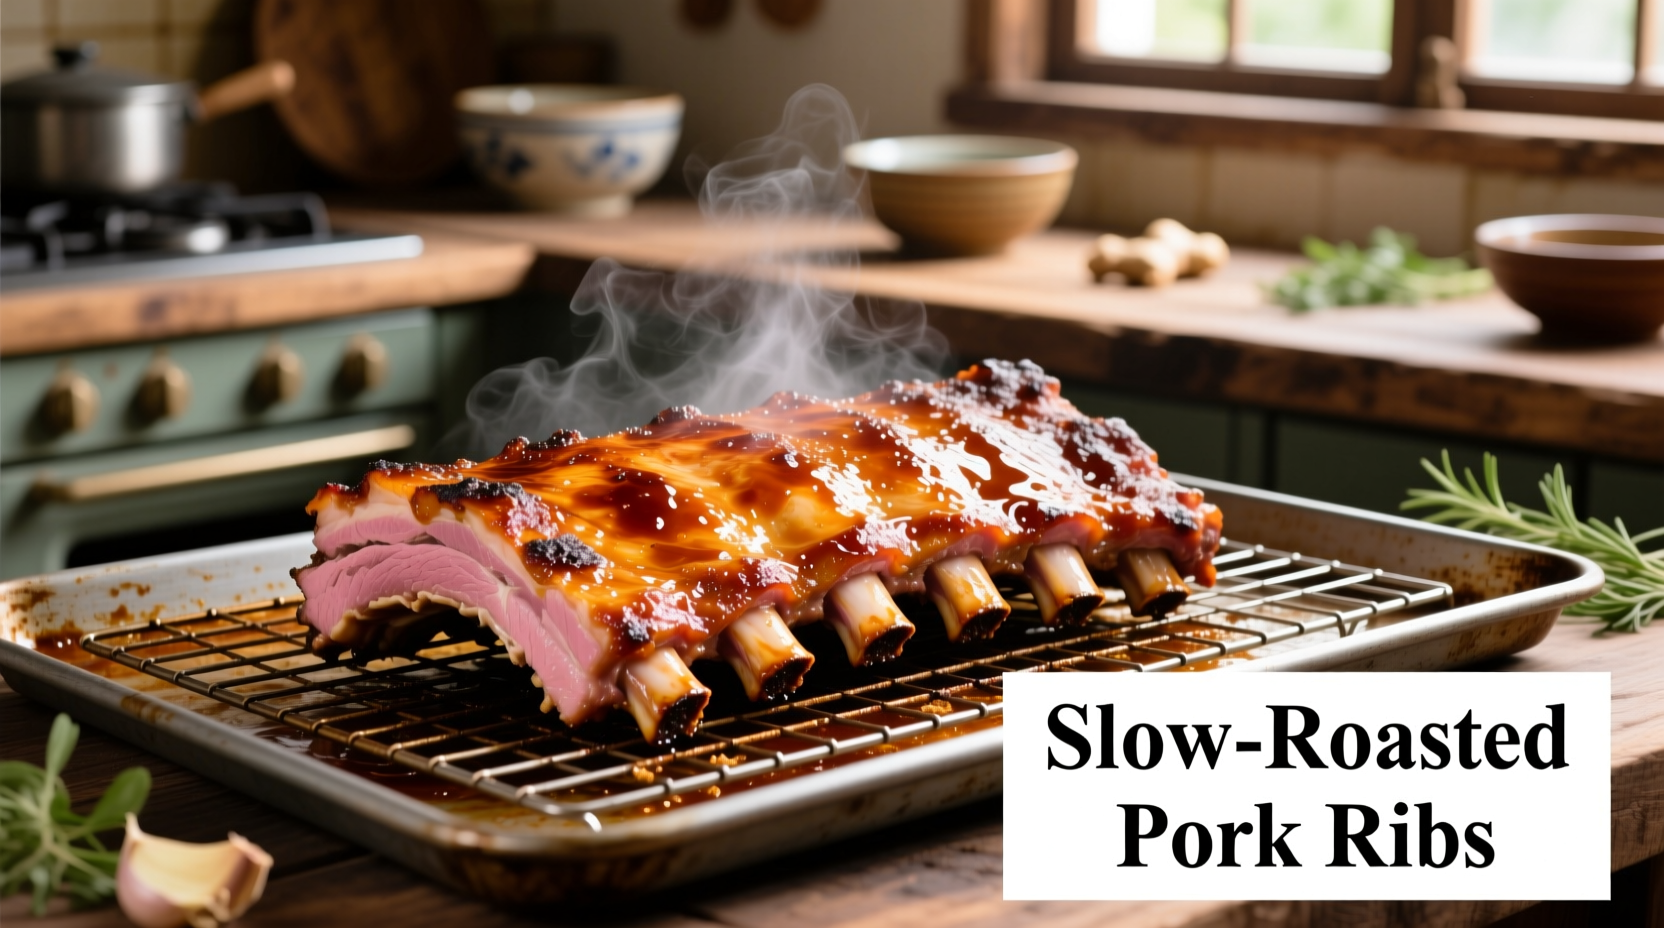
The Complete Guide to Oven-Baked Pork Ribs That Never Fail
Nothing compares to tender, flavorful pork ribs made right in your home oven. Forget complicated smokers or outdoor grilling - this accessible method delivers restaurant-quality results with precise temperature control and consistent outcomes. Whether you're cooking for a family dinner or special occasion, understanding the science behind oven-baked ribs transforms this seemingly complex dish into a reliable weeknight meal.
Understanding Your Rib Options
Before firing up your oven, selecting the right cut makes all the difference. Two primary options dominate the market:
| Rib Type | Characteristics | Cooking Time at 275°F | Best For |
|---|---|---|---|
| Baby Back Ribs | Smaller, leaner, more tender | 1.5-2.5 hours | Quick meals, beginners |
| Spare Ribs | Larger, fattier, more flavorful | 2.5-3.5 hours | Special occasions, flavor seekers |
According to USDA Food Safety and Inspection Service guidelines, pork should reach a minimum internal temperature of 145°F (63°C) with a 3-minute rest period for safe consumption. However, ribs require higher temperatures to break down connective tissue - aim for 195-205°F for optimal tenderness. This scientific approach ensures both safety and texture perfection.
Essential Equipment Setup
You don't need specialized equipment for exceptional oven ribs. Gather these basics:
- Oven thermometer (critical for accuracy - built-in oven thermometers often vary by 25°F)
- Rimmed baking sheet with wire rack (promotes even air circulation)
- Meat thermometer (instant-read recommended)
- Aluminum foil (for wrapping phase if using)
Preheat your oven to 275°F - this low-and-slow approach prevents the exterior from drying before the interior becomes tender. Position the oven rack in the center for optimal heat distribution.
Step-by-Step Cooking Process
Preparation Phase (15 minutes)
- Remove the silver skin membrane from the bone side using a butter knife to lift an edge, then grip with paper towel and pull off
- Pat ribs completely dry with paper towels (moisture prevents proper browning)
- Apply 1/4 cup dry rub per rack, massaging into all surfaces
- Let sit at room temperature for 30 minutes while oven preheats
Cooking Timeline (2-3 hours)
This critical phase follows a precise temperature progression that transforms tough connective tissue:
- 0-90 minutes: Collagen begins breaking down at 160°F
- 90-150 minutes: Fat renders and flavors penetrate at 180°F
- 150-180 minutes: Connective tissue dissolves completely at 195-205°F
Place ribs bone-side down on the wire rack. Bake uncovered until the internal temperature reaches 165°F (about 1.5 hours for baby backs). For extra-tender results, wrap in foil with 1/4 cup apple juice when internal temperature hits 165°F and continue cooking.
Finishing Touches (15 minutes)
For that perfect caramelized exterior:
- Increase oven temperature to 400°F
- Brush with 1/2 cup sauce (avoid sugary sauces too early to prevent burning)
- Return to oven for 10-15 minutes until sauce bubbles and slightly thickens
- Rest 10 minutes before slicing between bones
Troubleshooting Common Issues
Even experienced cooks encounter these challenges. Here's how to fix them:
- Dry ribs: You likely cooked at too high a temperature. Always maintain 275°F for the slow cooking phase. The bend test confirms doneness - when lifted with tongs, properly cooked ribs should bend freely and small cracks appear in the surface.
- Tough membrane: If you skipped membrane removal, the ribs won't bend properly. Always remove this barrier for maximum tenderness.
- Burning sauce: Apply sauce only during the final high-heat phase. Sugar content in most sauces caramelizes quickly above 350°F.
When Oven Method Outperforms Other Techniques
The oven approach shines in specific scenarios where other methods fall short:
- Cold weather cooking (no outdoor setup required)
- Apartment living (no grill access)
- Consistent results regardless of weather conditions
- Perfect for beginners learning rib fundamentals
Professional chefs at the Culinary Institute of America note that oven cooking provides superior temperature control compared to grilling, eliminating flare-ups that char the exterior before the interior cooks through. This precision makes oven ribs an ideal starting point before advancing to more complex smoking techniques.
Serving and Storage Guidance
Serve ribs immediately after the 10-minute rest period for optimal texture. Pair with these classic sides:
- Cold coleslaw (cuts through richness)
- Buttery cornbread (absorbs delicious juices)
- Simple green salad (balances heavy flavors)
Store leftovers in an airtight container with cooking juices for up to 4 days. Reheat gently in a 250°F oven until warmed through - avoid microwaving which creates uneven texture. Freeze cooked ribs for up to 3 months, thawing overnight in the refrigerator before reheating.
Flavor Variations to Explore
Once you've mastered the basic technique, experiment with these professional variations:
- Asian-inspired: Replace standard rub with 2 tbsp five-spice powder, 1 tbsp ginger, and 2 tbsp brown sugar. Finish with hoisin glaze.
- Coffee-rubbed: Mix 2 tbsp finely ground coffee, 1 tbsp cocoa powder, and 1 tbsp smoked paprika for deep, complex flavor.
- Sugar-free option: Use sugar substitutes in rubs but avoid in finishing sauces (they burn easily).
Remember that seasoning preferences vary by region - Midwestern cooks often prefer sweeter profiles while Carolinians favor vinegar-based finishes. Adjust to your personal taste preferences after mastering the fundamental technique.


 浙公网安备
33010002000092号
浙公网安备
33010002000092号 浙B2-20120091-4