
There's nothing quite like a perfectly cooked New York strip steak—rich marbling, robust beef flavor, and that irresistible crust. While many assume grilling is the only way to achieve steakhouse results, your stovetop can deliver equally impressive outcomes with proper technique. This guide reveals the exact process professional chefs use to cook New York strip steak on stove, eliminating guesswork and ensuring consistent results every time.
Why Your Stovetop Beats the Grill for NY Strip
New York strip steak's moderate marbling and firm texture make it uniquely suited for stovetop cooking. Unlike thicker cuts that benefit from slower cooking methods, the NY strip's 1-1.5 inch thickness allows for precise temperature control on the stove. This method creates an exceptional Maillard reaction—the chemical process responsible for that flavorful brown crust—without overcooking the interior.
| Cooking Method | Best For | NY Strip Suitability |
|---|---|---|
| Stovetop (Cast Iron) | 1-1.5 inch steaks | ★★★★★ Ideal for perfect sear and controlled doneness |
| Grill | Thicker cuts (1.5+ inches) | ★★★☆☆ Requires careful heat management |
| Oven Finish | Very thick steaks | ★☆☆☆☆ Unnecessary for standard NY strip |
Essential Preparation Steps
Skipping proper preparation guarantees disappointing results. These steps transform your cooking experience:
Selecting the Right Steak
Choose USDA Choice or Prime grade with even marbling throughout. Look for bright red color and firm texture—avoid any grayish hues indicating age. The ideal thickness is 1.25 inches; thinner cuts overcook before developing proper crust.
Temperature Adjustment (The Critical 45-Minute Rule)
Remove steak from refrigerator 45 minutes before cooking. This crucial step ensures even cooking—cold centers remain undercooked while exteriors burn. Pat thoroughly dry with paper towels immediately before cooking; moisture is the enemy of proper searing.
Seasoning Strategy
Season generously with coarse kosher salt (1 teaspoon per pound) and freshly ground black pepper. For enhanced flavor, add 1/4 teaspoon garlic powder. Avoid oil-based marinades—they prevent proper browning. According to culinary research from America's Test Kitchen, salt applied 45 minutes pre-cooking improves both crust formation and interior moisture retention.
The Precision Cooking Process
Follow these exact steps for flawless results:
Step 1: Pan Preparation
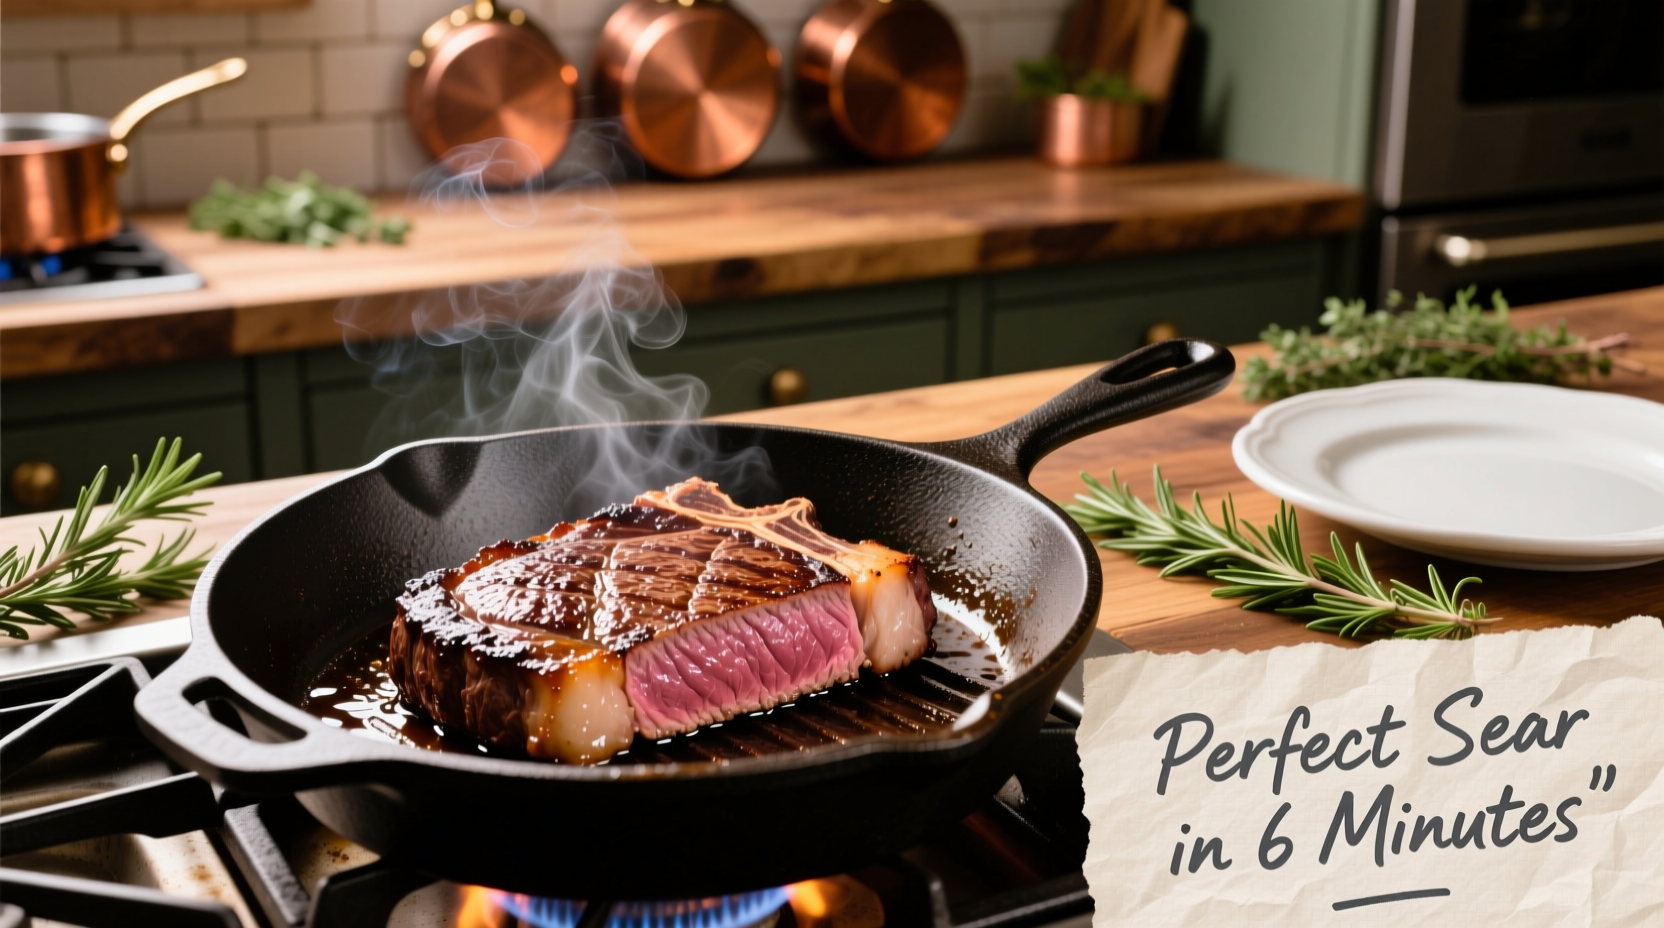
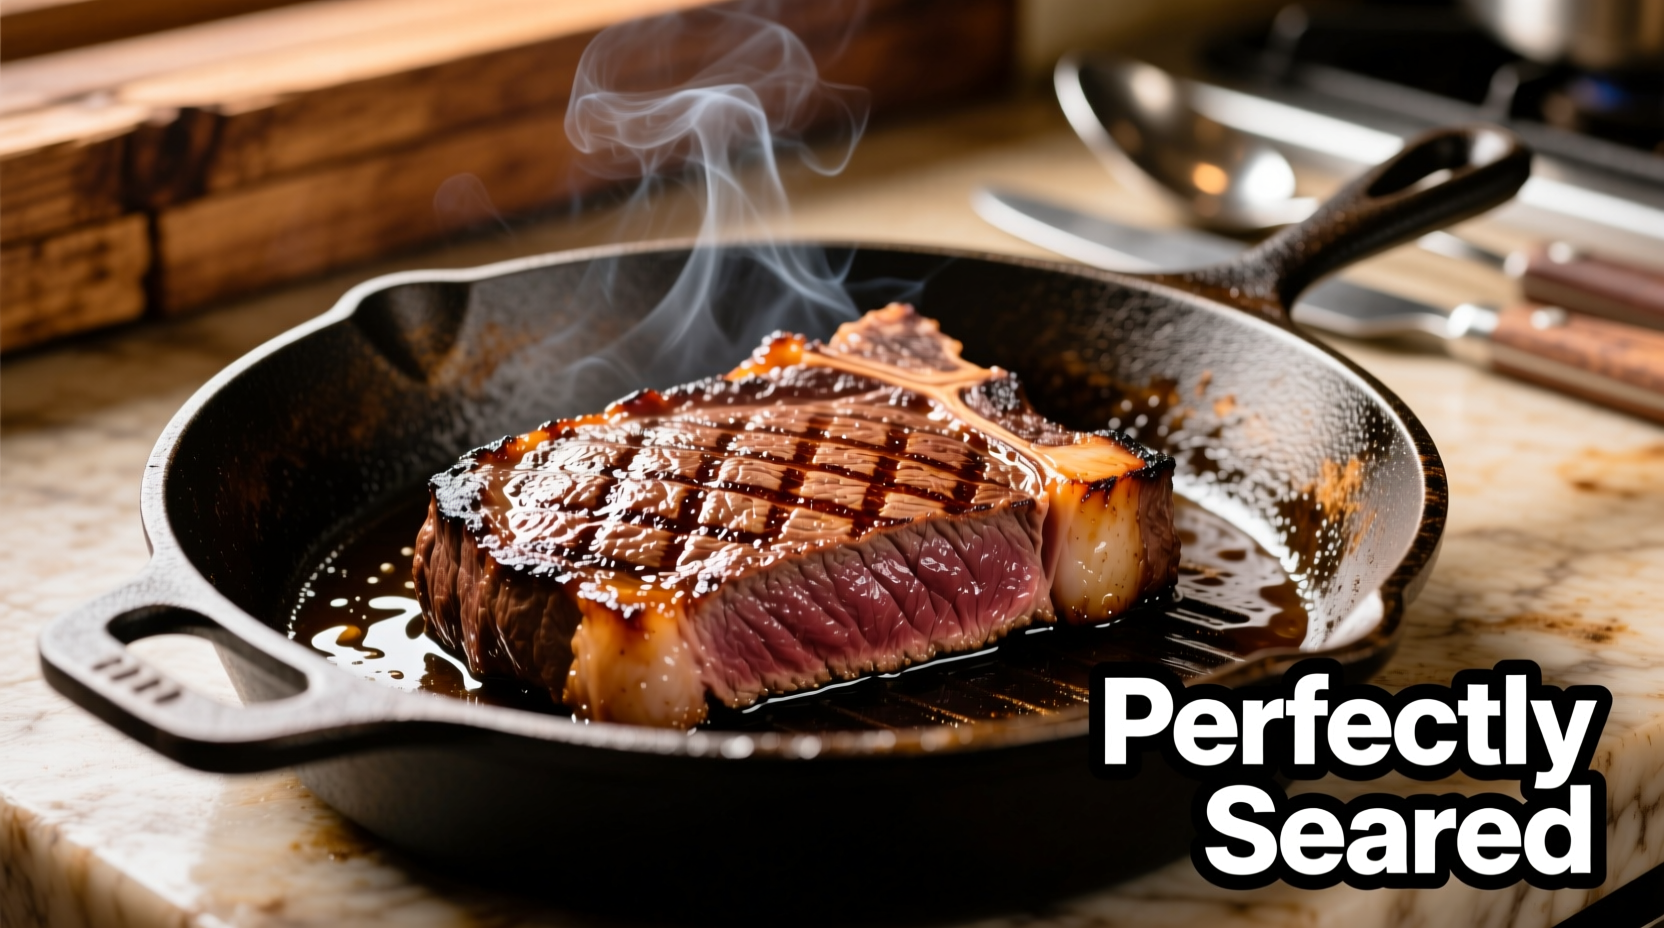
Use a heavy-bottomed cast-iron skillet—its superior heat retention creates the perfect sear. Heat over medium-high for 5 minutes until smoking slightly. Add 1 tablespoon high-smoke point oil (avocado or grapeseed). The oil should shimmer but not smoke excessively.
Step 2: Searing Technique
Place steak in pan away from you to prevent oil splatter injuries. Press gently for 10 seconds to ensure full contact. Cook undisturbed for 3.5 minutes—this develops the crust. Flip using tongs (never pierce with a fork) and cook another 3 minutes for medium-rare.
Step 3: Butter Basting Method
After first flip, add 2 tablespoons unsalted butter, 2 smashed garlic cloves, and fresh thyme sprigs to the pan. Tilt pan slightly and spoon melted butter continuously over the steak for the final 2 minutes of cooking. This infuses flavor without burning the exterior.
Step 4: Temperature Verification
Insert an instant-read thermometer horizontally into the thickest part:
- Rare: 120-125°F (remove at 115°F)
- Medium-rare: 130-135°F (remove at 125°F)
- Medium: 140-145°F (remove at 135°F)
USDA Food Safety and Inspection Service confirms 145°F as the minimum safe temperature for beef, followed by 3-minute rest time (source).
Step 5: The Mandatory Rest
Transfer steak to a wire rack (not plate) and rest for 8-10 minutes. This allows juices to redistribute—cutting too soon releases precious moisture. The internal temperature will rise 5-10 degrees during resting.
Troubleshooting Common Issues
Even experienced cooks encounter these challenges:
Excessive Smoke
Turn on exhaust fan at highest setting before cooking. Open windows for cross-ventilation. If using electric stove, reduce heat slightly after initial sear. Gas stoves typically handle high heat better for this application.
Uneven Cooking
If one side cooks faster, rotate steak 180 degrees halfway through each side's cooking time. For significant thickness variations, position thicker section closer to heat source.
Sticking Problems
Ensure proper pan preheating—when water droplets dance on the surface, it's ready. Don't move steak until it naturally releases (about 2 minutes in). Well-seasoned cast iron prevents most sticking issues.
Serving for Maximum Impact
Cut against the grain at 45-degree angle using a sharp chef's knife. Serve immediately with simple sides that won't overpower the steak's flavor—roasted asparagus or garlic mashed potatoes work perfectly. For sauce lovers, a classic béarnaise or simple pan jus made from deglazed fond elevates without masking the beef's natural taste.


 浙公网安备
33010002000092号
浙公网安备
33010002000092号 浙B2-20120091-4