
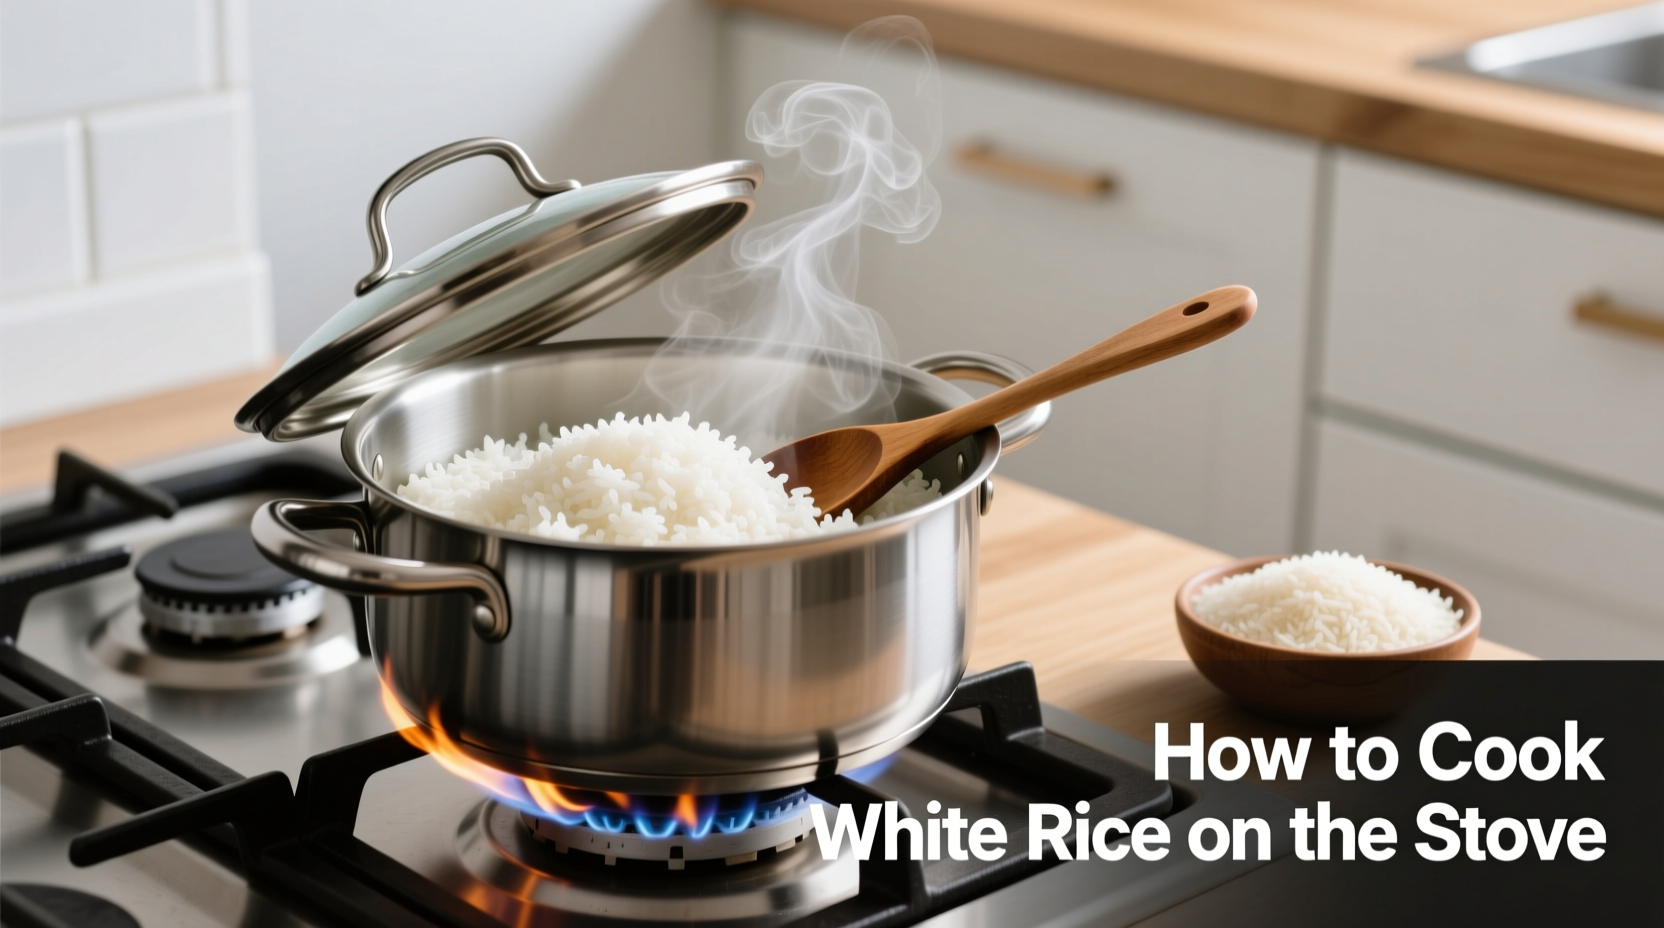
Perfect stove-top white rice requires a 1:1.5 water-to-rice ratio, 15-18 minutes simmering time, and a critical 10-minute resting period. Follow these professional chef-tested steps for consistently fluffy, non-sticky results every time.
Mastering basic white rice on the stove separates novice cooks from kitchen-confident home chefs. This fundamental skill forms the foundation for countless global cuisines and requires no special equipment—just precision and understanding of the science behind perfect grains. Whether you're preparing a simple side dish or building toward more complex recipes, getting this right transforms your cooking capabilities immediately.
Why This Method Works When Others Fail
Most home cooks encounter sticky, mushy, or unevenly cooked rice because they skip critical steps or use incorrect ratios. Professional kitchens achieve perfect rice through controlled hydration and precise temperature management. The key lies in understanding that rice isn't just absorbing water—it's undergoing a starch transformation that requires specific conditions.
Essential Equipment Checklist
Before starting, gather these items for optimal results:
- Medium heavy-bottomed saucepan with tight-fitting lid (3-4 quart capacity)
- Fine-mesh strainer for thorough rinsing
- Measuring cups (use the same cup for both rice and water)
- Fork for fluffing (never use a spoon)
- Timer (critical for precision)
Step 1: Selecting and Preparing Your Rice
Not all white rice behaves the same. For stove-top cooking, long-grain varieties like jasmine or basmati yield the fluffiest results with distinct grains. Short-grain rice (like sushi rice) requires different ratios and produces stickier results.
| Rice Type | Water Ratio | Cooking Time | Best For |
|---|---|---|---|
| Long-grain white | 1:1.5 | 15-18 min | Most side dishes |
| Jasmine | 1:1.25 | 12-15 min | Asian cuisine |
| Basmati | 1:1.33 | 14-16 min | Indian dishes |
| Converted (Uncle Ben's) | 1:2 | 20-22 min | Beginners |
Rinsing removes excess surface starch that causes stickiness. Place rice in a fine-mesh strainer and run cool water through it while gently swishing with your fingers. Continue until water runs clear—typically 2-3 rinses. This critical step makes the difference between restaurant-quality rice and clumpy disappointment.
Step 2: The Perfect Water-to-Rice Ratio
Professional chefs measure both rice and water with the same container for accuracy. For standard long-grain white rice, use 1.5 cups water per 1 cup rice. Altitude affects cooking—add 2 tablespoons more water for every 3,000 feet above sea level. Always measure rice first, then water, directly into your cooking pot.
Step 3: Cooking Process Timeline
Follow this precise sequence for foolproof results:
- Bring to boil: Combine rinsed rice and measured water in pot. Add ½ teaspoon salt. Bring to rolling boil over medium-high heat (5-7 minutes)
- Simmer transition: Once boiling, immediately reduce heat to lowest setting. Stir once, then cover tightly with lid
- Critical simmer: Cook undisturbed for exactly 15-18 minutes (depending on rice type)
- Resting period: Remove from heat but keep covered for 10 minutes (this completes cooking through steam)
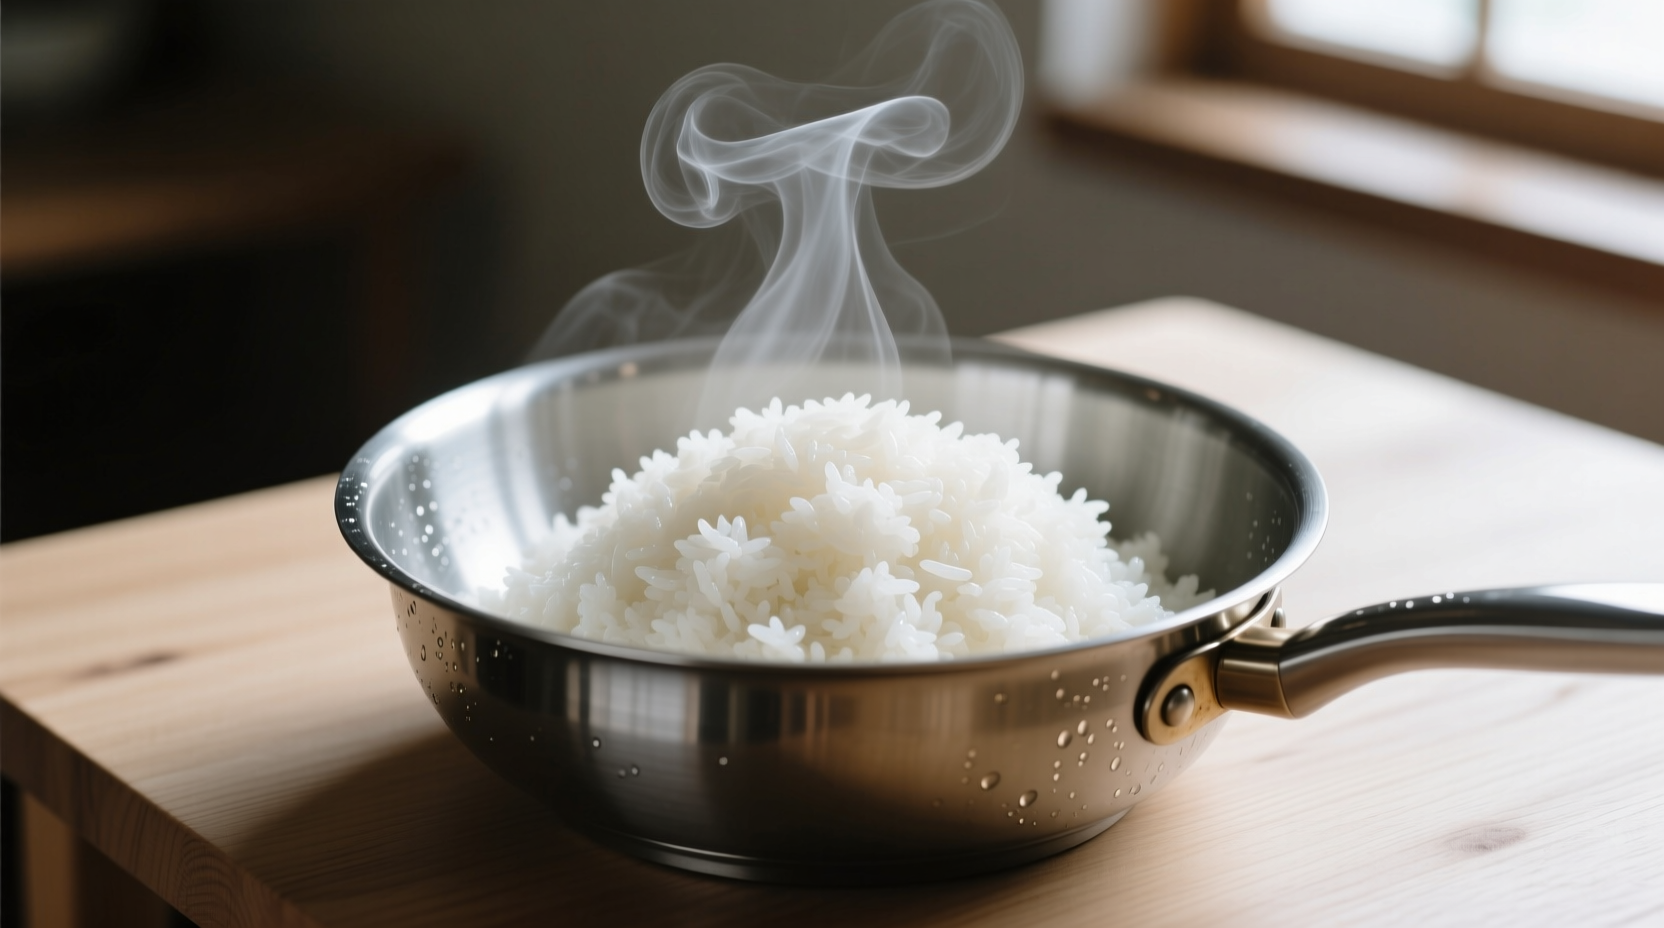
- Fluffing technique: Gently separate grains with fork using upward motion
Avoid These 3 Common Mistakes
Even experienced cooks make these critical errors that ruin otherwise perfect rice:
- Lifting the lid during cooking: Releasing steam drops temperature and creates uneven cooking. Trust the process—no peeking!
- Using incorrect heat level: Too high causes boiling over; too low prevents proper gelatinization. Maintain the faintest simmer you can achieve
- Skipping the rest period: Cutting this short leaves bottom layer mushy while top remains undercooked. The 10-minute steam rest finishes cooking evenly
Troubleshooting Your Results
Diagnose and fix common rice problems with these professional solutions:
- Burnt bottom layer: Pot too thin or heat too high. Use heavier pot next time and ensure lowest possible heat setting
- Undercooked center: Insufficient water or premature lid removal. Add 2 tablespoons water and return to lowest heat for 5 more minutes
- Mushy texture: Too much water or insufficient rinsing. Reduce water by ¼ cup next time and rinse more thoroughly
- Dry, hard grains: Not enough water or skipped rest period. Increase water ratio slightly and never skip the 10-minute rest
Storing and Reheating Leftovers
Proper storage maintains texture for future meals. Cool rice completely within 1 hour of cooking, then transfer to airtight container. Refrigerate for up to 5 days or freeze for 6 months. When reheating:
- Refrigerated rice: Sprinkle 1-2 teaspoons water per cup rice, cover, and heat on lowest stove setting 3-5 minutes
- Frozen rice: Thaw overnight in refrigerator before reheating with added moisture
- Microwave method: Not recommended—creates uneven texture. Stovetop reheating preserves grain integrity
When Stove-Top Beats Rice Cookers
While rice cookers offer convenience, stove-top cooking provides superior control for specific applications:
- When precise texture matters for dishes like biryani or pilaf
- When cooking small batches (under 2 cups)
- When you need to incorporate rice directly into a recipe's cooking process
- When you want to toast rice in fat before adding liquid for enhanced flavor
Mastering stove-top rice gives you culinary flexibility that automated appliances can't match. The tactile feedback of sound changes and steam patterns provides information no appliance can replicate.


 浙公网安备
33010002000092号
浙公网安备
33010002000092号 浙B2-20120091-4