Creating the perfect brown shade with food coloring challenges many home bakers and decorators. Unlike other colors, brown isn't typically available in standard food coloring sets, requiring you to master color mixing techniques. This guide provides precise methods, ratios, and professional tips to help you create consistent, beautiful brown hues for all your culinary creations.
The Science Behind Creating Brown Food Coloring
Brown appears when you combine complementary colors that cancel out each other's vibrancy. In food coloring, this happens when:
- Red and green neutralize each other
- Blue and orange balance to brown
- Yellow and purple create earthy tones
Professional chefs and bakers prefer starting with red and green because these colors create a more natural-looking brown than other combinations. The quality of your base food coloring significantly impacts your results—gel or paste colors work better than liquid varieties for achieving rich brown shades without watering down your batter or icing.
| Color Combination | Starting Ratio | Best For | Difficulty Level |
|---|---|---|---|
| Red + Green | 1:1 | Chocolate cakes, realistic meat colors | Beginner |
| Red + Yellow + Blue | 4:2:1 | Rich chocolate browns, deep espresso shades | Intermediate |
| Orange + Purple | 3:1 | Warm caramel tones, autumn decorations | Advanced |
Essential Tools for Perfect Brown Food Coloring
Before mixing, gather these critical items:
- Gel or paste food coloring (more concentrated than liquid)
- White ceramic or glass mixing bowls (won't stain)
- Disposable plastic droppers or toothpicks for precise application
- Color mixing chart for reference
- Small containers for test batches
According to the FDA's guidelines on food ingredients, always verify that your food coloring contains approved color additives, especially when creating custom shades for consumption.
Step-by-Step Method for Creating Brown Food Coloring
Basic Red-Green Technique (Beginner)
- Start with 10 drops of red gel food coloring
- Add 10 drops of green gel food coloring
- Mix thoroughly until completely uniform
- Adjust by adding more red for warmer brown or more green for cooler brown
Professional Primary Color Method (Intermediate)
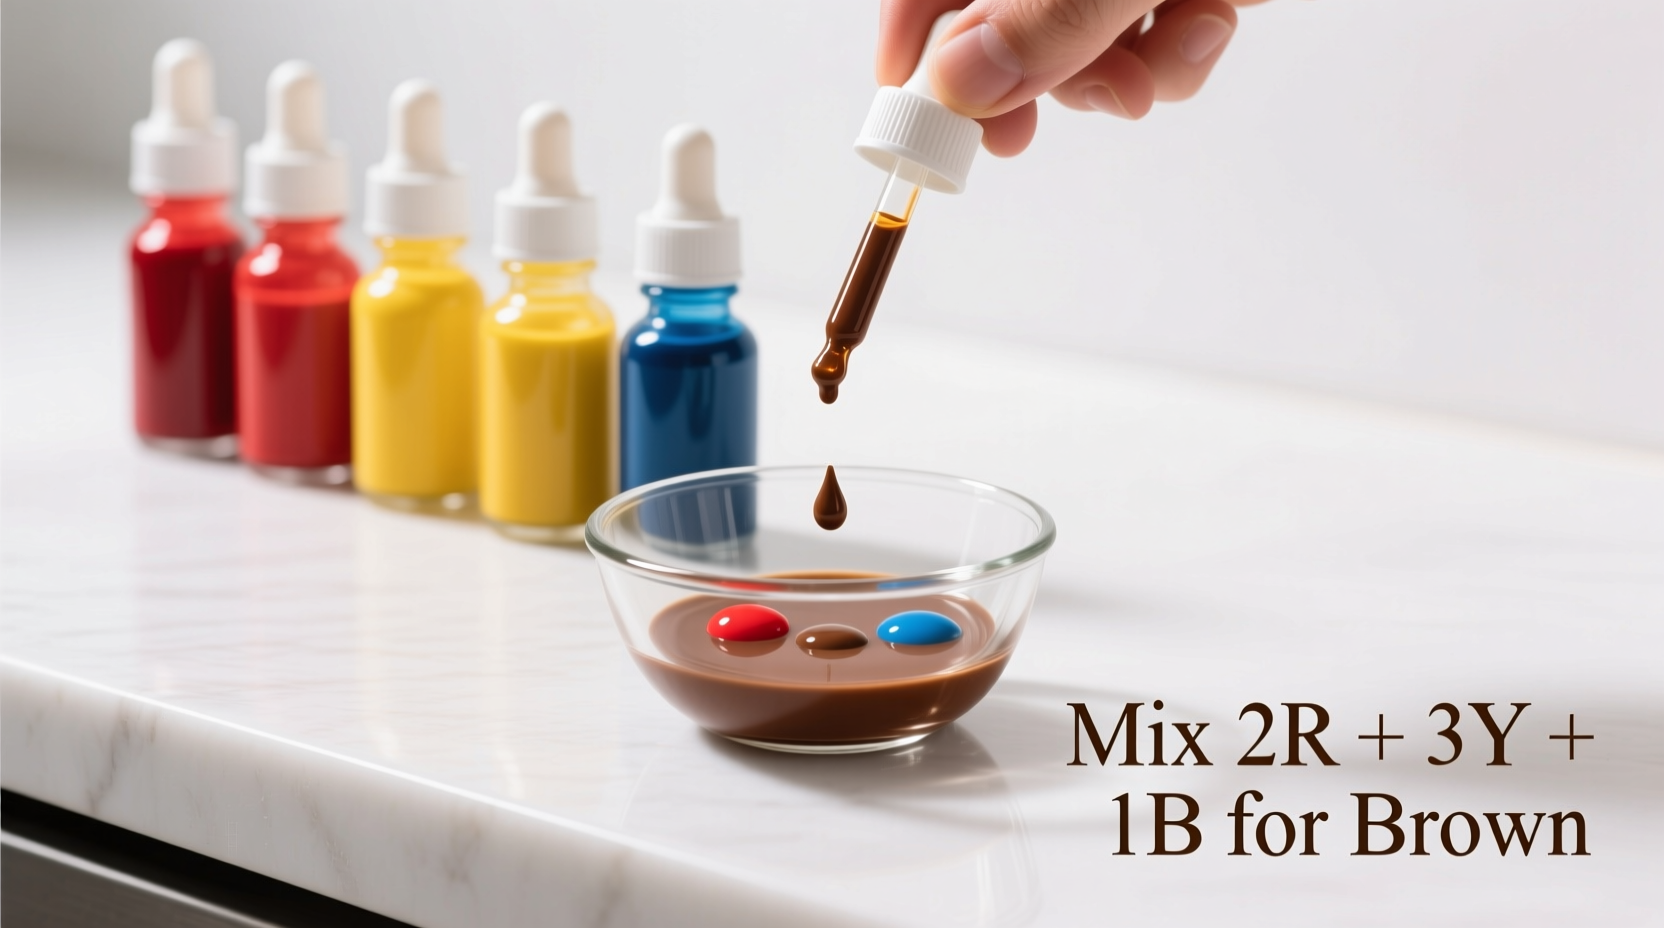
- Combine 4 drops red, 2 drops yellow, and 1 drop blue food coloring
- Mix completely until no streaks remain
- Add additional red for chocolate brown or yellow for caramel tones
- For darker brown, add tiny amounts of black or more blue

Troubleshooting Common Brown Coloring Problems
Even experienced bakers encounter these issues when making brown food coloring:
Problem: Brown appears too red
Solution: Add small amounts of green food coloring (1 drop at a time). The green neutralizes excess red tones. For chocolate applications, add a tiny bit of blue to deepen the color.
Problem: Brown looks muddy or gray
Solution: This happens when colors aren't properly balanced. Add a small amount of yellow (1/4 drop) to warm up the mixture. Professional decorators recommend using the primary color method for more consistent results.
Problem: Color changes after baking
Solution: Heat affects food coloring pigments. Create a slightly darker shade than desired, as brown typically lightens during baking. According to culinary research from the American Bakers Association, gel colors maintain their integrity better than liquid varieties when exposed to heat.
Practical Applications for Brown Food Coloring
Chocolate Cake Perfection
For authentic chocolate cake coloring, use the primary color method with a 5:2:1 ratio (red:yellow:blue). This creates a rich brown that complements cocoa powder's natural color without looking artificial.
Realistic Meat Coloring
When decorating savory dishes that require meat-like coloring, add a tiny amount of brown to mashed potatoes or other bases. Start with just 1/4 drop of your brown mixture per cup of base ingredient, then adjust as needed.
Seasonal Decorations
For Thanksgiving or autumn-themed desserts, create multiple brown shades:
- Light brown: 1 drop brown + 2 tablespoons white base
- Medium brown: 2 drops brown + 2 tablespoons white base
- Dark brown: 4 drops brown + 2 tablespoons white base
Advanced Brown Coloring Techniques
Creating Multiple Brown Shades Simultaneously
Professional bakers create a brown "base" then divide it into portions, adding different modifiers to each:
- Add red for warmer chocolate tones
- Add yellow for caramel or butterscotch shades
- Add blue for espresso or coffee browns
- Add white base to create lighter variations
Natural Brown Coloring Alternatives
For those avoiding artificial colors, consider these natural options:
- Cocoa powder (creates light brown)
- Coffee concentrate (adds warm brown tones)
- Instant espresso powder (for darker shades)
- Blackstrap molasses (creates rich, dark brown)
Remember that natural alternatives won't produce the same intensity as food coloring and may affect flavor. The USDA notes that natural colorants often require larger quantities, which can alter texture and taste of final products.
Pro Tips for Consistent Brown Results
- Mix colors in a separate container before adding to your main mixture
- Let the color rest for 10-15 minutes as shades often deepen over time
- Document your ratios for future reference
- Store extra brown coloring in airtight containers for later use
- When in doubt, start with less color—you can always add more


 浙公网安备
33010002000092号
 浙B2-20120091-4