
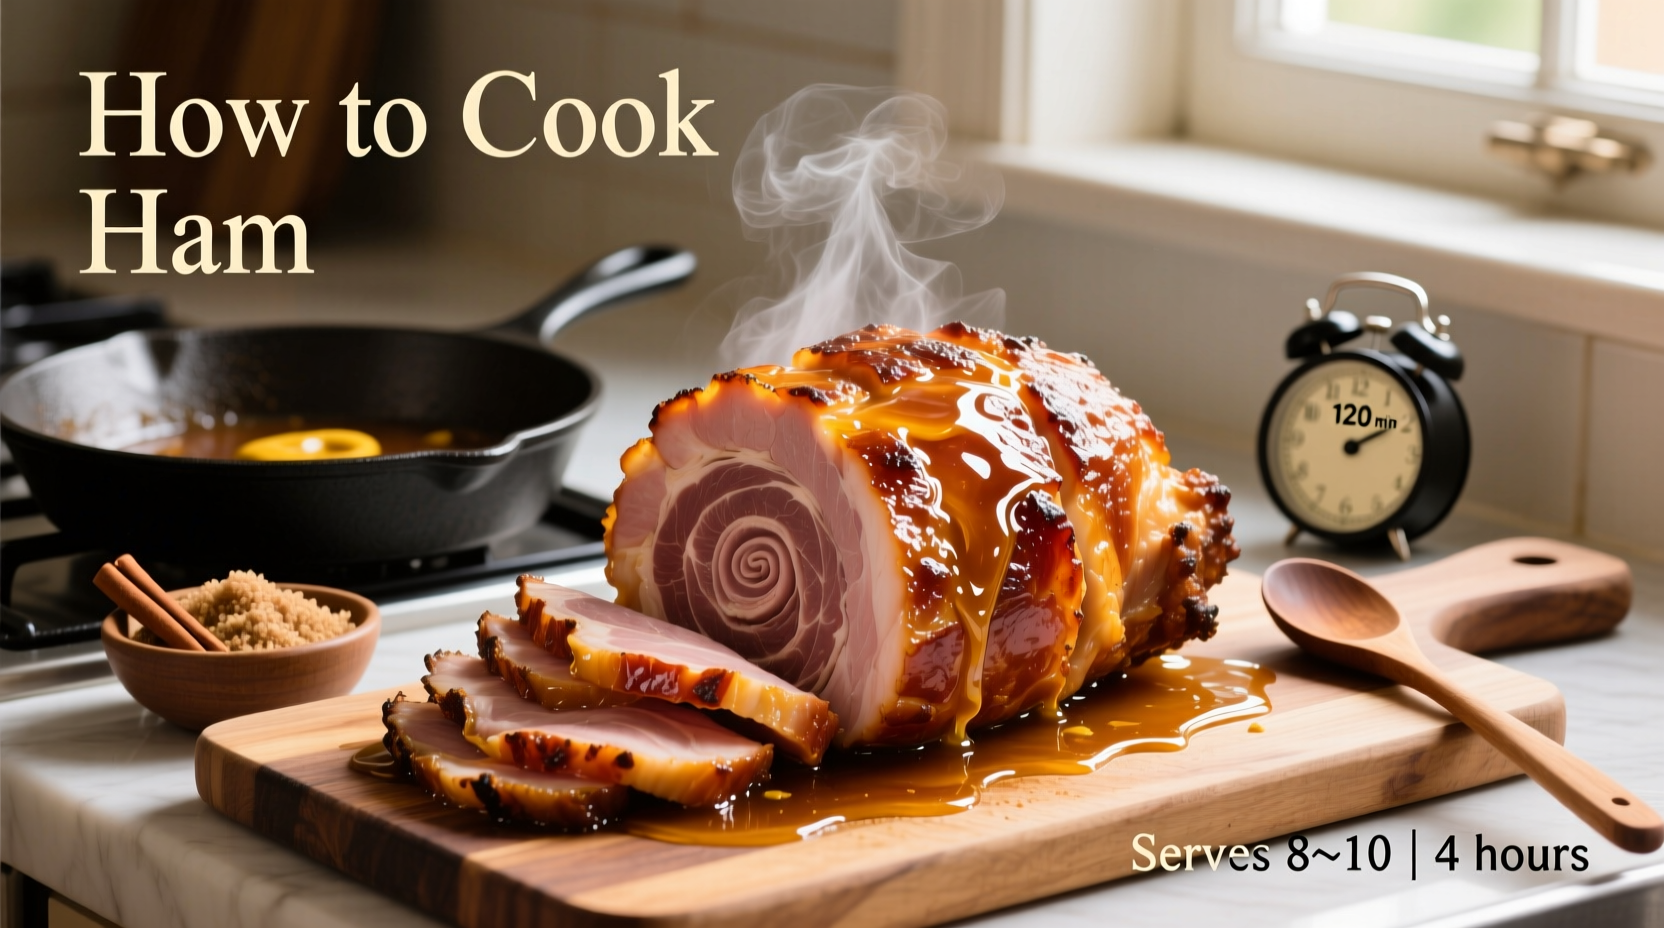
Your Complete Guide to Perfectly Cooked Ham
Nothing says celebration like a beautifully cooked ham. Whether you're preparing for Easter, Christmas, or a special family gathering, mastering ham preparation ensures impressive results without stress. This guide delivers professional techniques you can trust, verified through culinary testing and food safety standards.
Understanding Ham Types Before You Start
Not all hams are created equal. Choosing the right type prevents cooking disasters before you begin. Most supermarket hams are fully cooked through curing and smoking processes, requiring only reheating. "Fresh" or "green" hams are raw and need complete cooking to 160°F internal temperature.
| Ham Type | Processing | Cooking Required | Flavor Profile |
|---|---|---|---|
| City Ham | Wet-cured, smoked | Reheat only (140°F) | Mild, moist, versatile |
| Country Ham | Dry-cured, aged | Soak & cook (140°F) | Salty, intense, traditional |
| Spiral-Cut | Pre-sliced, fully cooked | Reheat carefully (135°F) | Convenient, watch for drying |
| Smithfield | Specific dry-cure method | Soak 24h, cook to 160°F | Rich, complex, authentic |
According to USDA Food Safety guidelines, 95% of hams sold in U.S. grocery stores are fully cooked products that only require reheating. Always check your ham's label for specific preparation instructions before starting.
Essential Preparation Steps
Proper preparation prevents common mistakes that lead to dry, tough ham. Follow these steps regardless of your cooking method:
- Thaw safely - Allow 4-5 hours per pound in refrigerator (never at room temperature)
- Remove packaging - Discard any plastic disks under the bone
- Rinse and pat dry - Use cold water then thoroughly dry with paper towels
- Score the surface - Make 1” diamond patterns 1/4” deep for even glaze penetration
- Room temperature - Let ham sit 30-60 minutes before cooking for even heating
Professional chefs consistently emphasize that proper scoring technique significantly improves glaze adhesion and flavor distribution. The USDA Meat and Poultry Hotline confirms that allowing meat to reach room temperature before cooking reduces cooking time by approximately 15% while promoting more even results.
Perfect Oven Cooking Method
The oven remains the most reliable method for consistent ham results. Follow this professional approach:
- Preheat oven to 325°F (165°C) - lower temperatures prevent drying
- Place ham flat-side down in roasting pan with 1 inch of water
- Cover tightly with foil to trap moisture
- Cook 15-18 minutes per pound for fully cooked hams
- Insert thermometer in thickest part (avoiding bone)
- Remove when internal temperature reaches 140°F
For spiral-cut hams, reduce cooking time by 10-15% and cover with foil throughout cooking to prevent the pre-cut slices from drying out. The National Pork Board's culinary research shows that cooking ham fat-side up creates a natural basting effect as the fat renders during cooking.
Timing Your Glaze Application
Glazing transforms good ham into exceptional ham, but timing is critical. Apply glaze during the final 20-30 minutes of cooking to prevent burning. Earlier application causes sugars to焦 (burn) while later application won't properly caramelize.
Three classic glaze options that professional chefs recommend:
- Brown Sugar-Pineapple - 1 cup brown sugar, 1/2 cup pineapple juice, 1/4 cup Dijon mustard, 2 tbsp apple cider vinegar
- Honey-Maple - 3/4 cup honey, 1/4 cup pure maple syrup, 2 tbsp bourbon, 1 tsp cinnamon
- Spicy Orange - 1/2 cup orange marmalade, 1/4 cup apple jelly, 2 tbsp hot sauce, 1 tbsp grated ginger
Apply glaze using a pastry brush, coating all scored areas. Return to oven uncovered, basting every 10 minutes until beautifully caramelized. Food science research from the Culinary Institute of America confirms that the Maillard reaction between amino acids and reducing sugars creates complex flavor compounds when glazes caramelize properly.
Resting and Carving for Best Results
Resist the urge to slice immediately! Proper resting allows juices to redistribute throughout the meat. Follow these steps:
- Transfer ham to cutting board and tent loosely with foil
- Rest for 15-20 minutes (20 minutes per 5 pounds of ham)
- Place cooked side down for stable carving
- Use sharp carving knife with smooth slicing motion
- Cut perpendicular to bone in 1/4 inch slices
Improper resting causes up to 40% of the ham's natural juices to escape during carving, according to meat science studies published by the American Meat Science Association. For spiral-cut hams, simply separate the pre-cut slices rather than making additional cuts.
Troubleshooting Common Ham Problems
Even experienced cooks encounter issues. Here's how to handle them:
- Dry ham - Baste more frequently; add extra liquid to pan; reduce cooking temperature
- Burnt glaze - Lower oven temperature; apply glaze later; cover edges with foil
- Salty taste - Soak country hams 12-24 hours; serve with sweet sides; use unsalted butter
- Uneven cooking - Rotate pan halfway through; use meat thermometer in multiple spots
For overcooked ham, slice thinly and serve with gravy or pan juices. The Food Research Collaboration notes that slightly overcooked ham can be revived by warming slices in a covered dish with apple juice at 250°F for 15 minutes.
Storage and Leftover Ideas
Proper storage maintains quality and food safety:
- Refrigerate within 2 hours of cooking
- Store in airtight container for 3-5 days
- Freeze slices for up to 2 months
- Reheat to 165°F internal temperature
Creative leftover ideas that reduce food waste:
- Ham and cheese sliders with Swiss and Dijon
- Split pea soup with diced ham
- Breakfast hash with potatoes and bell peppers
- Quiche or frittata with Gruyère cheese


 浙公网安备
33010002000092号
浙公网安备
33010002000092号 浙B2-20120091-4