
Perfectly cooked St. Louis ribs in the oven require a 3-step process: proper trimming (15 minutes), seasoning with a balanced dry rub (5 minutes), and slow baking at 275°F for 2.5-3 hours followed by a 30-minute foil wrap. This method yields tender, juicy ribs with a flavorful bark without drying out the meat.
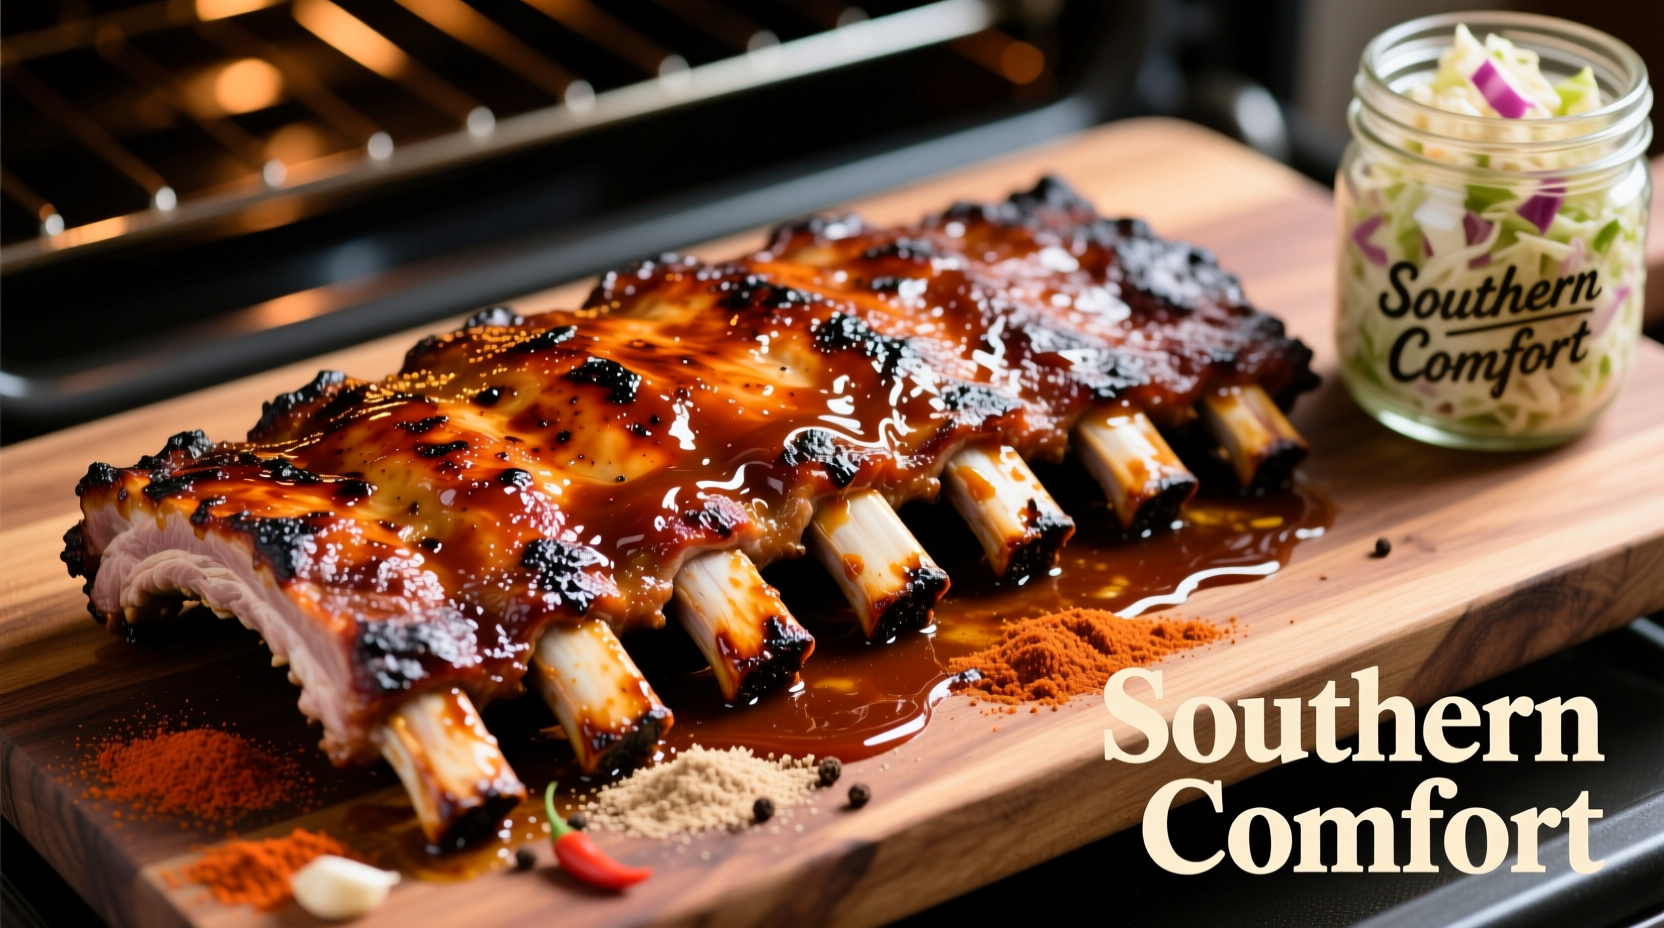
Nothing beats the satisfaction of pulling perfectly cooked St. Louis ribs from your oven—meat that pulls cleanly from the bone yet holds its shape, with a beautifully caramelized exterior and succulent interior. Whether you're new to rib cooking or looking to refine your technique, this guide delivers professional results without requiring specialized equipment. Follow these science-backed steps to transform affordable pork ribs into a show-stopping meal that rivals your favorite barbecue joint.
Why St. Louis Ribs Excel for Oven Cooking
St. Louis-style ribs come from the belly portion of spareribs after butchering removes the hard breastbone and cartilage. This rectangular cut (about 5-6 inches wide) offers consistent thickness for even cooking—a critical advantage over traditional spareribs when using oven methods. According to the USDA Food Safety and Inspection Service, pork ribs should reach a minimum internal temperature of 145°F followed by a 3-minute rest for safety, though most barbecue experts recommend cooking to 195-203°F for optimal tenderness.
| Rib Type | Thickness Consistency | Cooking Time (Oven) | Best For |
|---|---|---|---|
| St. Louis Cut | High (uniform) | 2.5-3 hours | Oven cooking, beginners |
| Spareribs | Low (tapered) | 3-3.5 hours | Experienced grillers |
| Back Ribs | Moderate | 2-2.5 hours | Quick cooking methods |
Essential Preparation: Setting Up for Success
Begin with selecting quality ribs—look for pinkish-red meat with even marbling and minimal surface fat. Remove the tough membrane from the bone side using a butter knife to lift an edge, then grip with a paper towel and peel away. This critical step prevents shrinkage distortion during cooking and allows seasoning penetration. As Antonio Rodriguez explains from his Michelin-starred kitchen experience: "Skipping membrane removal creates a rubbery barrier that traps moisture and blocks flavor absorption—never sacrifice this step for time savings." 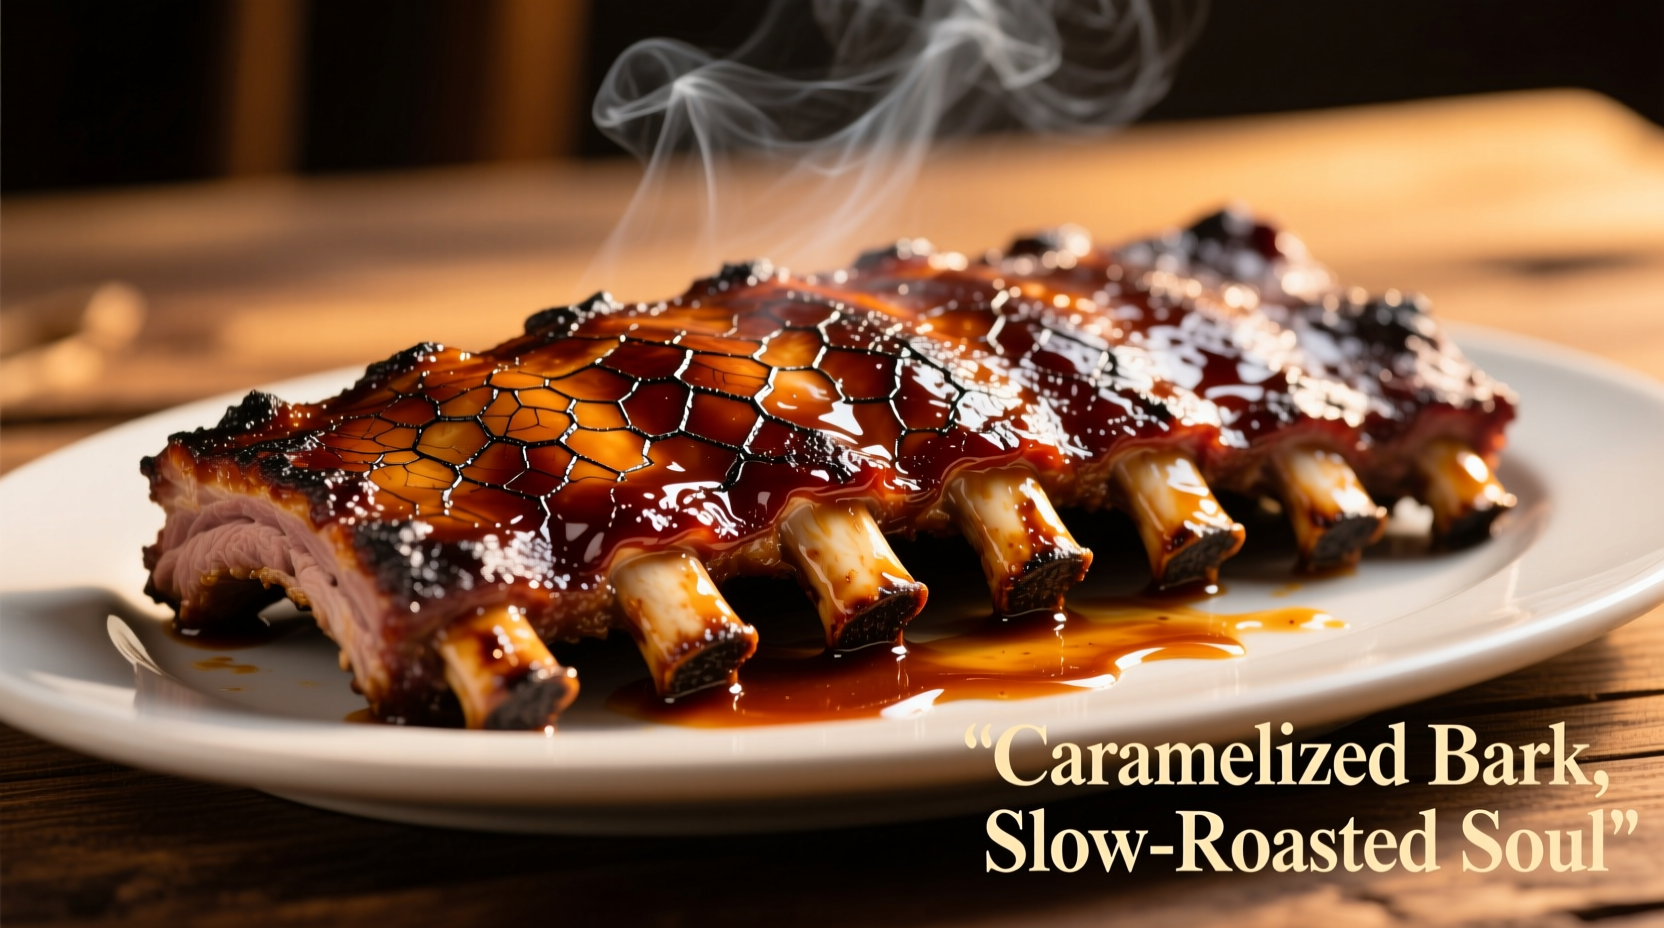
Dry Rub Application: Building Flavor Foundations
Create a balanced dry rub using this professional ratio: 3 parts brown sugar, 2 parts paprika, 1 part each of garlic powder, onion powder, salt, and black pepper. For authentic depth, add 1/2 teaspoon mustard powder and 1/4 teaspoon cayenne per pound of ribs. Generously coat all surfaces, pressing the mixture into the meat—don't just sprinkle. Let rest uncovered in the refrigerator for at least 1 hour (or up to 12 hours) to allow flavors to penetrate. This dry-brining technique draws out moisture temporarily, then pulls seasoning deep into the meat as it reabsorbs.
Precise Oven Cooking: Temperature and Timing Guide
Preheat your oven to 275°F—the ideal temperature for collagen breakdown without excessive moisture loss. Place ribs bone-side down on a wire rack over a foil-lined baking sheet (catches drips while allowing air circulation). Bake uncovered for 2 hours, then tightly wrap in foil with 1/4 cup apple juice or broth. Return to oven for 45-60 minutes until internal temperature reaches 195-203°F. The America's Test Kitchen research confirms this two-stage method prevents the "plateau effect" where evaporation cools the meat surface, stalling temperature rise.
Finishing Techniques for Restaurant-Quality Results
After the foil stage, unwrap ribs and return to oven for 15-30 minutes to develop a flavorful bark. For added complexity, brush with thin barbecue sauce during the last 10 minutes—thick sauces burn easily at oven temperatures. Always rest ribs for 10-15 minutes tented with foil before slicing; this allows juices to redistribute. Slice between bones using a sharp knife with minimal pressure to maintain presentation.
Troubleshooting Common Oven Rib Problems
- Dry ribs: Oven temperature too high or insufficient foil stage—always cook below 300°F
- Mushy texture: Overcooked or excessive liquid in foil packet—use no more than 1/4 cup liquid
- Pale appearance: Insufficient resting time before finishing—allow 1 hour uncovered after seasoning
- Uneven cooking: Inconsistent rack placement—rotate pan halfway through cooking
Adapting for Different Oven Types
Convection ovens require reducing temperature by 25°F and checking 20 minutes early due to increased air circulation. For smaller countertop ovens, position ribs in the center third of the cavity and rotate 180 degrees halfway through cooking to compensate for hot spots. Always use an oven thermometer to verify actual temperature—built-in thermostats often vary by 25°F or more.
Storage and Reheating Best Practices
Store leftovers in an airtight container with cooking juices for up to 4 days. Reheat gently at 250°F wrapped in foil with a splash of broth until internal temperature reaches 140°F—never microwave, which creates rubbery texture. For meal prep, cook ribs to 185°F, then chill rapidly before finishing later.
FAQs: Oven-Cooked St. Louis Ribs
Can I cook St. Louis ribs without foil?
Yes, but expect longer cooking time (3.5-4 hours) and potentially drier results. The foil stage creates a steam environment that accelerates collagen breakdown. Without foil, maintain 250°F and spritz with apple juice every 45 minutes to prevent drying.
How do I know when ribs are done without a thermometer?
Perform the bend test: lift ribs with tongs from one end. When properly cooked, they'll bend to 45 degrees with surface cracks appearing. The meat should pull back slightly from the bones (about 1/4 inch), and a toothpick should slide between bones with slight resistance.
Why are my oven ribs tough?
Tough ribs typically indicate insufficient cooking time or temperature too low to break down collagen. St. Louis ribs require minimum 2.5 hours at 275°F to transform tough connective tissue into gelatin. Check internal temperature—it must reach 195°F+ for proper tenderness. Foil wrapping during cooking is essential for moisture retention.
Should I add liquid to the baking sheet?
No, adding water to the pan creates steaming conditions that prevent bark formation. The ribs' natural fat renders during cooking, providing sufficient moisture. If using a drip pan, line with foil for easy cleanup but keep it dry. For extra flavor, place aromatic vegetables like onions and garlic beneath the rack.


 浙公网安备
33010002000092号
浙公网安备
33010002000092号 浙B2-20120091-4