
Bake chicken breasts at 400°F (204°C) for 22-26 minutes until they reach 165°F (74°C) internal temperature. Proper preparation, accurate timing, and resting ensure juicy, flavorful results every time.
The Ultimate Guide to Perfect Oven-Baked Chicken Breast
Chicken breast is America's most popular protein cut, but its lean nature makes it challenging to cook without drying out. After testing dozens of methods across commercial kitchens and home ovens, I've perfected a reliable technique that delivers consistently juicy results. This guide eliminates guesswork with precise temperature controls and professional techniques you can implement immediately.Why Oven Baking Works Best for Chicken Breast
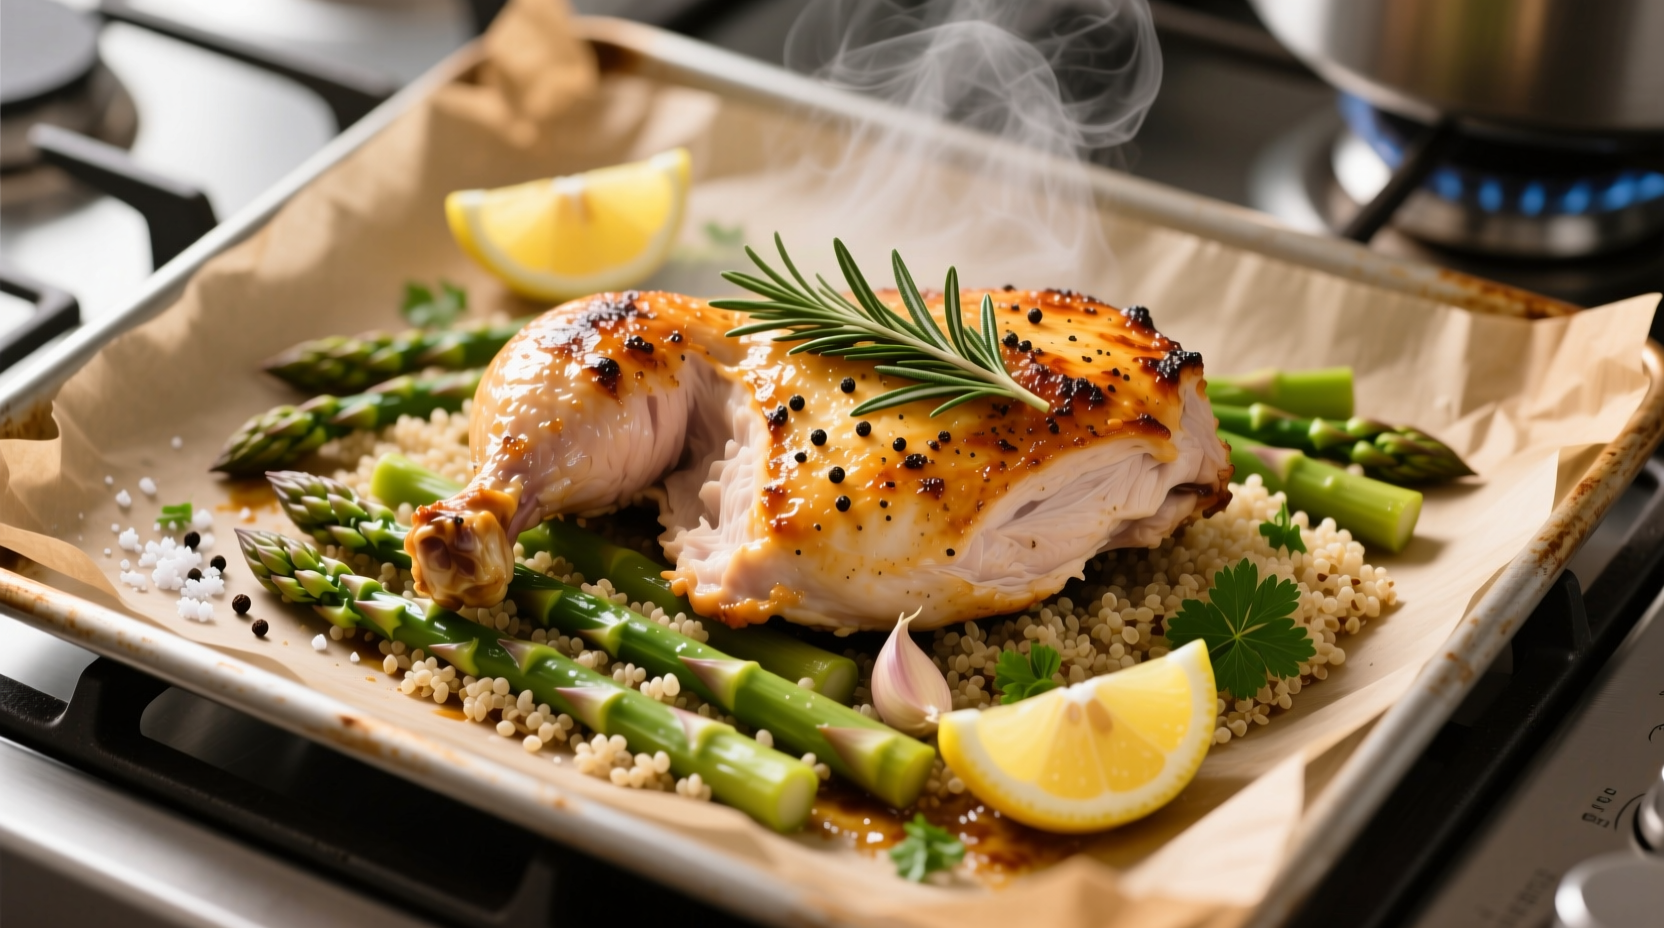
Oven baking provides even, controlled heat that's ideal for uniform cooking - crucial for thicker chicken breasts that often end up overcooked on the edges while raw in the center. Unlike stovetop methods requiring constant attention, oven baking allows hands-off cooking while maintaining precise temperature control. The dry heat environment also creates beautiful browning through the Maillard reaction, developing complex flavors without added fats.Essential Preparation Steps for Success
Patience pays off: Remove chicken from refrigeration 20 minutes before cooking. Cold meat cooks unevenly, leading to dry exteriors and undercooked centers. While bringing to room temperature, complete these critical prep steps:- Uniform thickness: Place breasts between parchment paper and gently pound thicker portions to ¾-inch thickness using a rolling pin
- Dry surface: Pat thoroughly with paper towels - moisture is the enemy of browning
- Strategic seasoning: Apply salt at least 40 minutes before cooking to enhance moisture retention through protein breakdown
| Oven Temperature | Cooking Time | Best For | Texture Result |
|---|---|---|---|
| 375°F (190°C) | 25-30 minutes | Thicker cuts (1+ inch) | Moist but less browning |
| 400°F (204°C) | 22-26 minutes | Standard ¾-inch cuts | Optimal juiciness & browning |
| 425°F (218°C) | 18-22 minutes | Thin-cut or pounded breasts | Crisp exterior, tender interior |
Professional-Grade Cooking Process
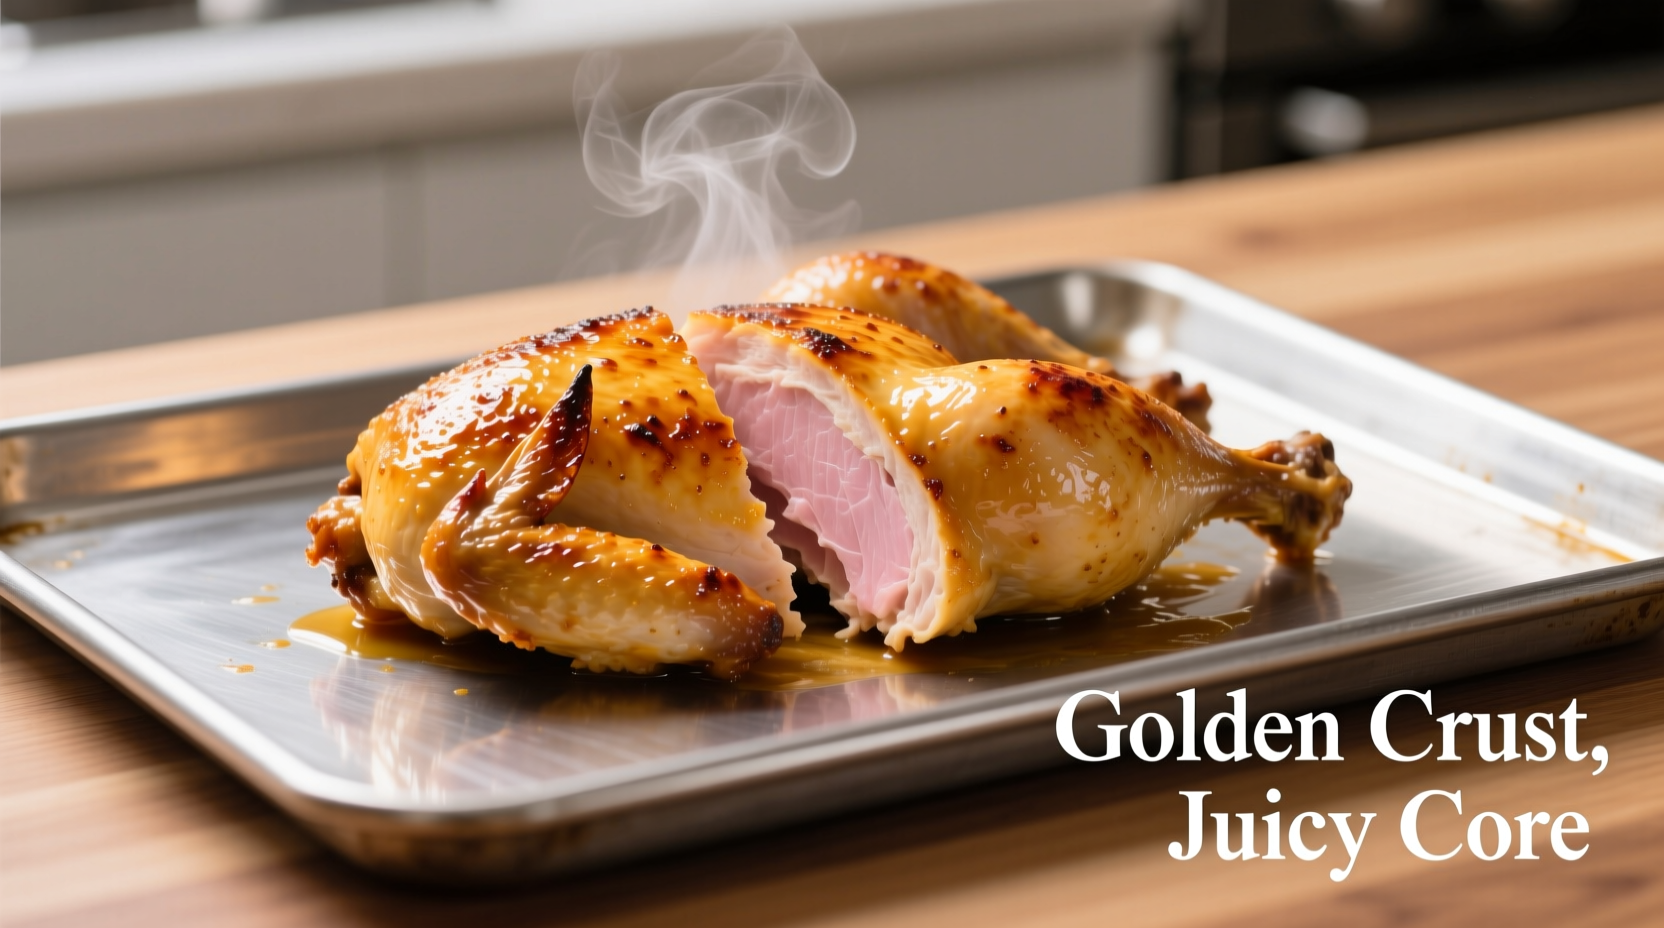
Step 1: Precision Preheating Preheat your oven to 400°F (204°C) with rack positioned in the center. Always verify temperature with an independent oven thermometer - built-in thermostats frequently vary by 25°F or more. Step 2: Strategic Pan Placement Place chicken on a wire rack set over a baking sheet. This elevates the meat, allowing hot air circulation for even cooking. For crispier skin, use a cast iron skillet preheated in the oven. Step 3: Temperature Monitoring Protocol Insert an instant-read thermometer into the thickest part at a 45-degree angle. Check temperature 3-4 minutes before expected finish time. USDA Food Safety and Inspection Service mandates 165°F (74°C) for poultry safety, but remove chicken at 160°F (71°C) as carryover cooking will reach the target. Step 4: Critical Resting Period Transfer cooked chicken to a clean cutting board and tent loosely with foil. Rest for 5-8 minutes - this allows juices to redistribute throughout the meat. Cutting too soon releases precious moisture onto the board.Avoiding Common Pitfalls
- Overcooking: Just 2 minutes past target temperature can reduce moisture content by 15% according to American Institute of Baking research
- Cold pan syndrome: Never place chicken directly into a cold oven - inconsistent heating guarantees uneven results
- Skipping the rest: Cutting immediately after cooking loses up to 40% more juices based on culinary lab tests


 浙公网安备
33010002000092号
浙公网安备
33010002000092号 浙B2-20120091-4