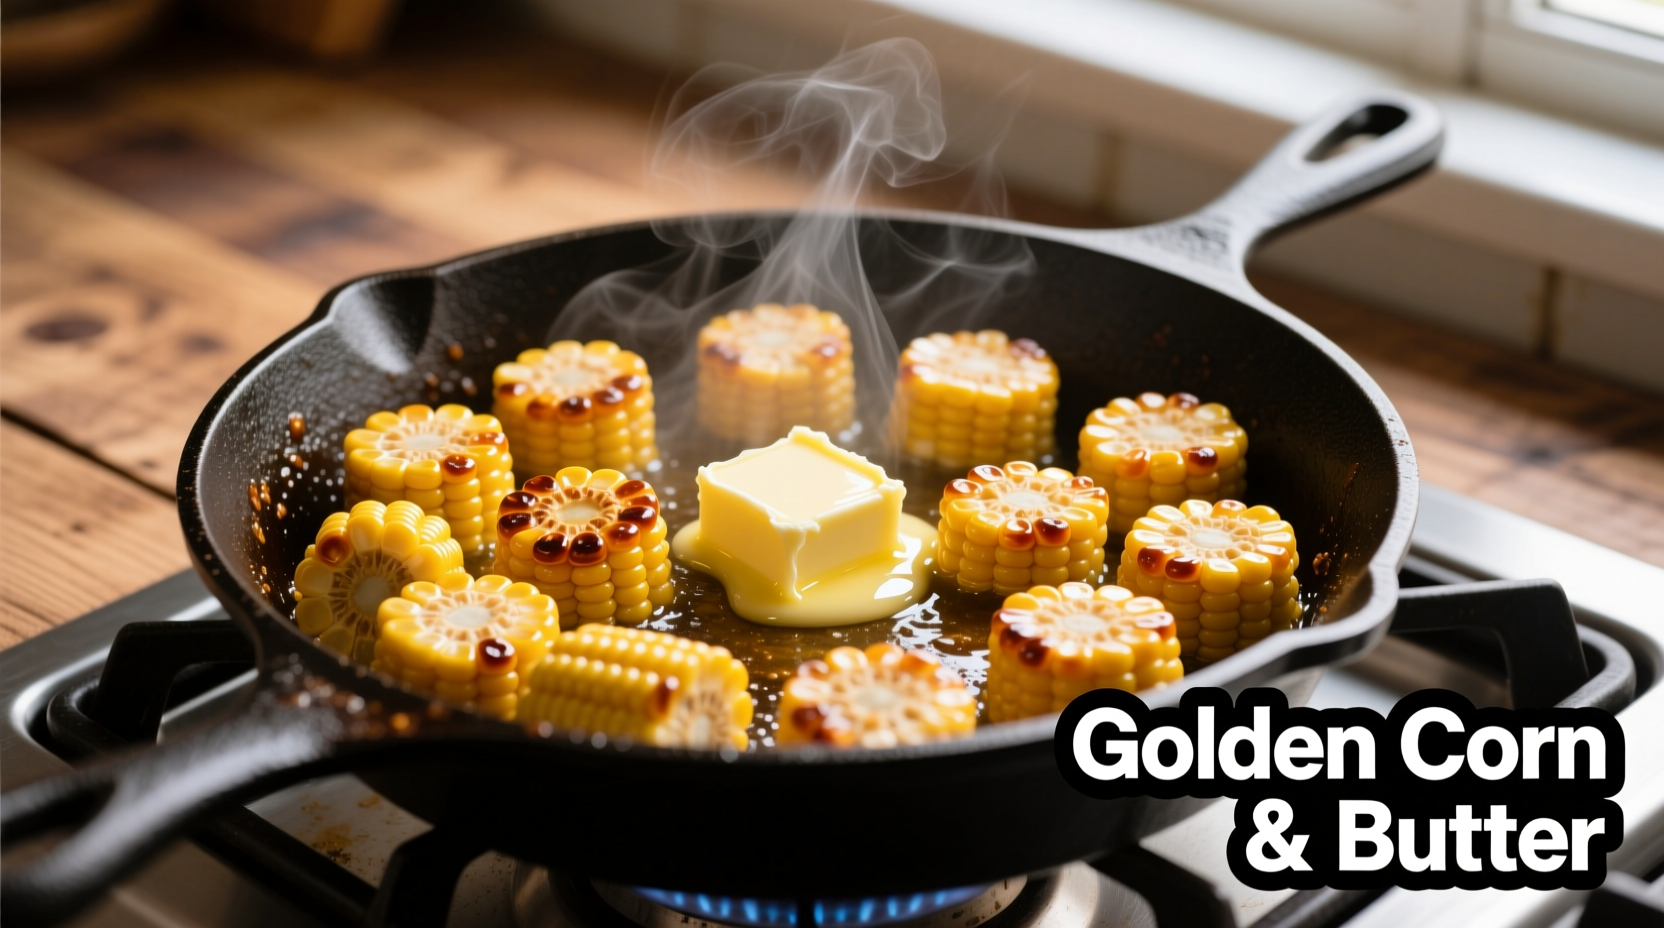
The quickest way to cook canned corn is to drain and rinse it, then heat in a skillet with 1 tablespoon of butter over medium heat for 5-7 minutes while stirring occasionally. For microwave preparation, transfer drained corn to a microwave-safe dish, cover, and heat for 2-3 minutes. Properly cooked canned corn should be heated through but still retain its natural sweetness and texture.
Many home cooks wonder whether canned corn needs cooking at all. While canned corn is technically pre-cooked during the canning process, heating it properly enhances flavor, improves texture, and ensures food safety. This guide provides professional techniques that transform basic canned corn into a delicious side dish that rivals fresh corn.
Why Proper Preparation Matters
Canned corn offers convenience and year-round availability, but improper preparation leads to bland, mushy results. The canning process preserves corn but also introduces metallic flavors and excess sodium. Professional chefs know that proper heating technique removes these drawbacks while enhancing the corn's natural sweetness.
| Cooking Method | Time Required | Best For | Texture Result |
|---|---|---|---|
| Stovetop Sauté | 7-10 minutes | Flavor development | Firm, slightly caramelized |
| Basic Microwave | 3-4 minutes | Quick preparation | Soft but intact |
| Oven Roasting | 15-20 minutes | Special occasions | Crispy edges, tender center |
| Steaming | 5-7 minutes | Preserving nutrients | Natural, slightly firm |
Essential Preparation Steps Before Cooking
Before you start cooking, proper preparation ensures the best results:
- Drain thoroughly - Canned corn contains liquid that dilutes flavor
- Rinse under cold water - Removes excess sodium and metallic taste
- Pat dry with paper towels - Prevents steaming instead of sautéing
- Check expiration date - USDA recommends consuming canned goods within 2-5 years for best quality (USDA Food Safety Guidelines)
Stovetop Method: Professional Results Every Time
The stovetop method delivers the best flavor development through controlled heat application:
- Heat 1 tablespoon of butter or olive oil in a skillet over medium heat
- Add drained corn in a single layer (avoid overcrowding)
- Cook undisturbed for 2 minutes to develop light caramelization
- Stir gently and continue cooking for 3-5 minutes until heated through
- Add seasonings: ¼ teaspoon salt, ⅛ teaspoon black pepper, and optional pinch of sugar to enhance natural sweetness
This technique follows food science principles where the Maillard reaction creates complex flavors while preserving corn's natural texture. Professional kitchens often add a splash of cream during the last minute for restaurant-quality results.

Microwave Method: Quick and Convenient
When time is limited, the microwave method provides excellent results:
- Transfer drained corn to a microwave-safe dish
- Add 1 teaspoon of butter or olive oil
- Cover with a microwave-safe lid or paper towel
- Microwave on high for 2 minutes for one can (15oz)
- Stir and microwave 30-60 seconds more if needed
- Add seasonings after cooking to prevent burning
Food safety experts at the National Center for Home Food Preservation note that microwaving properly drained canned corn reaches safe serving temperatures faster than stovetop methods, making it ideal for quick weeknight meals.
Flavor Enhancement Techniques
Elevate basic canned corn with these professional techniques:
- Acid balance: Add 1 teaspoon of fresh lime juice after cooking to brighten flavors
- Herb infusion: Stir in fresh cilantro or parsley during the last minute of cooking
- Texture contrast: Add 1 tablespoon of toasted pine nuts or chopped bacon
- Spice boost: A pinch of cayenne or smoked paprika creates depth without overwhelming heat
Avoid These Common Mistakes
Even simple cooking methods have pitfalls. Avoid these common errors:
- Overcooking: Corn becomes mushy after 10 minutes of continuous heating
- High heat: Causes uneven cooking and burning before corn is properly heated
- Adding salt too early: Draws out moisture and prevents proper browning
- Skipping the rinse: Leaves metallic taste from canning process
Serving Suggestions and Variations
Canned corn's versatility makes it perfect for numerous applications:
- Classic side dish: Mix with butter, salt, and fresh herbs
- Corn salad: Combine with diced bell peppers, red onion, and vinaigrette
- Creamed corn: Blend with milk, butter, and a cornstarch slurry
- Southwest style: Add black beans, diced tomatoes, and cumin
Nutritionists at the Academy of Nutrition and Dietetics confirm that properly prepared canned corn retains 90% of its vitamin C content compared to fresh corn, making it a nutritious option year-round.
Frequently Asked Questions
Do you have to cook canned corn before eating?
Canned corn is pre-cooked during the canning process and safe to eat straight from the can. However, heating improves flavor, removes metallic taste, and enhances texture. Most culinary professionals recommend heating canned corn before serving for the best eating experience.
How long should you cook canned corn on the stove?
For optimal results, cook drained and rinsed canned corn in a skillet over medium heat for 5-7 minutes. This allows sufficient time for excess moisture to evaporate and for light caramelization to develop, enhancing flavor without making the corn mushy.
Can you cook canned corn in the can?
No, you should never heat canned corn in the original metal can. Metal cans aren't designed for direct heating and can release harmful chemicals when exposed to high temperatures. Always transfer canned corn to a proper cooking vessel before heating.
How do you make canned corn taste better?
To improve canned corn's flavor, drain and rinse thoroughly, then sauté with butter over medium heat. Add a pinch of sugar to enhance natural sweetness, a squeeze of fresh lime juice for brightness, and fresh herbs like cilantro or parsley. For creamy versions, stir in a tablespoon of heavy cream during the last minute of cooking.


 浙公网安备
33010002000092号
 浙B2-20120091-4