
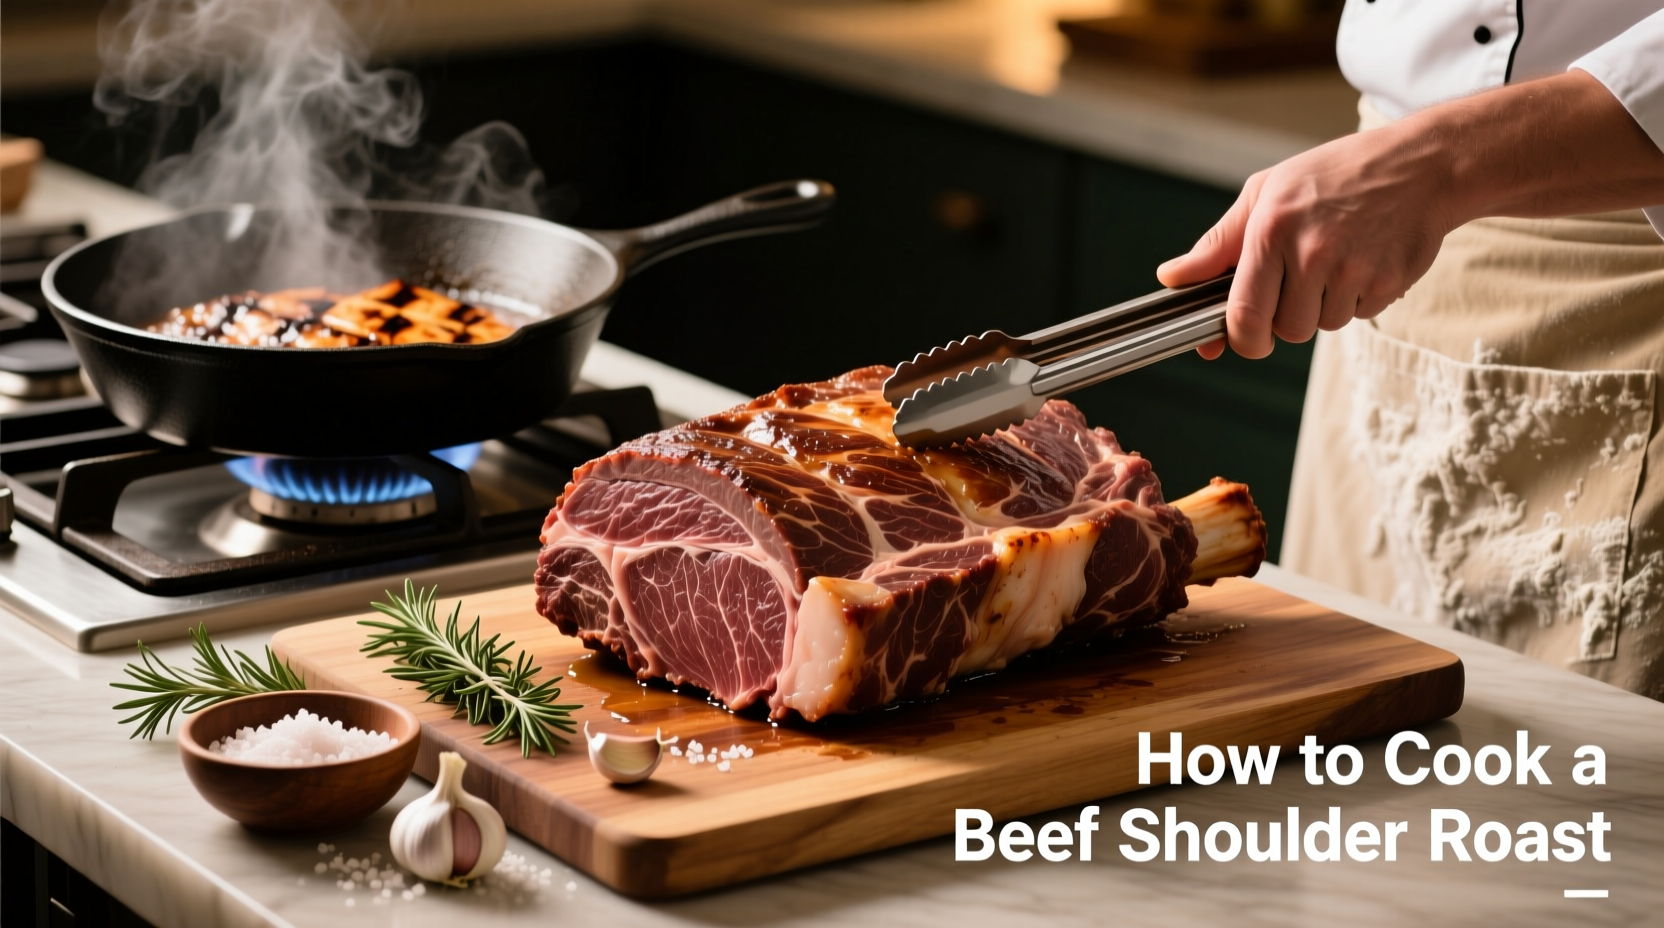
Why Beef Shoulder Roast Deserves Your Attention
Beef shoulder roast (also called chuck roast) comes from the well-exercised shoulder area of the cow, making it rich in collagen and marbling but naturally tough. Unlike premium cuts like ribeye, this economical option requires specific cooking techniques to achieve melt-in-your-mouth results. According to the USDA Food Safety and Inspection Service, tougher cuts with significant connective tissue require longer cooking at lower temperatures to properly break down collagen into gelatin without drying out the meat.
Your Beef Shoulder Roast Preparation Checklist
Before you start cooking, gather these essentials for success:
- Quality selection: Choose a roast with even marbling (about 1¼-2 inches thick) with the bone-in for maximum flavor
- Dry brine (optional but recommended): Salt the roast 24 hours before cooking for deeper seasoning penetration
- Essential equipment: Heavy Dutch oven or roasting pan, meat thermometer, carving knife
- Flavor foundation: Onions, garlic, and aromatics to create a natural jus during cooking
Step-by-Step Cooking Process for Perfect Results
Follow this professional chef-tested method for consistently tender beef shoulder roast every time:
1. Proper Seasoning and Searing (20 minutes)
Pat the roast dry with paper towels—moisture is the enemy of browning. Generously season all sides with coarse salt, freshly ground black pepper, and garlic powder. Heat 2 tablespoons of oil in a Dutch oven over medium-high heat until shimmering. Sear the roast on all sides until deeply browned (about 3-4 minutes per side), including the ends. This Maillard reaction creates complex flavor compounds essential for rich-tasting meat.
2. Building Flavor Layers (15 minutes)
Remove the roast and add 1 diced onion, 3 smashed garlic cloves, and 2 chopped carrots to the pot. Cook until softened (5-7 minutes), scraping up the browned bits from the sear. These fond deposits contain concentrated flavor that will enrich your jus. Add 1 cup of beef broth or red wine to deglaze the pan completely.
| Cooking Method | Temperature | Time Per Pound | Final Internal Temp |
|---|---|---|---|
| Oven Roasting | 275°F (135°C) | 50-60 minutes | 195°F (90°C) |
| Slow Cooker | Low setting | 7-8 hours | 195°F (90°C) |
| Instant Pot | High pressure | 45 minutes + 15 natural release | 195°F (90°C) |
3. The Critical Low-and-Slow Cooking Phase (4-5 hours)
Return the seared roast to the pot, positioning it fat-side up. Add enough additional broth to come halfway up the sides of the roast (never submerging it). Cover tightly with a lid or foil and transfer to a preheated 275°F (135°C) oven. Cook until the internal temperature reaches 195°F (90°C) when measured in the thickest part with a meat thermometer. This extended cooking time at low temperature allows collagen to fully convert to gelatin, transforming tough fibers into succulent, pull-apart tenderness.
According to culinary research from America's Test Kitchen, shoulder roast requires cooking beyond standard medium-rare temperatures because the connective tissue doesn't fully break down until reaching 190-200°F. This explains why many home cooks end up with tough results—they're pulling the roast too early based on standard beef temperature guidelines.
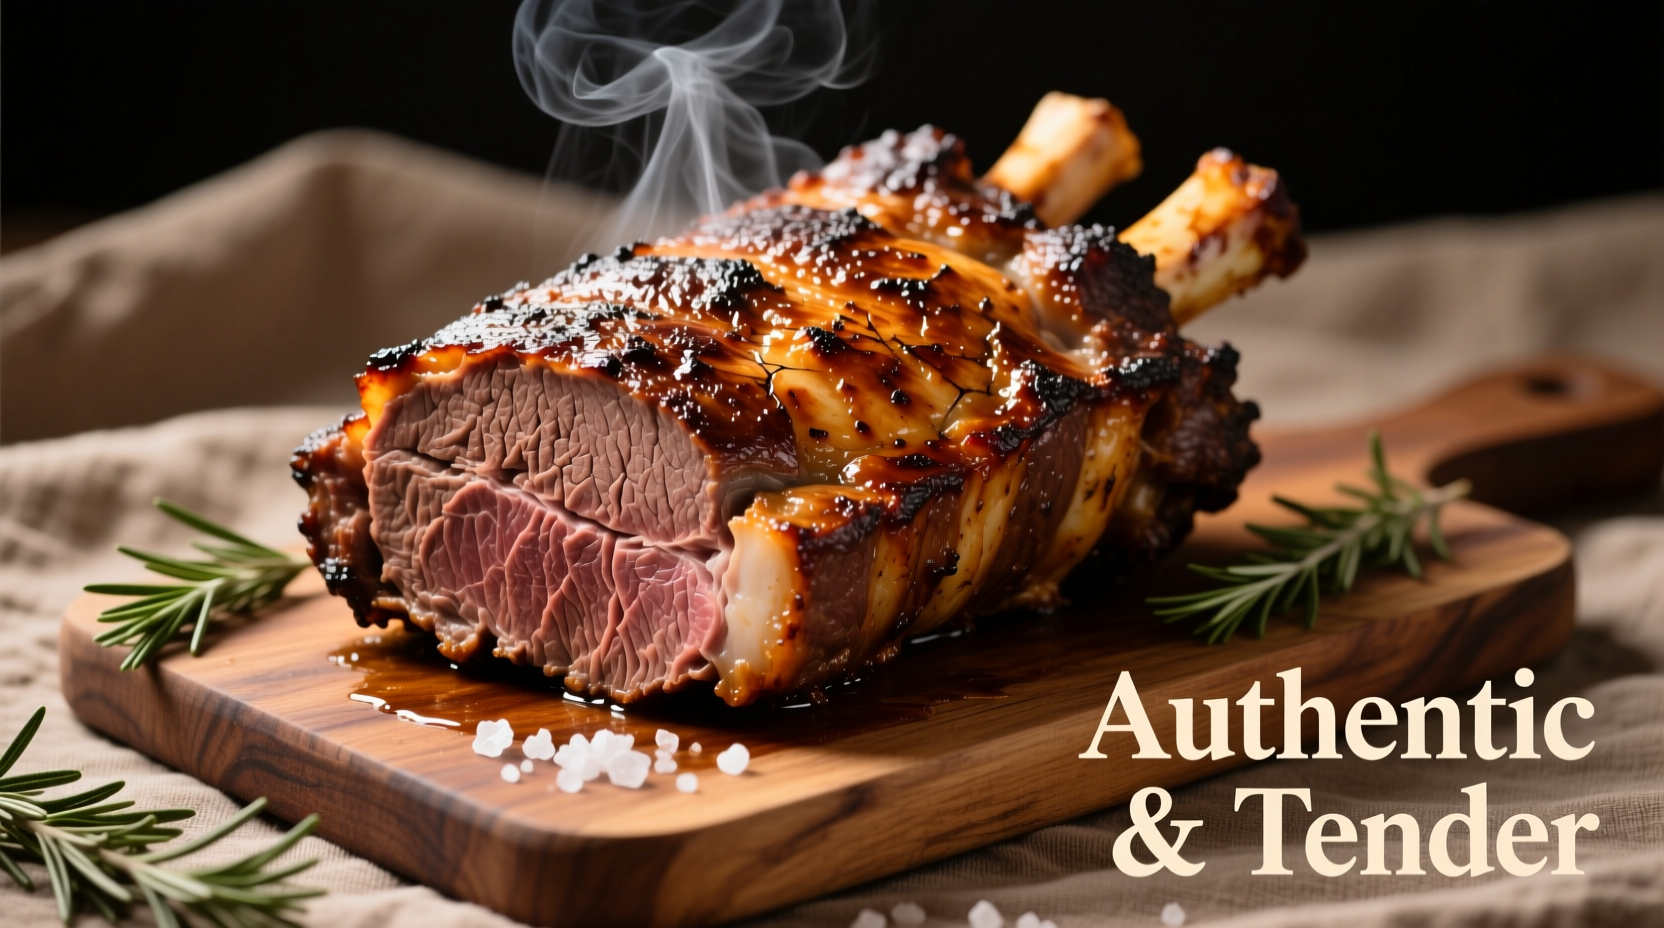
4. The Essential Resting Period (30 minutes minimum)
Remove the roast from the oven and tent loosely with foil. Let it rest for at least 30 minutes before carving. This crucial step allows the muscle fibers to reabsorb juices that would otherwise pour out when sliced. During this time, prepare your side dishes and reduce the cooking liquid into a rich gravy by simmering uncovered for 15-20 minutes.
Troubleshooting Common Beef Shoulder Roast Problems
Even with careful preparation, issues can arise. Here's how to handle them:
- Dry results: Usually caused by insufficient cooking time or temperature too high. Next time, reduce oven temperature by 25°F and extend cooking time. Add 1/4 cup additional liquid during cooking if needed.
- Tough texture: Indicates undercooking. Return to oven and continue cooking in 30-minute increments until fork-tender. Shoulder roast must reach 190-200°F internal temperature for proper tenderness.
- Excessive shrinkage: Trimming too much fat before cooking causes this. Leave at least 1/4 inch of fat cap intact—it renders during cooking and keeps the meat moist.
Serving and Storage Guidelines
When carving your perfectly cooked shoulder roast, slice against the grain for maximum tenderness. For pulled beef applications, simply use two forks to shred the meat once it's reached proper doneness. Leftovers maintain quality for 3-4 days when stored in an airtight container with some of the cooking liquid.
For food safety, the USDA recommends cooling leftovers within 2 hours of cooking. Reheat gently in the microwave with a splash of broth to restore moisture, or transform leftovers into sandwiches, tacos, or pot pie filling.


 浙公网安备
33010002000092号
浙公网安备
33010002000092号 浙B2-20120091-4