
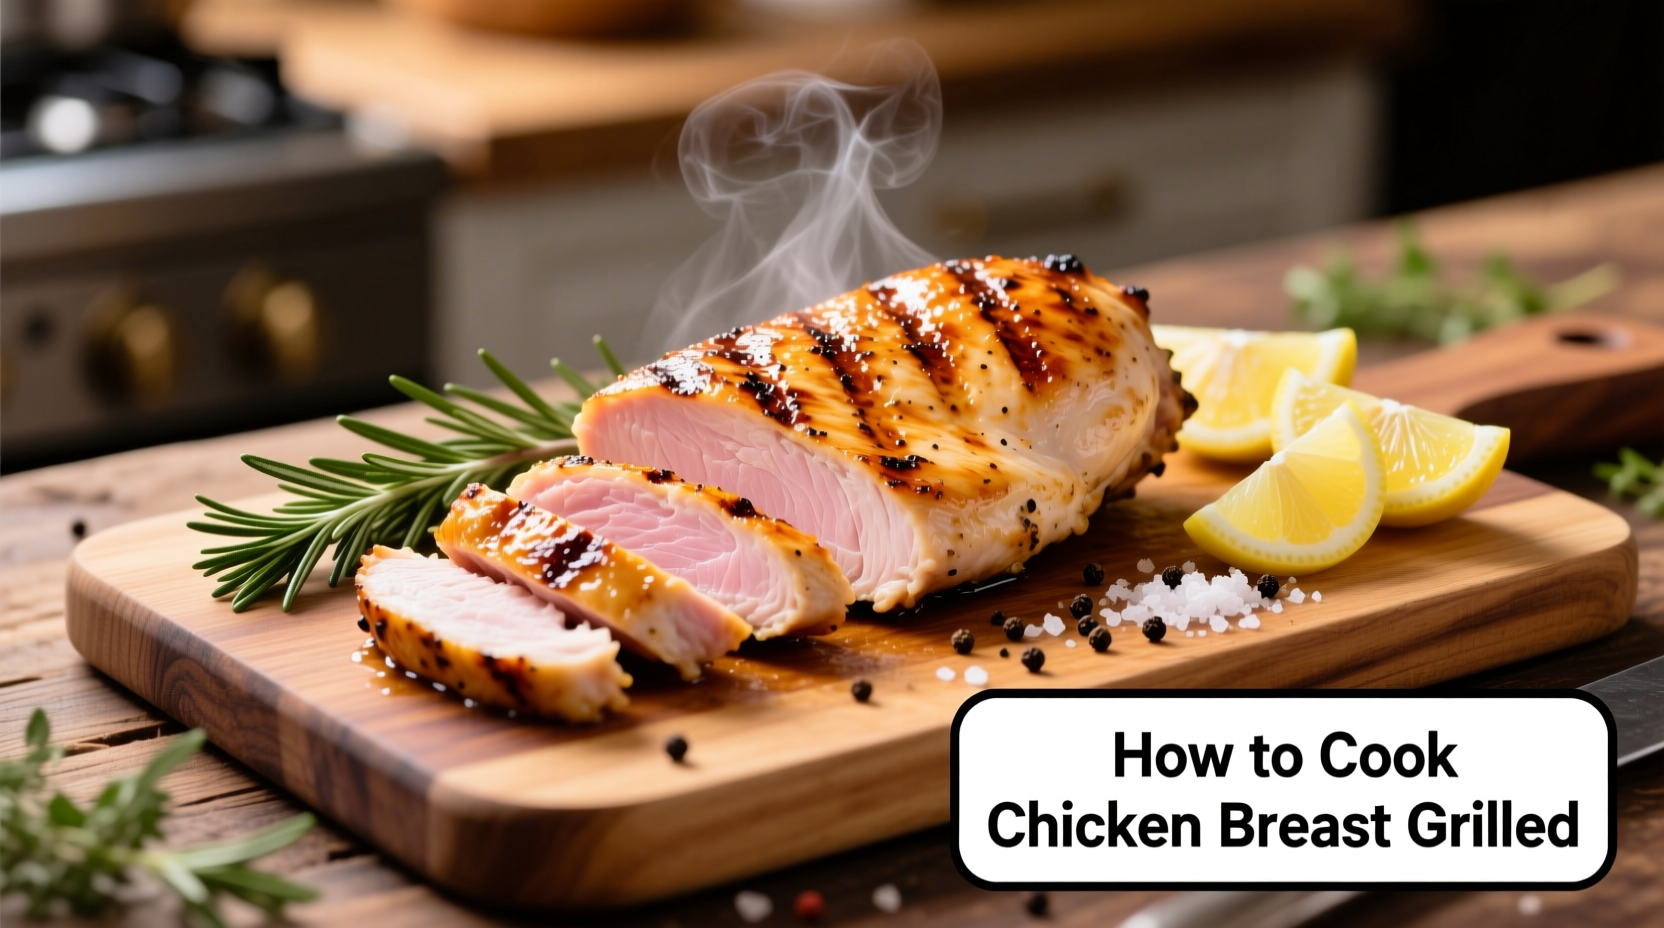
Your Path to Perfectly Grilled Chicken Breast
Nothing ruins a summer barbecue faster than dry, rubbery chicken breast. As a chef who's grilled thousands of chicken breasts across professional kitchens and backyard setups, I've refined a foolproof method that delivers juicy, flavorful results consistently. The secret lies not just in cooking time, but in understanding the science of protein transformation and heat management.
Why This Method Works When Others Fail
Most home cooks make three critical mistakes: skipping proper temperature equilibration, using inconsistent heat, and cutting too soon after grilling. Chicken breast contains little fat, making it prone to drying out when proteins contract rapidly from temperature shock. By following these evidence-based steps, you'll avoid the common pitfalls that lead to disappointing results.
Pre-Grill Preparation: Setting Yourself Up for Success
Chicken selection matters - Choose breasts of uniform thickness (6-8 ounces each) for even cooking. If using frozen chicken, thaw completely in the refrigerator for 24 hours before cooking. Never cook frozen chicken directly on the grill as it creates uneven temperature zones.
Brining transforms texture - For guaranteed juiciness, prepare a simple brine: 4 cups water, ¼ cup salt, and 2 tablespoons sugar. Submerge chicken for 30-60 minutes (never longer, which makes meat mushy). This scientific process helps the muscle fibers retain moisture during cooking. For quick preparation, skip brining but never skip the salt - generously season at least 15 minutes before grilling to allow penetration.
| Chicken Thickness | Recommended Brine Time | Resting Time Before Grilling |
|---|---|---|
| 1 inch or less | 30 minutes | 15 minutes |
| 1-1.5 inches | 45 minutes | 20 minutes |
| Over 1.5 inches | 60 minutes | 30 minutes |
According to USDA Food Safety and Inspection Service guidelines, proper brining not only improves texture but also creates a less hospitable environment for bacteria during the initial cooking phase. Always handle raw poultry with care to prevent cross-contamination.
Grill Setup: Creating the Perfect Cooking Environment
Temperature control is non-negotiable - Preheat your grill to 375-400°F. Use the hand test: you should be able to hold your hand 5 inches above the grates for 3-4 seconds. Gas grills should have burners set to medium-high; charcoal grills need ash-covered coals with even heat distribution.
Create dual heat zones - Arrange your grill with direct heat on one side and indirect heat on the other. This critical setup allows you to move chicken away from flare-ups while maintaining proper cooking temperature. Clean and oil the grates thoroughly before placing chicken on the grill to prevent sticking.
The Grilling Process: Timing and Technique
Place chicken on the grill at a 45° angle to the grates for attractive sear marks. Close the lid and cook undisturbed for 6-8 minutes. Resist the urge to press down on the chicken - this squeezes out precious juices.
Flip chicken only once when it releases naturally from the grates. Continue cooking for another 6-8 minutes with the lid closed. For thicker cuts, finish over indirect heat to prevent exterior burning before interior reaches proper temperature.
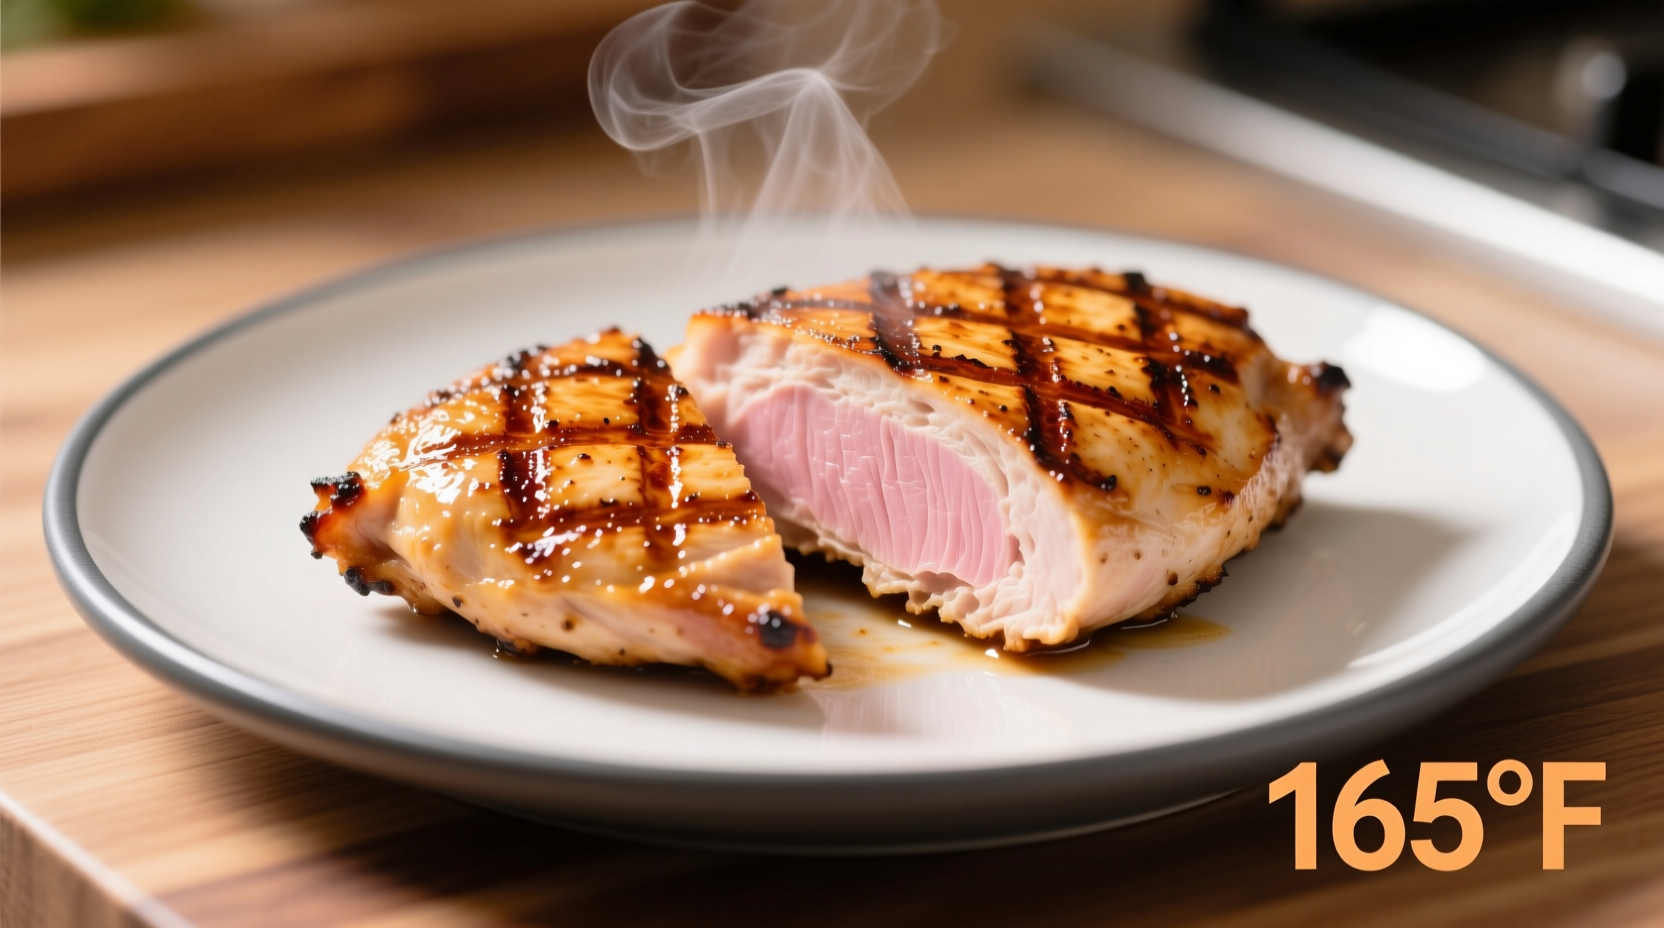
Temperature monitoring beats guesswork - Insert an instant-read thermometer horizontally into the thickest part. The USDA recommends 165°F for safety, but remove chicken at 160°F as carryover cooking will raise the temperature during resting. This precision prevents overcooking that leads to dryness.
Resting and Serving: The Final Critical Steps
Resting isn't optional - Transfer chicken to a cutting board and tent loosely with foil for 5-7 minutes. This allows juices to redistribute throughout the meat. Cutting too soon releases all those precious juices onto your cutting board.
Slicing technique affects texture - Always slice against the grain (perpendicular to the muscle fibers) for maximum tenderness. For presentation, cut at a slight angle using a sharp knife.
Troubleshooting Common Grilling Problems
Flare-ups - Move chicken to indirect heat zone immediately. Never spray water on flare-ups as this creates steam burns. Trim excess fat before grilling to minimize future flare-ups.
Sticking chicken - Ensure proper preheating and clean, oiled grates. Let chicken cook undisturbed until it naturally releases from the grates before attempting to flip.
Dry results - This usually indicates overcooking. Invest in a quality instant-read thermometer and remove chicken at 160°F. Brining or dry brining significantly improves moisture retention.
Safety Considerations You Can't Ignore
Follow these food safety protocols to prevent illness:
- Never place cooked chicken on the same plate that held raw chicken
- Clean all surfaces that contacted raw poultry with hot, soapy water
- Consume grilled chicken within 2 hours (1 hour if temperature exceeds 90°F)
- Store leftovers in shallow containers within 2 hours of cooking
The FDA Food Code specifies that poultry must reach 165°F internal temperature to eliminate harmful pathogens like salmonella. Relying on color alone is unsafe - always verify with a thermometer.
Advanced Techniques for Flavor Enhancement
While basic grilled chicken is delicious, these professional techniques elevate your results:
- Dry brine with spices - Combine salt with garlic powder, onion powder, and paprika for flavor penetration
- Butter basting - During the last 2 minutes, add herb-infused butter to the grill for extra richness
- Smoke infusion - Add wood chips to charcoal or a smoker box for gas grills for subtle smoky notes


 浙公网安备
33010002000092号
浙公网安备
33010002000092号 浙B2-20120091-4