
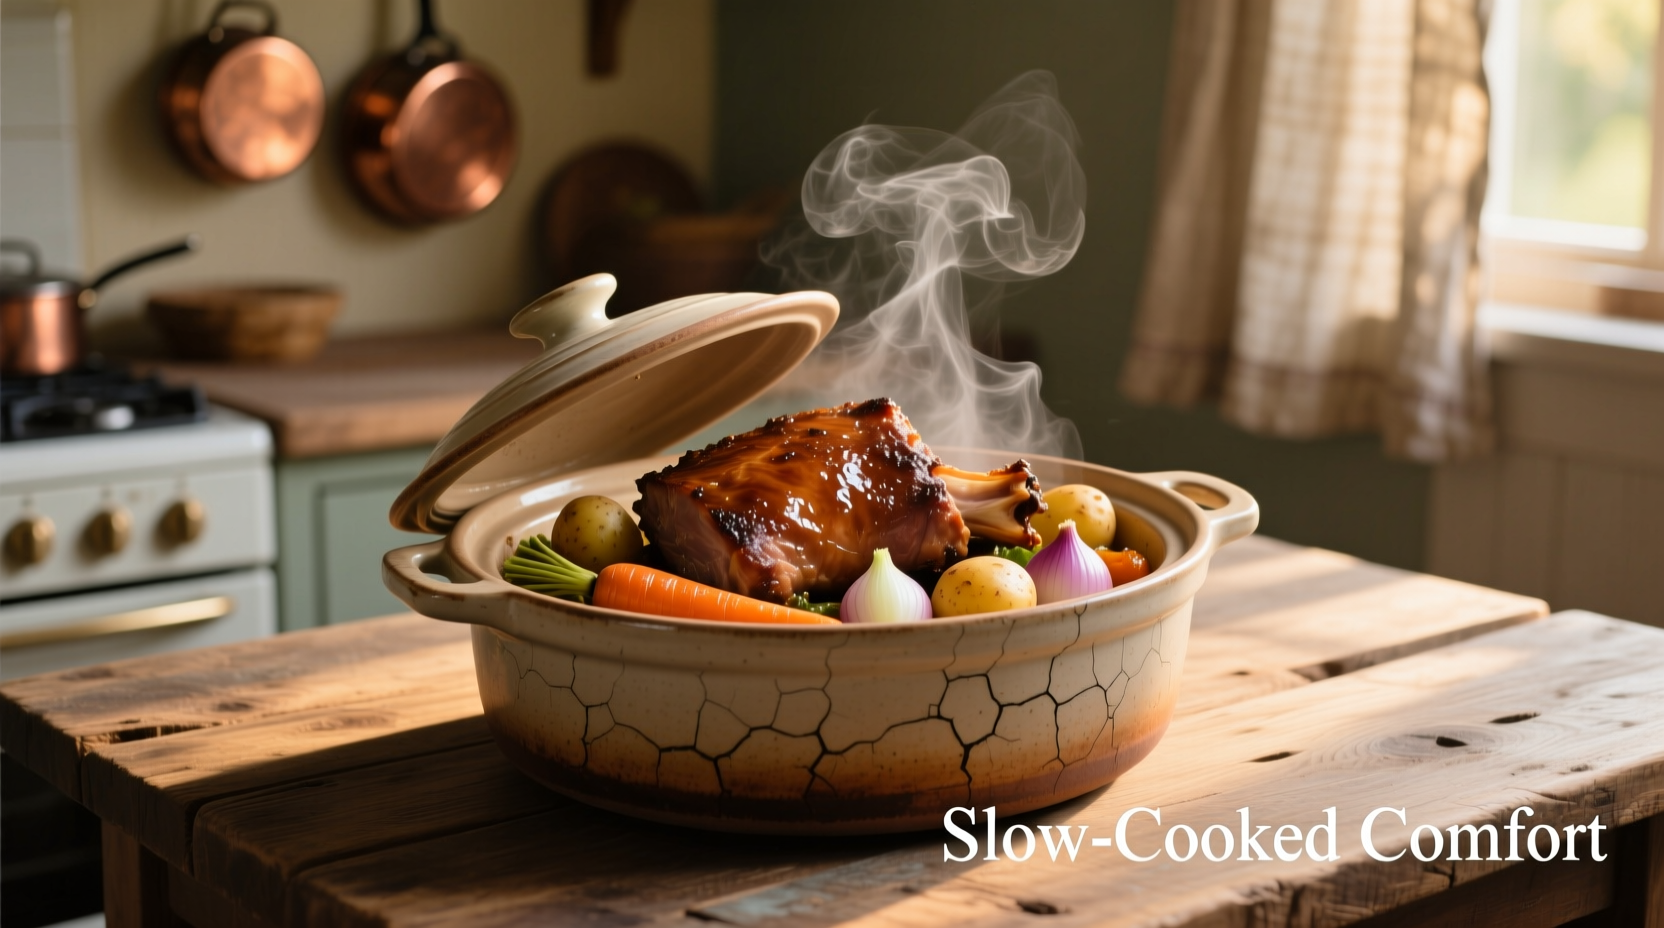
The perfect slow cooker roast pork requires a 3-4 pound pork shoulder (also called pork butt) cooked on LOW for 8-10 hours or HIGH for 5-6 hours, reaching an internal temperature of 195°F for optimal tenderness. This hands-off method transforms tough connective tissue into succulent, pull-apart meat with minimal effort and maximum flavor development.
There's nothing quite like coming home to the aroma of perfectly cooked roast pork after a busy day. Slow cooker pork roast has become a weeknight hero for home cooks seeking restaurant-quality results without constant attention. As someone who's tested dozens of methods across commercial kitchens and home setups, I've discovered the precise techniques that guarantee tender, flavorful results every time—no guesswork required.
Why Slow Cooking Transforms Pork Roast
Understanding the science behind slow cooking explains why this method outperforms traditional oven roasting for tougher cuts. When pork shoulder (a collagen-rich cut) cooks between 160°F and 205°F for extended periods, the tough connective tissues gradually break down into gelatin. This transformation creates that signature melt-in-your-mouth texture impossible to achieve with faster cooking methods.
| Cooking Method | Time Required | Texture Result | Hands-on Time |
|---|---|---|---|
| Slow Cooker (LOW) | 8-10 hours | Pull-apart tender | 15 minutes |
| Slow Cooker (HIGH) | 5-6 hours | Fork-tender | 15 minutes |
| Oven Roasting | 3-4 hours | Firm sliceable | 60+ minutes |
Preparation Phase: Setting Up for Success
Your slow cooker pork roast journey begins long before you press 'start.' Proper preparation prevents common pitfalls that ruin otherwise promising meals.
Selecting the Perfect Cut
Choose a well-marbled 3-4 pound pork shoulder (also labeled pork butt) with at least 1” fat cap. This cut contains abundant connective tissue that breaks down beautifully during slow cooking. According to the USDA Food Safety and Inspection Service, pork should reach 145°F for safety, but for slow cooker applications, we target 195°F to ensure complete collagen breakdown (USDA.gov).
Essential Equipment Checklist
- 6-quart or larger slow cooker (critical for proper heat circulation)
- Meat thermometer (instant-read recommended)
- Butcher's twine (for securing shape)
- Slotted spoon (for fat management)
Pre-Cooking Preparation
Dry the pork surface thoroughly with paper towels—moisture is the enemy of proper browning. Season generously with salt 12-24 hours before cooking to allow penetration. For maximum flavor development, apply a dry rub containing paprika, garlic powder, and black pepper at least 2 hours before cooking.
Cooking Process: Step-by-Step Execution
Follow these precise steps for foolproof results that transform inexpensive pork into an impressive meal.
Layering Ingredients Properly
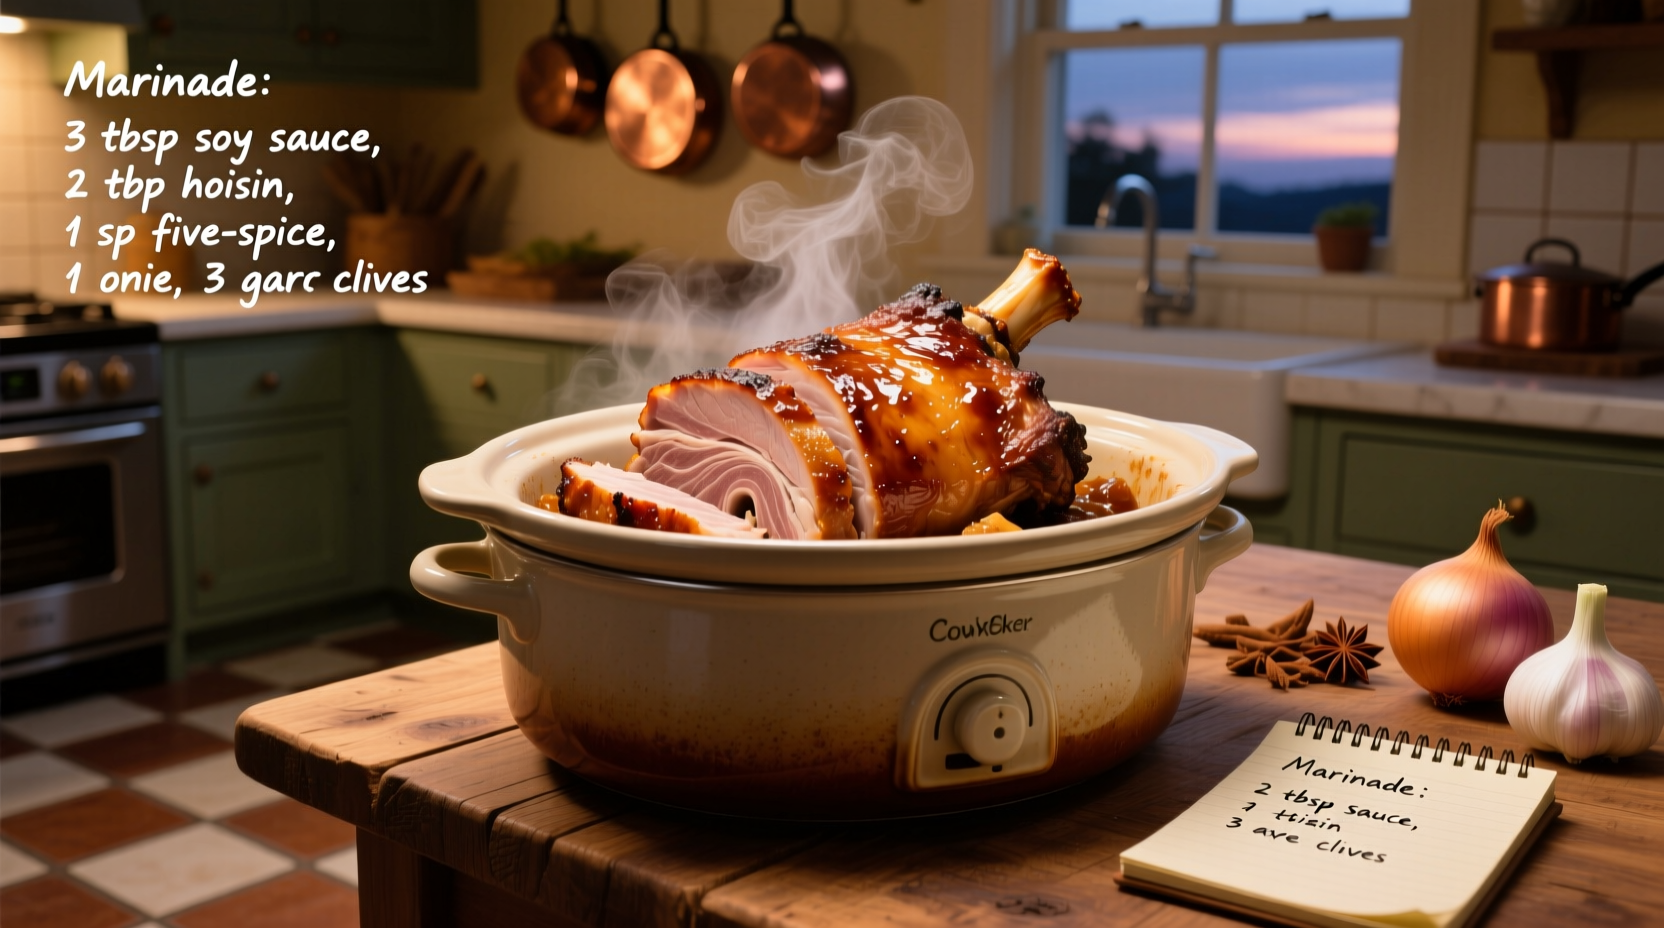
- Place sliced onions and garlic cloves in the slow cooker base (creates an aromatic rack)
- Add 1¼ cups liquid (combination of broth and apple cider works best)
- Position pork fat-side up on the vegetable bed
- Add aromatics like rosemary sprigs directly on top
Temperature and Timing Guidelines
Cook on LOW for 8-10 hours or HIGH for 5-6 hours. The University of Minnesota Extension confirms that slow cookers maintain temperatures between 170°F and 280°F, safely cooking food while developing complex flavors through the Maillard reaction (extension.umn.edu). Check internal temperature at the minimum time—you're aiming for 195°F where collagen fully converts to gelatin.
Critical Don'ts During Cooking
- Never remove the lid during the first 4 hours (steam loss disrupts temperature stability)
- Avoid overfilling (keep contents below 2” from top for proper heat circulation)
- Don't skip the resting period (minimum 30 minutes covered before serving)
Troubleshooting Common Issues
Even experienced cooks encounter challenges with slow cooker pork. Here's how to address them:
Dryness Prevention Techniques
If your pork seems dry despite proper timing, you've likely used too lean a cut. The solution: always choose pork shoulder with visible marbling. During cooking, maintain at least 1¼ inches of liquid in the base and avoid overcooking beyond 200°F, which causes excessive moisture loss.
Fat Management Strategy
After cooking, carefully skim excess fat from the cooking liquid using a fat separator. This professional technique preserves flavor while creating a cleaner sauce. For optimal results, chill the separated liquid overnight—the solidified fat layer lifts off easily, leaving rich, flavorful broth.
Finishing and Serving Like a Pro
The final steps transform your slow-cooked pork from good to extraordinary.
Sauce Enhancement Method
Reduce the cooking liquid by simmering in a skillet until it coats the back of a spoon. Whisk in 1 tablespoon apple cider vinegar to brighten flavors and 2 tablespoons cornstarch slurry to achieve perfect consistency. This simple technique elevates your sauce from bland to restaurant-quality.
Carving for Maximum Appeal
For neat slices, chill the cooked pork for 15 minutes before carving. Use a long, thin slicing knife and cut against the grain at 45-degree angles. For pulled pork presentation, two forks work better than shredders—they preserve more texture and prevent over-shredding.
Storage and Reheating Best Practices
Proper storage ensures your roast pork remains delicious for future meals.
Safe Storage Guidelines
Cool pork within 2 hours of cooking. Store meat and juices separately in airtight containers. The USDA recommends consuming within 3-4 days when refrigerated (USDA.gov). For longer storage, freeze in portion-sized containers with 1¼ cups cooking liquid per pound of meat.
Reheating for Restaurant-Quality Results
Thaw frozen pork overnight in the refrigerator. Reheat gently in a covered dish with reserved juices at 300°F until internal temperature reaches 165°F. Never microwave—this dries out the delicate fibers. For pulled pork sandwiches, add a splash of apple juice during reheating to maintain moisture.


 浙公网安备
33010002000092号
浙公网安备
33010002000092号 浙B2-20120091-4