
Why Thin Sliced Chicken Requires Special Cooking Techniques
Thin sliced chicken breast (typically 1/4-inch thick) behaves differently than standard cuts due to its reduced thickness. The surface area-to-volume ratio increases dramatically, causing faster moisture loss and quicker heat penetration. According to USDA Food Safety and Inspection Service guidelines, chicken must reach 165°F (74°C) internally to be safe, but thin slices can overshoot this target in seconds if not monitored carefully.
| Cooking Method | Optimal Temperature | Cooking Time | Best Oil Type |
|---|---|---|---|
| Pan-searing | Medium-high (375°F) | 2-3 min per side | Avocado or canola |
| Stir-frying | High (400-450°F) | 1-2 min total | Peanut or sesame |
| Baking | 375°F | 8-10 min | Olive oil spray |
The Critical Preparation Phase: Setting Up for Success
Proper preparation makes the difference between tender and tough chicken. After purchasing thin sliced chicken breast, follow these essential steps before heating your pan:
- Moisture control: Pat slices thoroughly with paper towels - excess surface moisture creates steam instead of searing
- Temperature equilibrium: Let chicken sit at room temperature for 10-15 minutes before cooking for even heat distribution
- Strategic seasoning: Apply salt 5-7 minutes before cooking to allow penetration without drawing out moisture
- Oil selection: Choose oils with high smoke points (avocado, canola, or peanut oil) that won't burn at the necessary medium-high heat
Mastering the Cooking Process: Three Reliable Methods
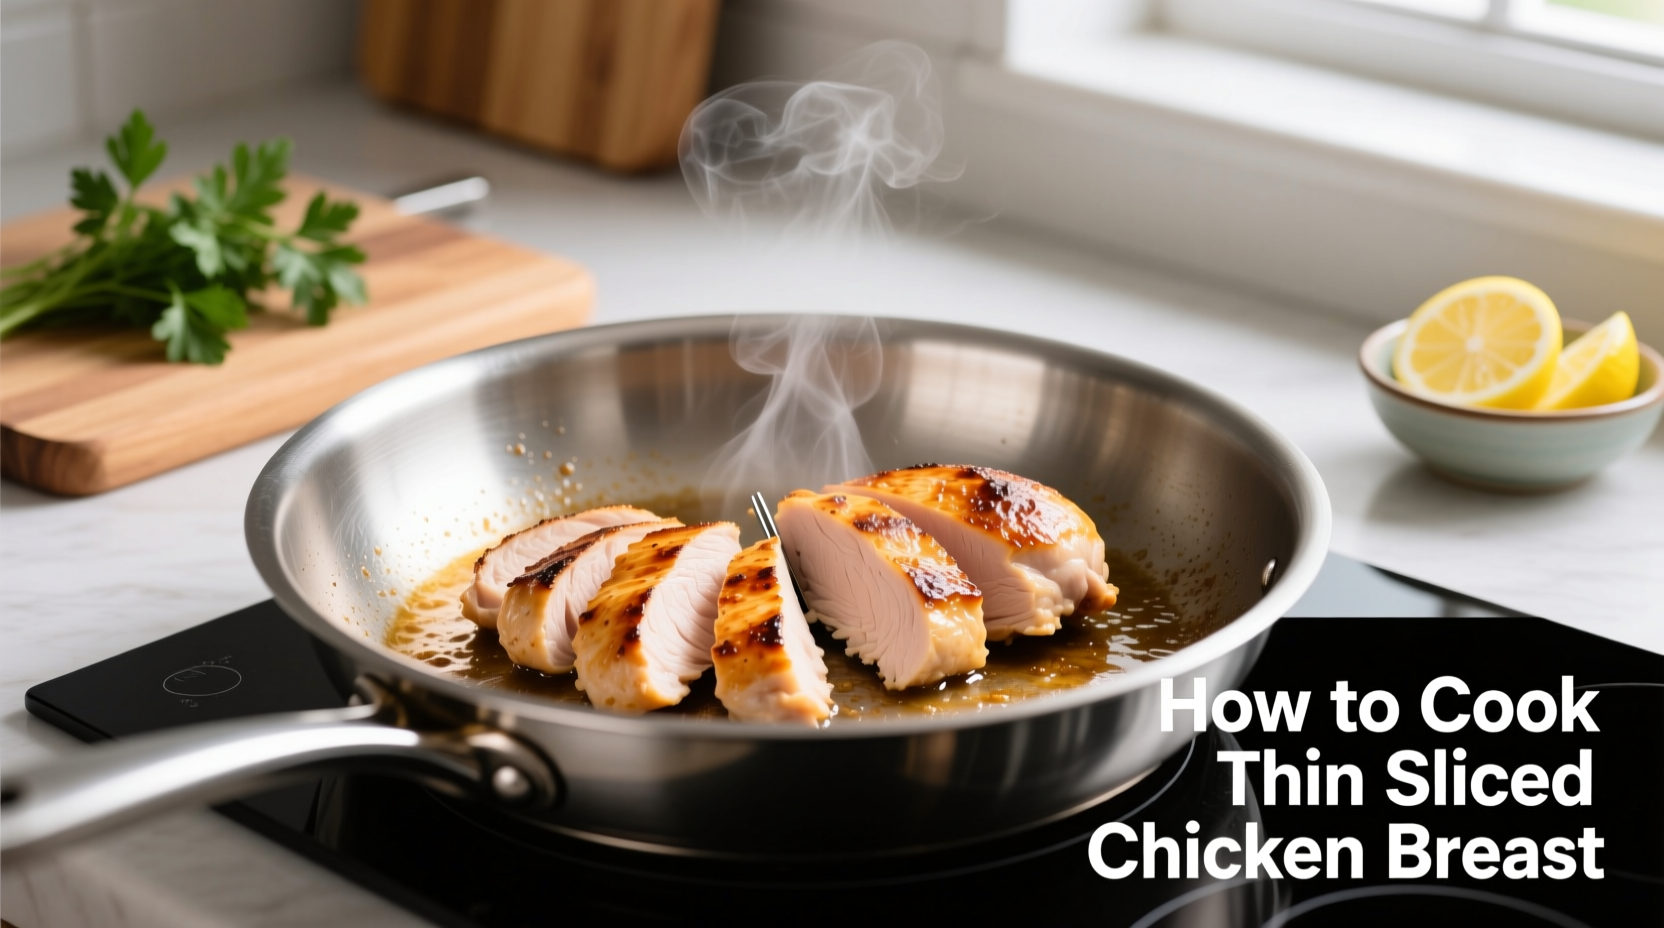
Pan-Searing: The Most Reliable Technique
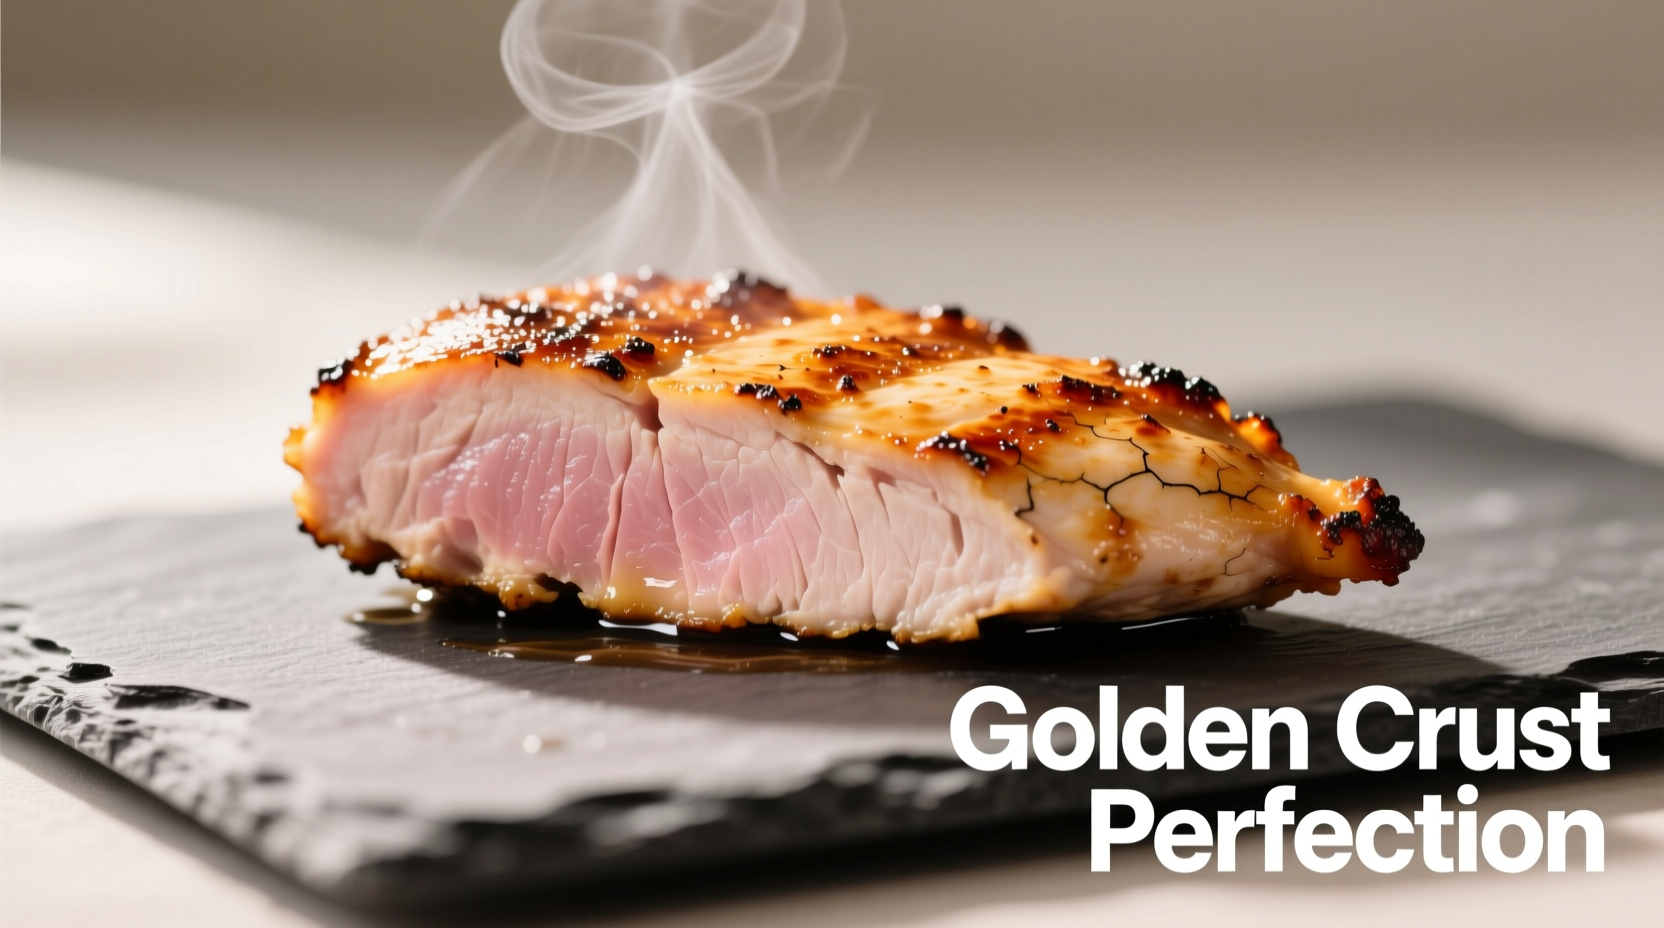
This method delivers the best browning and texture control for thin sliced chicken breast. Heat your skillet for 2-3 minutes until a drop of water sizzles immediately. Add just enough oil to coat the surface (about 1 teaspoon per breast slice). Place chicken in the pan without crowding - work in batches if necessary. Cook undisturbed for 2-3 minutes until a golden crust forms, then flip and cook another 1-2 minutes.
The USDA Food Safety and Inspection Service confirms that properly cooked chicken must reach 165°F internally, but thin slices require constant monitoring as they can exceed this temperature within 30 seconds. Use an instant-read thermometer inserted horizontally through the thickest part of the slice.
Stir-Frying: For Asian-Inspired Dishes
When incorporating thin sliced chicken into stir-fries, the velveting technique prevents toughness. Marinate slices for 15-20 minutes in 1 tablespoon cornstarch, 1 egg white, and 2 tablespoons rice wine. Heat wok until smoking, add 2 tablespoons high-smoke-point oil, then cook chicken in a single layer for 60-90 seconds before removing and adding to vegetables later in the process.
Baking: Hands-Off Alternative
For meal prep or when cooking multiple servings, baking provides consistent results. Preheat oven to 375°F and line a baking sheet with parchment paper. Lightly coat chicken slices with oil and arrange without touching. Bake for 8-10 minutes, flipping halfway through. This method reduces the risk of overcooking compared to pan methods but produces less browning.
Avoiding Common Pitfalls: Troubleshooting Guide
Even experienced cooks encounter issues with thin sliced chicken. Understanding these context boundaries prevents frustration:
- Sticking problems: Result from insufficient preheating or moisture on chicken surface - ensure pan is properly heated before adding oil
- Dry texture: Typically caused by overcooking by just 30 seconds - use thermometer for precision
- Uneven cooking: Occurs with inconsistent thickness - pound thicker areas gently with meat mallet before cooking
- Burning: Happens when heat is too high for the oil's smoke point - reduce heat immediately if oil smokes
Practical Applications: Putting Perfectly Cooked Chicken to Work
Once you've mastered the cooking technique, incorporate your perfectly prepared thin sliced chicken into these quick meal solutions:
- Weeknight stir-fry: Cook chicken using velveting method, then combine with snap peas, bell peppers, and ginger-garlic sauce
- Salad enhancement: Slice cooked chicken against the grain and add to greens with vinaigrette just before serving
- Sandwich filling: Layer with avocado, sprouts, and mustard on whole grain bread
- Meal prep protein: Store in airtight container with cooking liquid for up to 3 days
Temperature Timeline: The Critical 60-Second Window
Understanding the precise temperature progression prevents overcooking. When thin sliced chicken reaches 155°F:
- 0-20 seconds: Temperature rises rapidly from 155°F to 160°F
- 20-40 seconds: Critical zone where temperature jumps to 165°F (safe minimum)
- 40-60 seconds: Temperature exceeds 165°F, moisture begins escaping rapidly
- 60+ seconds: Texture becomes dry and stringy as protein fibers tighten
Remove chicken from heat when it reaches 160°F, as carryover cooking will bring it to the safe 165°F target during the 3-5 minute resting period. This technique, recommended by food science experts at the University of California Davis, preserves optimal moisture retention while ensuring food safety.
Advanced Tips for Culinary Excellence
Elevate your thin sliced chicken preparation with these professional techniques:
- Acid balancing: Add a splash of lemon juice or vinegar to finished dishes to counteract any potential dryness
- Resting protocol: Let chicken rest 3-5 minutes before slicing to redistribute juices
- Sauce integration: Create a quick pan sauce using the fond left in the skillet after removing chicken
- Texture contrast: Pair with crunchy elements like toasted nuts or fresh vegetables


 浙公网安备
33010002000092号
浙公网安备
33010002000092号 浙B2-20120091-4