
Why Pan-Fried Burgers Outperform Other Methods
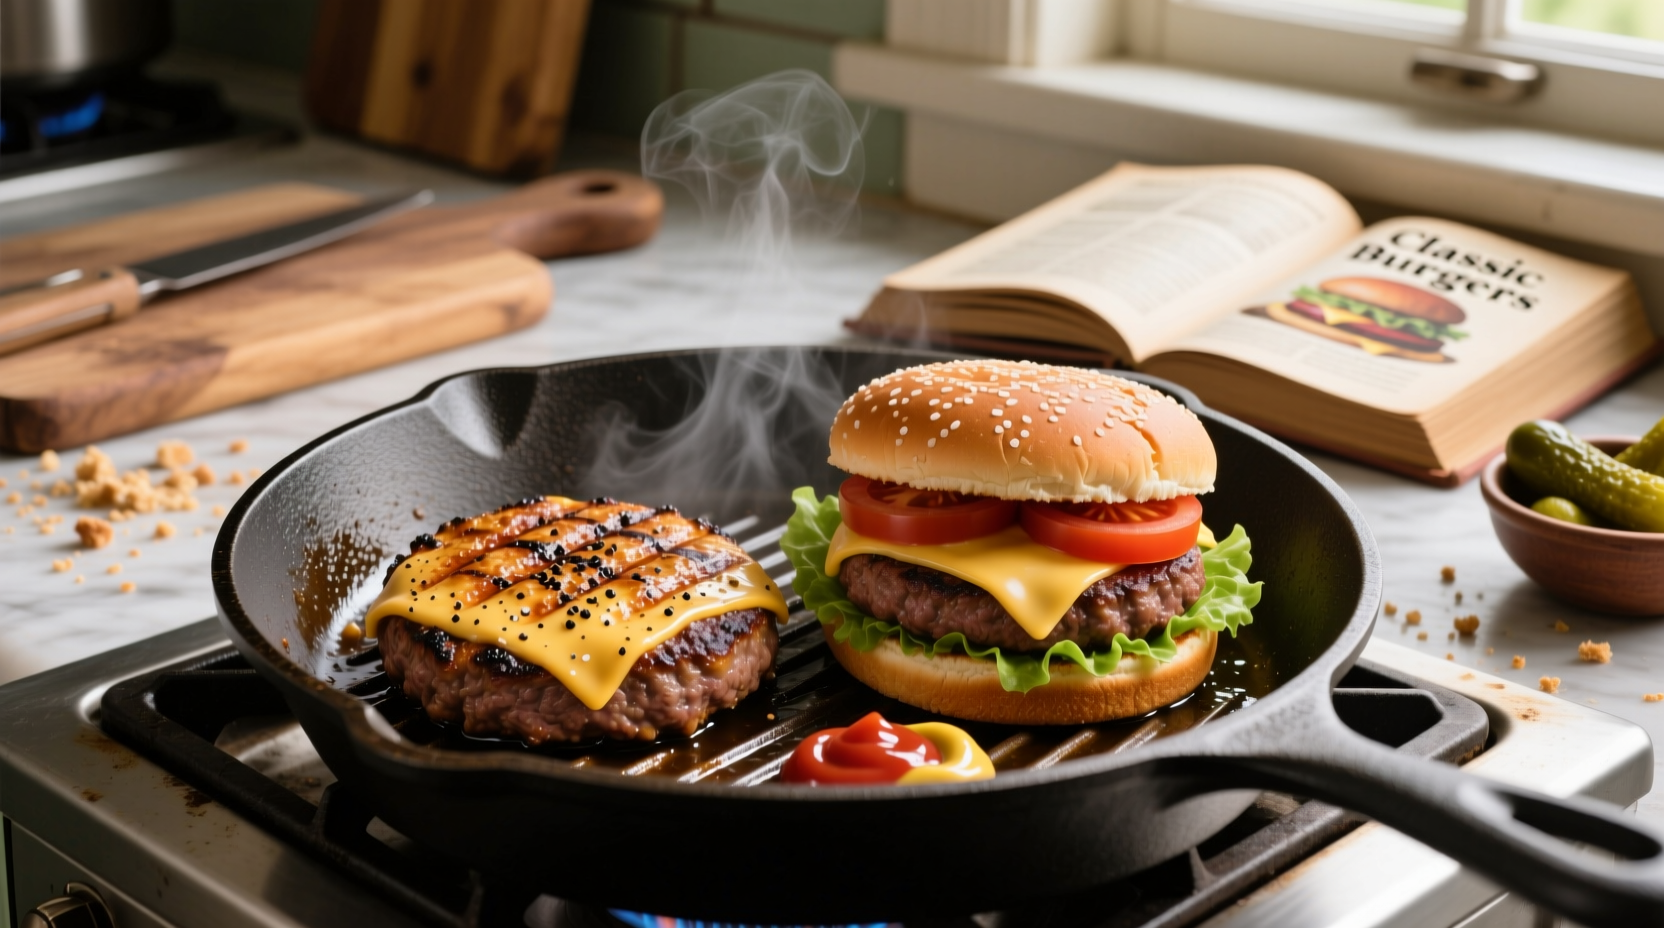
When you're craving a juicy burger but don't have time for the grill, your stovetop becomes your best ally. Pan-frying delivers superior crust formation through direct contact heat while maintaining precise temperature control. Unlike grilling where flare-ups cause uneven cooking, or baking which lacks proper sear, the pan method gives you complete command over the Maillard reaction—that magical browning process that creates complex flavors.
Essential Equipment Checklist
Before you start cooking, gather these kitchen essentials:
- Cast iron or heavy-bottomed stainless steel skillet (avoid non-stick for proper searing)
- Metal spatula (thin edge slides easily under patties)
- Instant-read thermometer (critical for food safety)
- Wire rack (for resting burgers)
- Heat-resistant gloves (for safe handling)
Meat Selection: The Foundation of Flavor
The quality of your ground beef makes or breaks your burger. Professional chefs universally recommend 80% lean/20% fat ratio for optimal juiciness. Here's why different fat percentages affect your results:
| Fat Ratio | Texture Result | Best For | Cooking Time |
|---|---|---|---|
| 70/30 | Extremely juicy, loose structure | Smash burgers only | 2-3 minutes per side |
| 80/20 | Perfect balance, holds shape | Classic pan burgers | 3-4 minutes per side |
| 85/15 | Firmer, less juicy | Health-conscious cooking | 4-5 minutes per side |
| 90/10 | Dry, crumbly texture | Avoid for burgers | Overcooks easily |
Step-by-Step Pan Burger Perfection
Preparation Phase (10 Minutes Before Cooking)
Remove your ground beef from refrigeration and form 6-ounce patties slightly wider than your bun diameter. Create a shallow dimple in the center of each patty—this prevents bulging during cooking. Season generously with coarse salt and freshly ground black pepper only at this stage. Let patties sit at room temperature while you prepare your pan.
Pan Preheating Process
Place your skillet over medium-high heat for 5 minutes until evenly heated. Test readiness by sprinkling a few water droplets—they should dance and evaporate within 2 seconds. Add 1 tablespoon of high-smoke point oil (avocado or grapeseed) and swirl to coat the surface. Proper preheating prevents sticking and ensures immediate sear.
Cooking Timeline with Temperature Guide
Follow this precise cooking sequence for optimal results:
- 0-3 minutes: Place patties in hot pan without touching. Listen for vigorous sizzle—this indicates proper sear formation. Do not press down—this squeezes out precious juices.
- 3-4 minutes: Flip burgers using metal spatula. Check sear—it should release easily from pan when properly seared.
- 4-7 minutes: Second side cooking. Add cheese slice if desired during final minute.
- 7-12 minutes: Transfer to wire rack and rest—critical for juice redistribution.
According to USDA Food Safety and Inspection Service guidelines, ground beef must reach 160°F (71°C) internal temperature for safe consumption. Use an instant-read thermometer inserted sideways through the edge for accurate measurement. Source: USDA Ground Beef Safety Guidelines
Troubleshooting Common Pan Burger Problems
Sticking Burgers
If your burger sticks when flipping, it hasn't developed sufficient crust. Wait 30 seconds longer before attempting to flip. Proper preheating and avoiding premature flipping prevent sticking. If using cast iron, ensure it's well-seasoned—a properly maintained cast iron skillet creates a natural non-stick surface through polymerized oil layers.
Excessive Smoke
When cooking burgers in a pan, some smoke is normal during searing. To manage smoke levels:
- Turn on exhaust fan at highest setting before cooking
- Open nearby windows for cross-ventilation
- Reduce heat slightly if smoke becomes overwhelming
- Consider using an air purifier nearby
Advanced Techniques for Gourmet Results
Butter Basting Method
During the final 2 minutes of cooking, add 2 tablespoons of unsalted butter, 2 smashed garlic cloves, and fresh thyme sprigs to the pan. Tilt the skillet and spoon the melted butter continuously over the top of the burgers. This technique, used in professional kitchens, adds incredible flavor complexity while gently cooking the top surface.
Cheese Melting Science
For perfect cheese coverage, add your cheese slice during the last minute of cooking, then cover the pan with a lid for 30 seconds. The trapped steam creates the ideal melting environment without overcooking the burger. American cheese melts most evenly due to its emulsifiers, while aged cheddar requires the steam technique to melt properly.
When Pan Cooking Outperforms Other Methods
While grilling has its place, pan-frying excels in specific scenarios:
- Cold weather when outdoor cooking is impractical
- Apartment living without grill access
- When precise temperature control is needed
- Creating cheeseburgers with perfect melt
- Smaller batches (1-4 burgers)
According to culinary research from the Culinary Institute of America, pan-frying achieves more consistent crust formation than grilling for indoor cooking, with temperature control being the critical factor for success. Source: Culinary Institute of America Research
Resting: The Secret to Juicy Burgers
Never skip the resting phase—this 5-minute interval allows muscle fibers to reabsorb juices. Cutting too soon releases all those flavorful liquids onto your cutting board. During resting, carryover cooking will raise the internal temperature 5-10°F, bringing your burger to perfect doneness without overcooking.


 浙公网安备
33010002000092号
浙公网安备
33010002000092号 浙B2-20120091-4