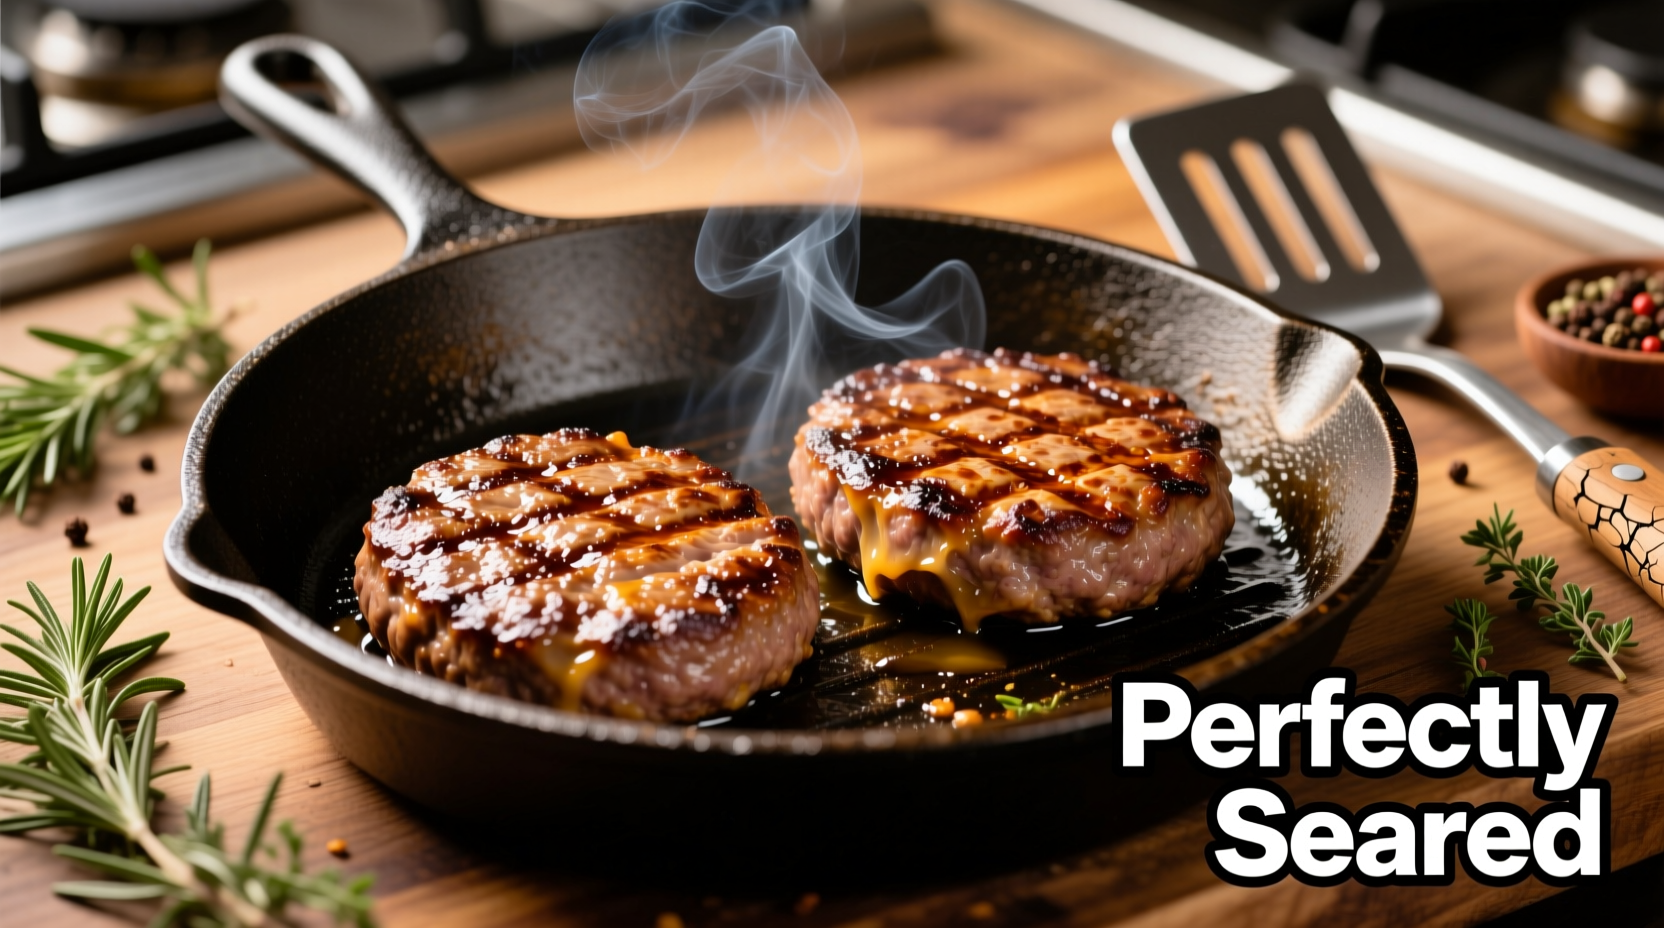
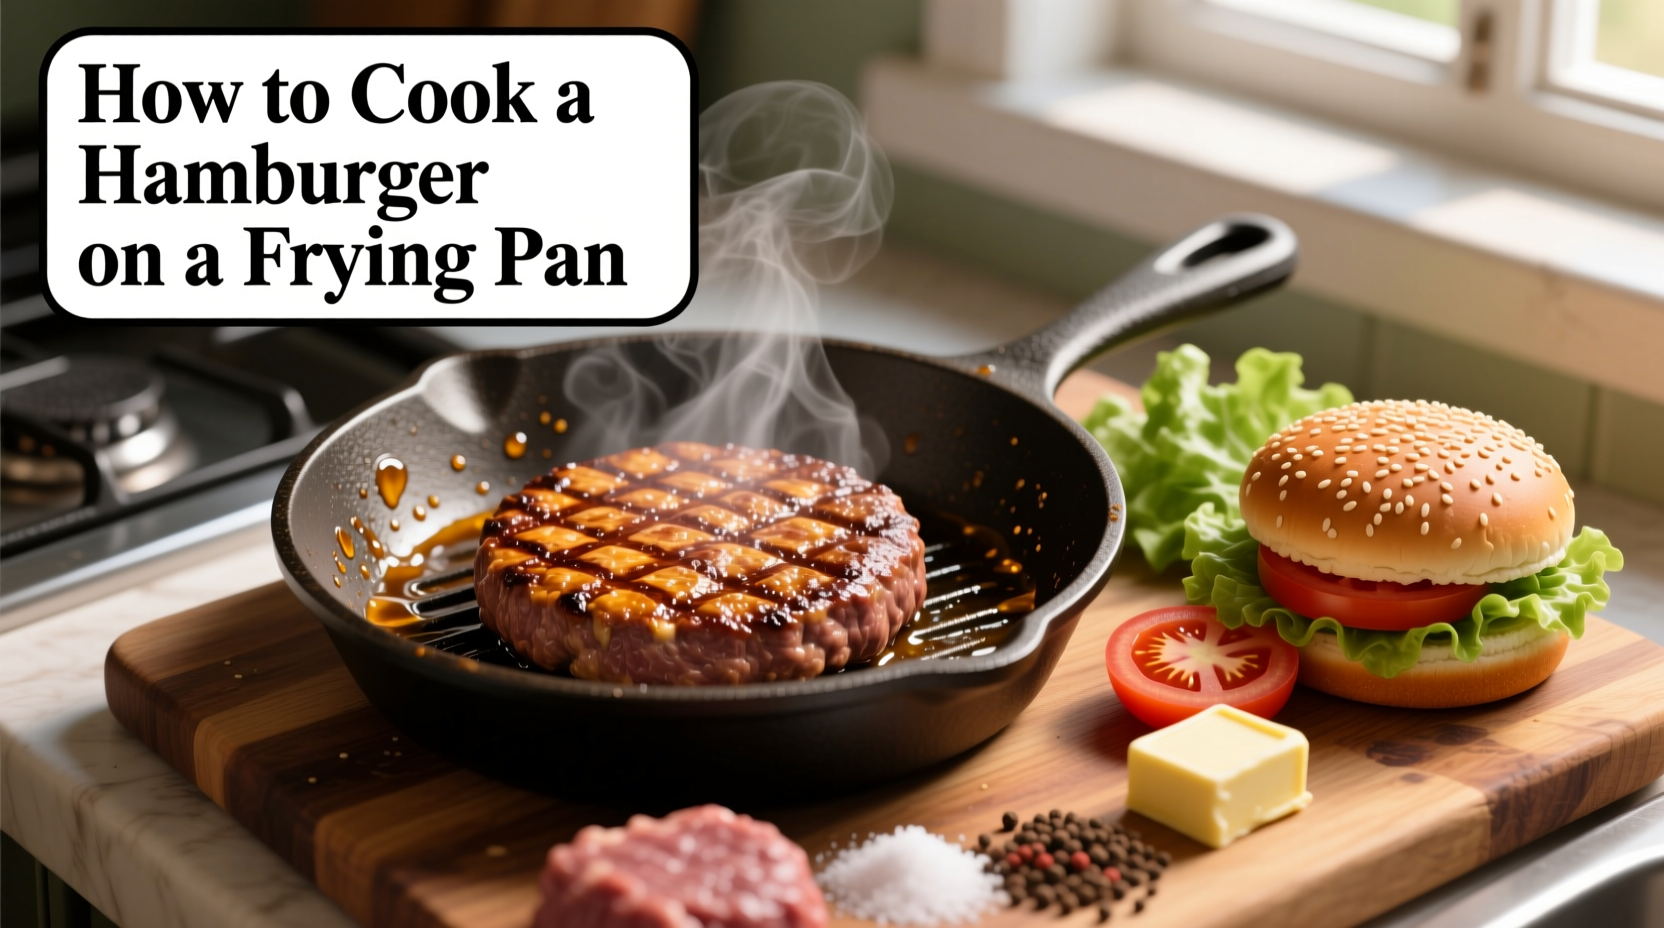
The perfect pan-fried hamburger requires 80% lean ground beef formed into ¾-inch thick patties, cooked in a preheated cast-iron skillet at medium-high heat for 3-4 minutes per side. Achieve juicy results by avoiding pressing the patty, flipping only once, and resting for 5 minutes before serving. Internal temperature should reach 160°F (71°C) for food safety according to USDA guidelines.
Craving a restaurant-quality hamburger but limited to your stovetop? You're in luck. Cooking hamburgers on a frying pan delivers exceptional sear and control that often surpasses outdoor grilling, especially in poor weather. This comprehensive guide reveals professional techniques that transform basic ground beef into juicy, flavorful patties with perfect crust formation every time—no special equipment required.
Essential Tools for Pan-Fried Perfection
Before you start, gather these kitchen essentials:
- Heavy-bottomed cast-iron or stainless steel skillet (10-12 inches)
- Metal spatula for clean flipping
- Instant-read thermometer (critical for accuracy)
- Meat thermometer calibration ice bath
- Wire cooling rack for resting patties
Avoid non-stick pans—they prevent proper Maillard reaction needed for that signature sear. Cast-iron retains heat best, creating consistent browning without hot spots.
Selecting the Right Ground Beef
The foundation of a great hamburger is proper meat selection. Culinary professionals recommend:
- Fat ratio: 80% lean to 20% fat provides optimal juiciness
- Grind: Coarse grind (¼-inch) maintains texture better than fine
- Freshness: Use within 1-2 days of purchase or freeze immediately
- Temperature: Keep meat cold (below 40°F/4°C) until cooking
USDA food safety guidelines require ground beef to reach 160°F (71°C) internal temperature to eliminate pathogens. This differs from whole cuts of beef where lower temperatures are safe.
| Doneness Level | Internal Temperature | USDA Safety Status |
|---|---|---|
| Medium-Rare | 130-135°F (54-57°C) | Not recommended for ground beef |
| Medium | 140-145°F (60-63°C) | Not recommended for ground beef |
| Medium-Well | 150-155°F (66-68°C) | Not recommended for ground beef |
| Well-Done | 160°F (71°C) | Safe for consumption |
Source: USDA Food Safety and Inspection Service (fsis.usda.gov/food-safety/safe-food-handling-and-preparation/meat)
Forming Perfect Patties
Proper patty formation prevents common cooking disasters:
- Divide ½ pound of chilled ground beef into equal portions
- Gently shape into balls, then flatten to ¾-inch thickness
- Create a slight dimple in the center (¼-inch depression)
- Make edges slightly thicker than center to prevent curling
- Season generously with coarse salt and freshly ground pepper
The dimple technique counters natural expansion during cooking, keeping patties flat. Avoid overworking the meat—handle minimally to prevent toughening. Season just before cooking to avoid drawing out moisture prematurely.

The Pan Cooking Process: Step-by-Step
Follow this precise method for consistent results:
Step 1: Pan Preparation
Preheat your skillet over medium-high heat for 5-7 minutes until water droplets sizzle and evaporate immediately. Add 1-2 teaspoons of high smoke-point oil (avocado or canola). The oil should shimmer but not smoke.
Step 2: First Side Cooking
Place patties in hot pan with adequate spacing (1 inch between). Do not press down—this squeezes out precious juices. Cook undisturbed for 3-4 minutes until a deep brown crust forms. Resist the urge to peek!
Step 3: The Flip and Second Side
Using a thin metal spatula, flip patties with one confident motion. Cook for another 3-4 minutes for medium-well. For cheeseburgers, add cheese during the last minute of cooking and cover to melt.
Step 4: Temperature Check and Resting
Insert thermometer horizontally into the side of the patty. Remove at 155°F (68°C)—temperature will rise 5 degrees during resting. Transfer to a wire rack and rest for 5 minutes before serving. This critical step allows juices to redistribute.
Troubleshooting Common Issues
Even experienced cooks encounter these pan-frying challenges:
Sticking Patties
Cause: Insufficient pan preheating or premature flipping
Solution: Wait until crust forms completely (3+ minutes) before attempting to flip. A properly preheated pan creates instant sear that prevents sticking.
Dry, Crumbly Burgers
Cause: Overworked meat or excessive fat drainage
Solution: Handle meat minimally and avoid pressing during cooking. Choose 80/20 ground beef for optimal moisture retention.
Uneven Cooking
Cause: Inconsistent patty thickness or hot spots in pan
Solution: Use a burger press for uniform thickness. Rotate patties 180 degrees halfway through cooking to counter hot spots.
When Pan Cooking Outperforms Grilling
While grilling has its place, pan-frying offers distinct advantages in specific scenarios:
- Cold weather: Consistent indoor temperature control
- Apartment living: No outdoor space required
- Rainy days: Immediate cooking without weather delays
- Thin patties: Better control for smash burgers
- Indoor smoke detectors: Modern vent hoods manage smoke better than outdoor grills near detectors
Professional kitchens often prefer pan-frying for hamburger preparation because it provides superior temperature control and consistent results regardless of external conditions.
Serving Your Perfect Pan-Fried Hamburger
Complete your culinary creation with these professional touches:
- Toast buns in the same pan for 30 seconds for flavor infusion
- Place cheese directly on patty during last minute of cooking
- Build burger bottom-up: sauce, patty, toppings, bun top
- Serve immediately while hot and juices are contained
For authentic diner-style experience, pair with crispy pan-fried onions and house-made special sauce. Remember that timing is critical—assemble just before serving to prevent soggy buns.
Frequently Asked Questions
How do I prevent my hamburger from sticking to the pan?
Ensure your pan is properly preheated (water droplets should sizzle and evaporate immediately) and use adequate high smoke-point oil. Most importantly, resist flipping too early—wait until a proper crust forms (3-4 minutes). Pressing the patty down during cooking is the most common cause of sticking as it forces meat fibers into the pan surface.
Why should I dimple the center of my hamburger patty?
Creating a slight dimple (¼-inch depression) in the center of raw patties counteracts natural expansion during cooking. As proteins contract with heat, flat patties tend to balloon outward and become rounded. The dimple technique ensures your cooked hamburger remains flat and fits properly in the bun without gaps.
Can I use a non-stick pan for cooking hamburgers?
While possible, non-stick pans are not recommended for optimal results. They prevent the Maillard reaction necessary for proper searing and crust formation. Professional chefs prefer cast-iron or stainless steel because they retain heat better and create the signature caramelized exterior that defines a great hamburger. If using non-stick, reduce heat slightly and expect less browning.
How do I know when my hamburger is done cooking?
The only reliable method is using an instant-read thermometer inserted horizontally into the side of the patty. USDA guidelines require ground beef to reach 160°F (71°C) for safety. Visual cues like juice color (clear vs. pink) are unreliable. Remove patties at 155°F (68°C) as carryover cooking will raise temperature 5 degrees during the essential 5-minute resting period.
Why is resting the cooked hamburger important?
Resting allows the meat fibers to relax and reabsorb juices that would otherwise spill out when cut. During cooking, juices migrate toward the center. The 5-minute rest period lets these juices redistribute evenly throughout the patty. Cutting immediately causes significant moisture loss, resulting in a drier burger. Always rest on a wire rack, not a plate, to prevent steaming the bottom crust.


 浙公网安备
33010002000092号
 浙B2-20120091-4