
Have you ever wondered if you can grow your own peanuts at home? The good news is that with the right peanut seeds and proper planting techniques, you can successfully cultivate this nutritious crop in your garden. Unlike many commercial operations that use specialized equipment, home gardeners can grow peanuts with minimal tools and space.
Understanding Peanut Varieties for Home Gardeners
Not all peanut seeds are created equal when it comes to home gardening. The four main types of peanuts differ significantly in growth habits, maturity times, and climate preferences. Choosing the right variety for your region is the first critical step to a successful harvest.
| Variety Type | Days to Maturity | Best Climate | Kernel Characteristics | Recommended for Home Gardens |
|---|---|---|---|---|
| Runner | 130-150 days | Warm, long growing seasons | Uniform size, excellent for roasting | Yes - high yield, disease resistant |
| Virginia | 120-135 days | Warmer regions | Largest kernels, often sold in-shell | Yes - great flavor, good for beginners |
| Spanish | 110-120 days | Shorter growing seasons | Smaller kernels, higher oil content | Sometimes - best for peanut butter |
| Valencia | 100-110 days | Cooler climates | Sweet flavor, 3-4 kernels per pod | Yes - fastest maturing, sweetest taste |
This comparison comes from research conducted by the USDA Agricultural Research Service, which has evaluated peanut varieties for different growing conditions across the United States. For home gardeners in northern climates with shorter growing seasons, Valencia and Spanish varieties often perform best due to their quicker maturity times.
Selecting Quality Peanut Seeds for Planting
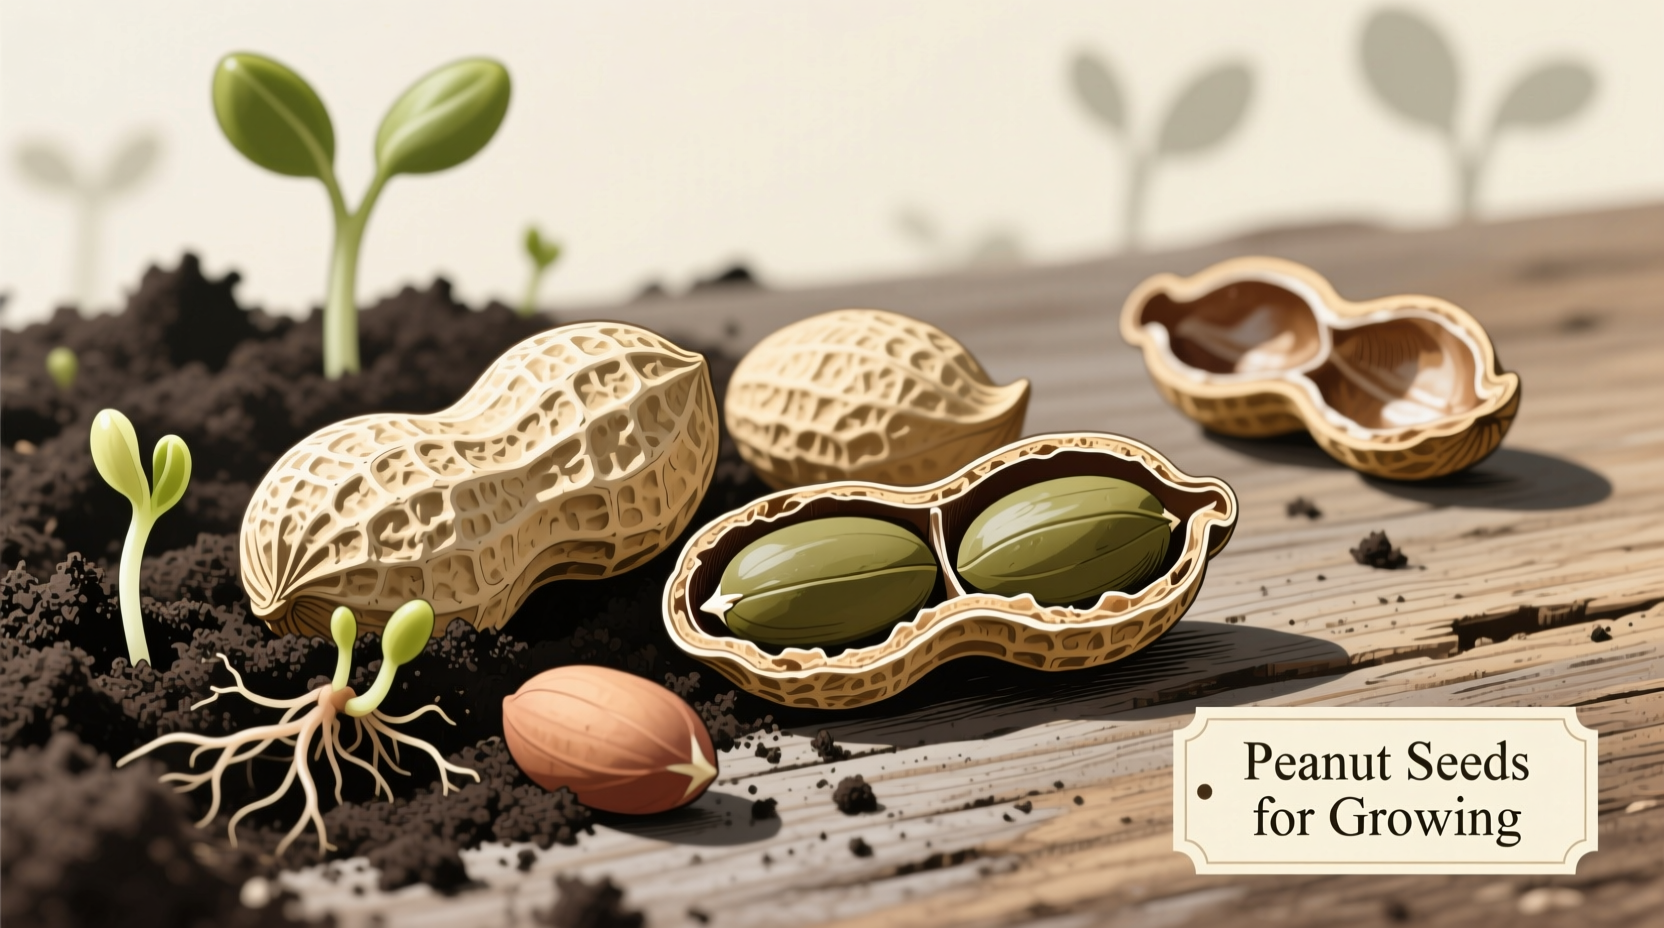
When choosing peanut seeds for growing, quality matters more than you might think. Unlike store-bought peanuts that have been roasted or salted, you need raw, untreated peanut seeds specifically intended for planting.
Look for seeds that are:
- Plump and uniform in size (smaller seeds may produce weaker plants)
- Free from cracks or damage
- From a reputable seed supplier (not grocery store peanuts)
- Properly stored (seeds lose viability after 1-2 years)
Many gardeners make the mistake of trying to grow peanuts from grocery store varieties, which have typically been roasted and won't germinate. For best results, purchase certified seed peanuts from agricultural suppliers or specialty seed companies.
Optimal Planting Conditions for Peanut Seeds
Peanuts require specific conditions to thrive. Understanding these requirements before planting will significantly increase your chances of success.
Timing Your Planting
Planting too early or too late can dramatically affect your peanut harvest. The critical factor is soil temperature - peanuts won't germinate well in cold soil.
Wait until:
- Soil temperature reaches at least 65°F (18°C) at planting depth
- Air temperatures consistently stay above 70°F (21°C)
- All danger of frost has passed (peanuts are extremely frost-sensitive)
According to the University of Georgia Cooperative Extension, the ideal planting window for most regions is 2-3 weeks after your last expected frost date. In southern states, plant in April or May; in northern states, aim for late May or early June.
Soil Preparation Essentials
Peanuts grow best in well-drained, sandy loam soil. They're unique among garden crops because the actual peanuts develop underground after the flowers pollinate and send pegs into the soil.
Prepare your soil by:
- Loosening soil to a depth of 8-10 inches
- Adding compost or well-rotted manure for nutrients
- Maintaining a slightly acidic to neutral pH (5.8-7.0)
- Ensuring good drainage (peanuts won't tolerate waterlogged soil)

Step-by-Step Planting Guide
Follow these research-backed steps for successful peanut seed planting:
Planting Depth and Spacing
Proper planting depth and spacing directly affect your peanut yield. The Penn State Extension recommends:
- Plant seeds 1-2 inches deep in heavy soil, 2-3 inches deep in sandy soil
- Space seeds 6-8 inches apart in rows
- Leave 18-24 inches between rows
- Plant 2 seeds per hole and thin to the strongest plant after germination
Germination Process
Under ideal conditions, peanut seeds typically germinate in 7-10 days. During this critical period:
- Keep soil consistently moist but not waterlogged
- Avoid disturbing the soil surface
- Expect first sprouts to emerge in 1-2 weeks
Caring for Peanut Plants Through the Growing Season
Peanut plants have unique care requirements that differ from most garden vegetables. Understanding their growth cycle is essential for a successful harvest.
The Critical Hilling Process
One of the most important yet often overlooked steps in growing peanuts is hilling. Approximately 30-40 days after planting, when yellow flowers appear, you must gently mound soil around the base of the plants.
Proper hilling:
- Creates loose soil for developing peanuts to penetrate
- Should be 4-6 inches high around each plant
- Needs to be done carefully to avoid damaging pegs
- May need repeating as plants grow larger
Watering Requirements
Peanuts need consistent moisture during specific growth stages:
- Keep soil moist during germination and early growth
- Reduce watering slightly during flowering
- Provide consistent moisture during peanut development (60-90 days after planting)
- Gradually reduce watering as harvest approaches to help peanuts mature
Harvesting and Processing Your Homegrown Peanuts
Knowing when and how to harvest makes the difference between a good crop and a disappointing one.
Harvest Timing Indicators
Don't rush your harvest - peanuts need adequate time to develop fully. Watch for these signs:
- Leaves begin turning yellow (typically 140-150 days after planting)
- Test one plant by gently digging around it to check peanut development
- Peanut hulls should be well-filled with mature kernels
- Harvest before first frost for best quality
Proper Harvesting Technique
Unlike most vegetables, you'll need to carefully dig up the entire plant:
- Cut back watering 1-2 weeks before harvest
- Use a garden fork to loosen soil around plants
- Lift entire plants with peanuts still attached
- Shake off excess soil (don't wash peanuts at this stage)
- Hang plants upside down in a warm, dry, well-ventilated area
The curing process takes 2-4 weeks. Peanuts are properly cured when the kernels snap cleanly from the hulls and the inner seed coat turns deep red or brown.
Troubleshooting Common Peanut Growing Problems
Even with proper care, you might encounter these common issues:
Low Yield Despite Healthy Plants
If your plants look healthy but produce few peanuts, consider these factors:
- Inadequate hilling - peanuts need loose soil to develop
- Insufficient calcium - peanuts require calcium for proper development
- Water stress during peg penetration and peanut formation
- Planting too deep, which prevents pegs from reaching soil
Pest and Disease Management
Common issues include:
- Leaf spot diseases - rotate crops and ensure good air circulation
- Spider mites - increase humidity and spray with water
- Wireworms - practice crop rotation and remove plant debris
- Aflatoxin contamination - avoid harvesting wet peanuts and ensure proper drying


 浙公网安备
33010002000092号
浙公网安备
33010002000092号 浙B2-20120091-4