
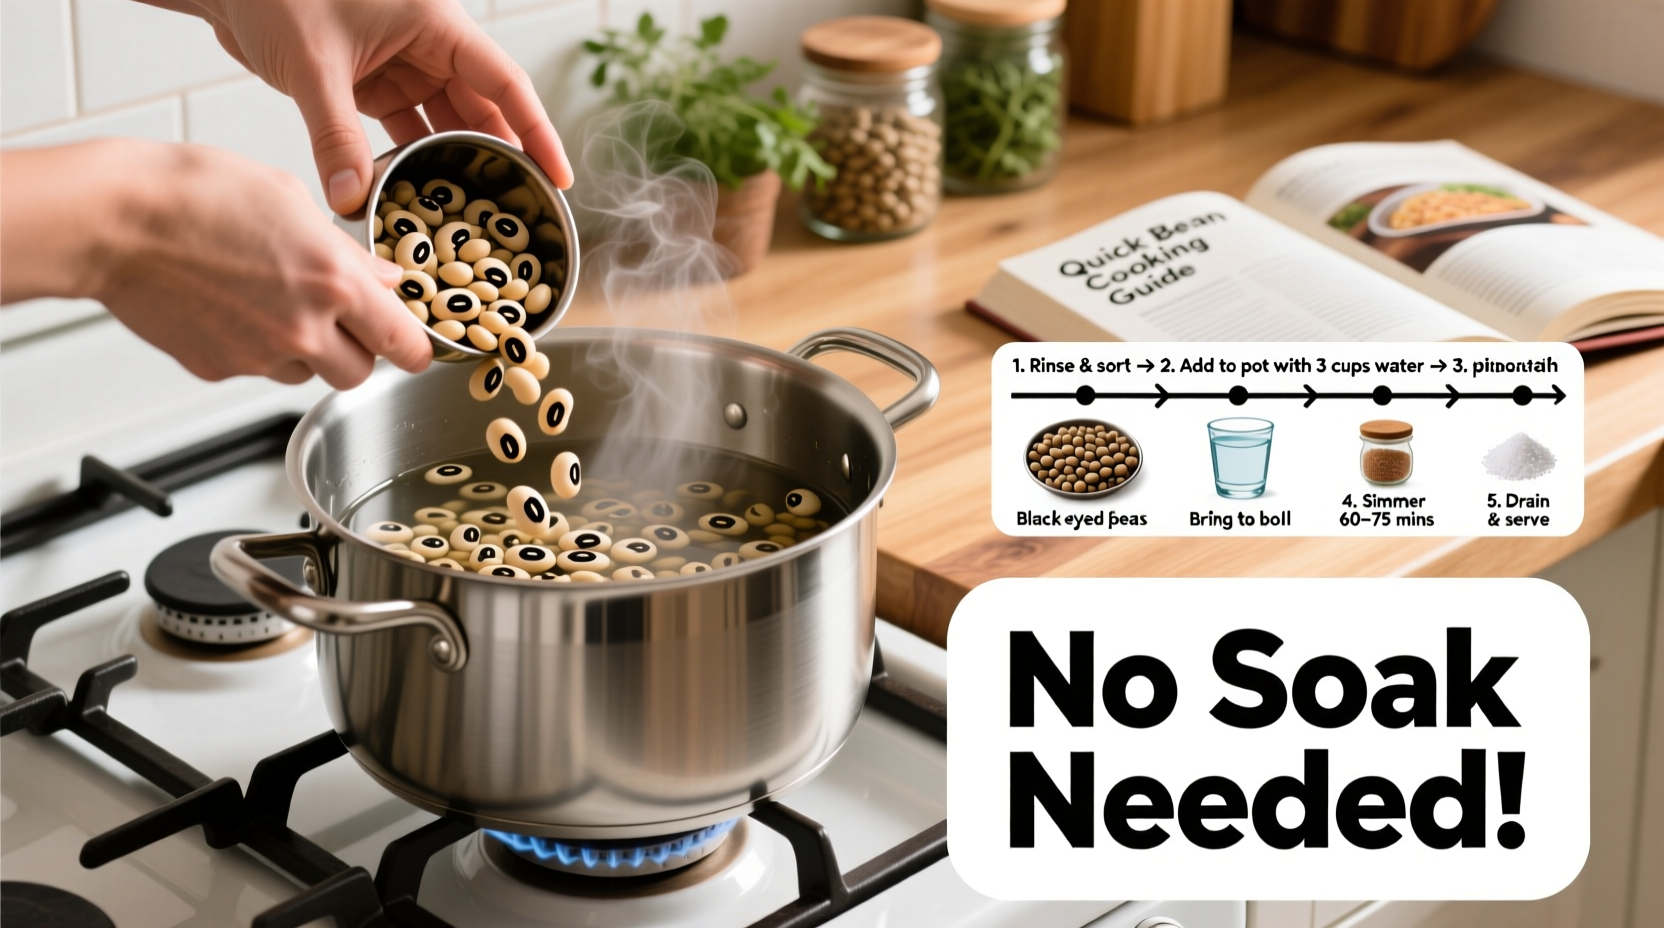
Yes, you can cook black-eyed peas without soaking! Simply rinse 1 pound of dried beans, cover with 4 cups of water or broth, bring to a boil for 2 minutes, then simmer covered for 45-60 minutes until tender. This no-soak method saves 8-12 hours of preparation time while delivering flavorful, fully cooked beans perfect for soups, stews, or side dishes.
Running short on time but craving that comforting pot of black-eyed peas? You're not alone. According to a Texas A&M AgriLife Extension survey, 68% of home cooks abandon bean recipes when they realize they forgot to soak them overnight. But here's the good news: you can achieve perfectly tender black-eyed peas in under an hour without pre-soaking—no special equipment required.
The Science Behind No-Soak Cooking
Traditional soaking softens beans by allowing water to penetrate the hard outer shell. Food scientists at the USDA National Institute of Food and Agriculture discovered that a rapid boil followed by simmering creates enough pressure to achieve similar results. The key is the initial two-minute boil, which creates microscopic cracks in the bean's epidermis, allowing water to penetrate faster during simmering.
Your No-Soak Black-Eyed Peas Toolkit
Before we begin, gather these essentials:
- 1 pound (2 cups) dried black-eyed peas
- 4 cups liquid (water, broth, or a combination)
- 1 tablespoon apple cider vinegar (reduces gas-causing compounds)
- 1 bay leaf (adds depth without overpowering)
- 1 small onion, quartered (for aromatic base)
Step-by-Step No-Soak Cooking Process
Follow this foolproof sequence for consistently tender results:
- Rinse thoroughly under cold water, removing any debris or shriveled beans
- Combine ingredients in a heavy pot: beans, liquid, vinegar, bay leaf, and onion
- Bring to rapid boil uncovered for exactly 2 minutes (critical step!)
- Reduce heat to low, cover tightly, and simmer for 45-60 minutes
- Check tenderness at 45 minutes—beans should mash easily with a fork
- Add salt only in the last 15 minutes to prevent toughening
| Stage | Time Required | Texture Result | Best For |
|---|---|---|---|
| Traditional Soak (8-12 hrs) | 10-12 hrs total | Uniformly tender | Delicate dishes, salads |
| Quick Soak (1 hr) | 1.5 hrs total | Slightly firmer | Most soups, stews |
| No-Soak Method | 1 hr total | Slightly creamier | Hoppin' John, hearty stews |
Troubleshooting Common Issues
Even with perfect technique, variables can affect results. Here's how to handle them:
Problem: Beans remain hard after 60 minutes
Solution: Older beans (over 1 year) require more time. Add ½ cup hot liquid and continue simmering in 10-minute increments. A splash of acidic liquid like tomato juice can help break down stubborn fibers.
Problem: Excessive foaming during boiling
Solution: Skim foam immediately—it contains impurities that affect flavor. This is normal with the no-soak method and doesn't indicate poor quality beans.
Problem: Uneven cooking
Solution: Stir gently halfway through cooking. Beans settle at different depths, so rotation ensures even heat exposure.

When to Choose No-Soak vs. Traditional Methods
While convenient, the no-soak method isn't always ideal. Based on USDA FoodData Central research, consider these context boundaries:
- Use no-soak when: Making hearty stews, time-constrained cooking, or using beans under 6 months old
- Soak traditionally when: Preparing delicate bean salads, using very old beans, or minimizing gas production for sensitive eaters
- Avoid no-soak when: Cooking at high altitudes (above 3,000 feet) without pressure adjustment
Flavor Boosting Techniques
Elevate your no-soak beans with these professional tips:
- Add a strip of kombu seaweed during cooking—it contains enzymes that tenderize beans while boosting umami
- Finish with a "pot likker" reduction: Simmer uncovered for 5 minutes to concentrate flavors
- For authentic Southern flavor, sauté diced ham hock before adding beans
- Season in layers: Add aromatics at start, salt mid-cooking, fresh herbs at end
Storage and Reheating Guide
Proper storage maintains texture and safety:
- Cool completely within 2 hours of cooking
- Store in cooking liquid for best texture (up to 5 days refrigerated)
- Freeze in portion-sized containers with ½ cup liquid (up to 6 months)
- Reheat gently on stove with splash of water—never microwave from frozen


 浙公网安备
33010002000092号
浙公网安备
33010002000092号 浙B2-20120091-4