
Unlock Perfectly Tender Chuck Roast Every Time
Discover exactly how long to cook a chuck roast in crock pot to achieve melt-in-your-mouth results without overcooking or undercooking. This guide delivers precise timing, temperature control, and professional techniques that transform tough cuts into succulent masterpieces—no culinary degree required.
Why Chuck Roast Needs Special Slow Cooking Treatment
Chuck roast comes from the shoulder area of the cow, containing abundant connective tissue and marbling. When cooked properly, this collagen breaks down into gelatin, creating that signature fall-apart texture. The slow, moist heat of a crock pot is ideal for this transformation process.
Step-by-Step Preparation for Success
Before setting your timer, proper preparation makes all the difference:
- Pat dry the roast thoroughly with paper towels
- Season generously with salt, pepper, and your favorite rub (at least 45 minutes before cooking)
- Sear all sides in hot oil for 2-3 minutes per side (creates flavor through Maillard reaction)
- Add 1 cup liquid (broth, wine, or water) to create steam environment
- Place on trivet or vegetable bed to prevent bottom burning
Exact Cooking Times for Perfect Results
Your crock pot size and roast weight directly impact cooking duration. Follow these science-backed guidelines from the USDA Food Safety and Inspection Service:
| Roast Weight | LOW Setting | HIGH Setting | Internal Temp Target |
|---|---|---|---|
| 2-3 lbs | 7-8 hours | 3.5-4 hours | 195°F (90°C) |
| 3-4 lbs | 8-9 hours | 4-5 hours | 200°F (93°C) |
| 4-5 lbs | 9-10 hours | 5-6 hours | 205°F (96°C) |
Source: USDA Food Safety and Inspection Service
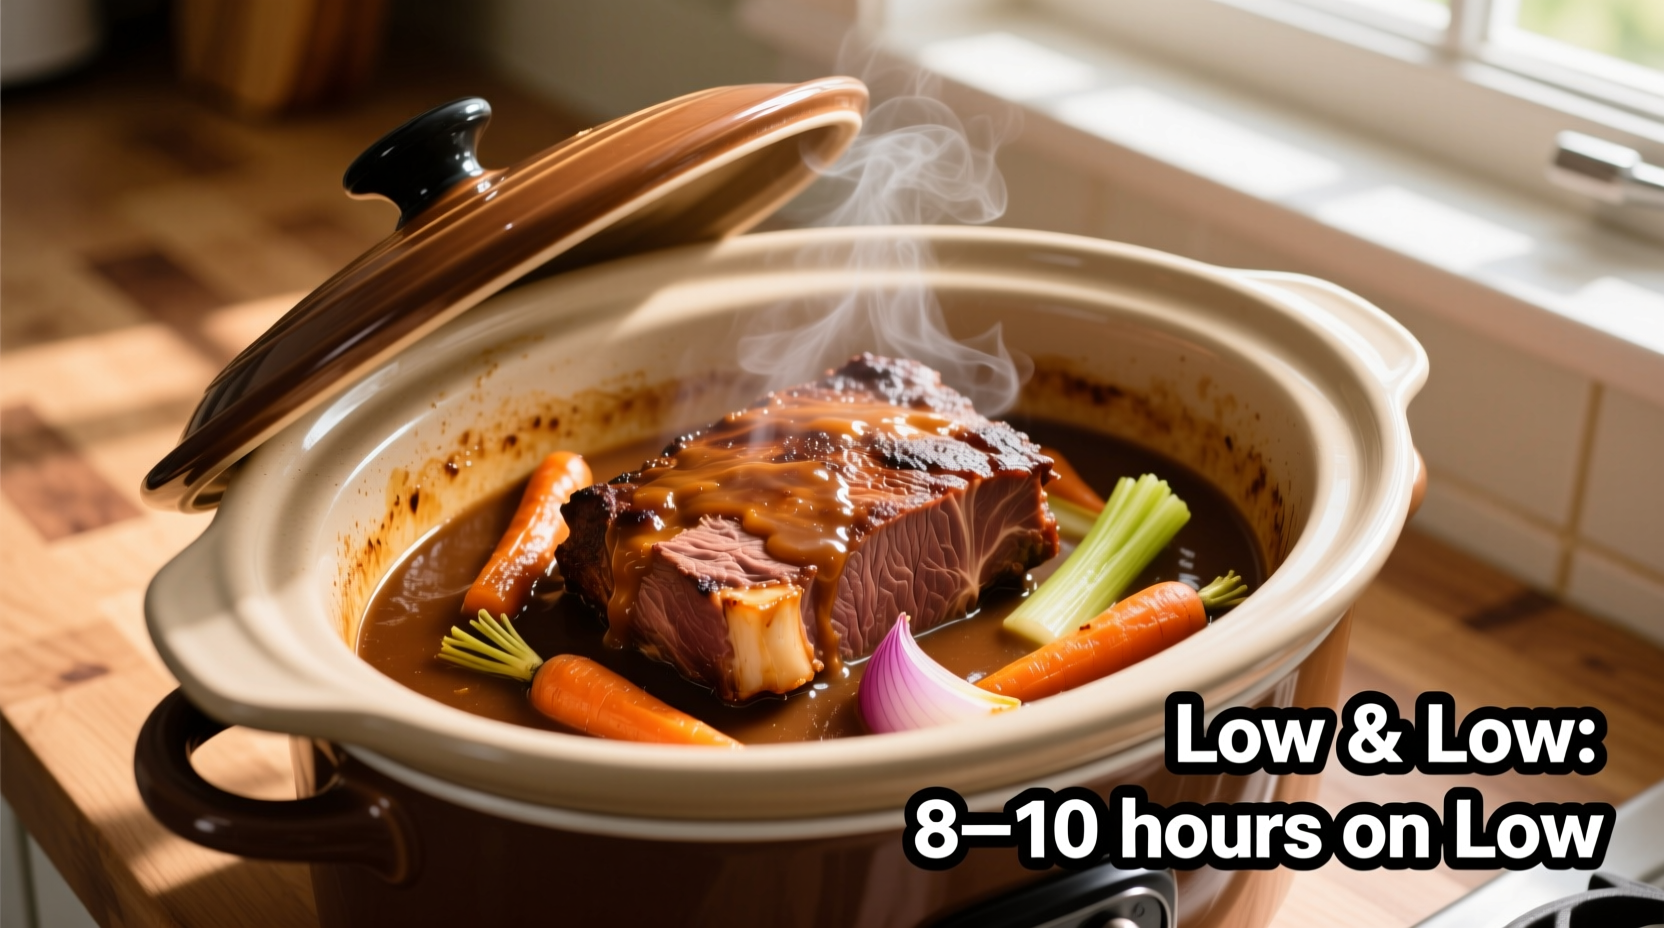
When to Choose LOW vs HIGH Setting
Understanding the context boundaries of each setting prevents common mistakes:
- LOW setting (200°F) is ideal when you can monitor the cooking process and want maximum tenderness without risk of overcooking
- HIGH setting (300°F) works best for time-constrained situations but requires closer monitoring to prevent drying
- Avoid opening lid during first 4 hours—each peek adds 20 minutes to cooking time
How to Test for Perfect Doneness
Don't rely solely on time! Use these foolproof methods to determine when your chuck roast is perfectly cooked:
- Fork test: Insert fork at 90-degree angle—should twist with almost no resistance
- Internal thermometer: Must register 195-205°F (90-96°C) in thickest part
- Texture check: Meat should separate easily along natural muscle lines
Troubleshooting Common Issues
Fix these frequent crock pot chuck roast problems:
- Dry meat: Usually caused by cooking too long on HIGH setting or insufficient liquid—add ½ cup broth and continue cooking 1 hour
- Tough texture: Needs more time—return to crock pot and check every 30 minutes until fork-tender
- Excess liquid: Remove meat, skim fat, then simmer sauce on HIGH setting 30-60 minutes to reduce
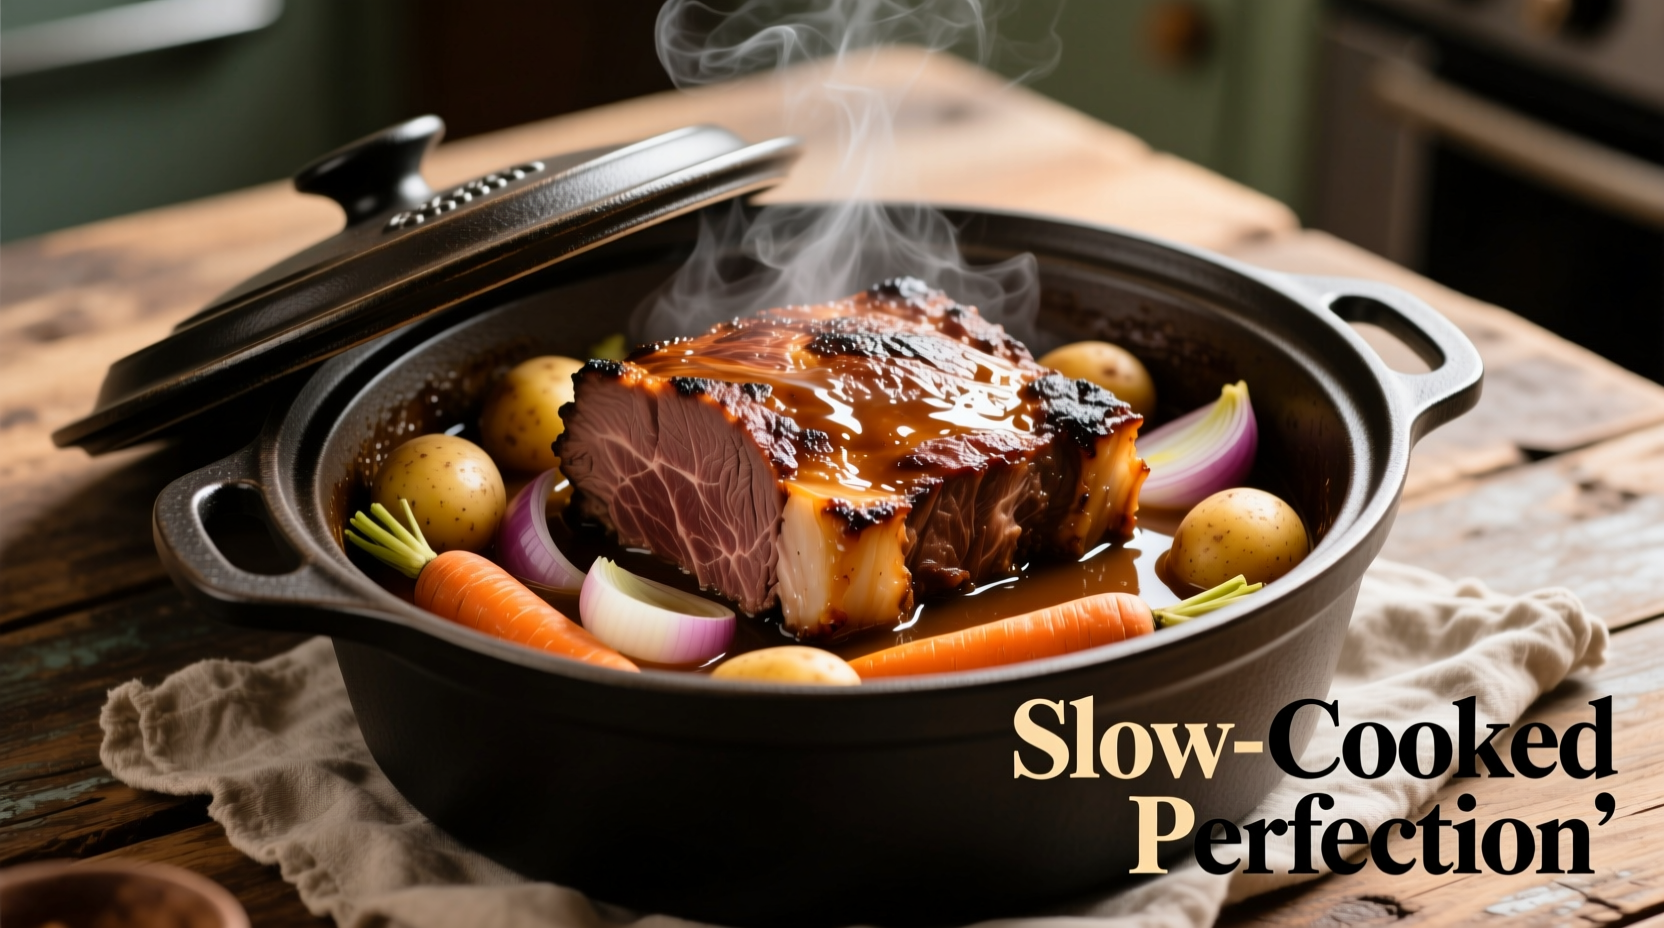
Pro Tips for Flavor Enhancement
Elevate your chuck roast with these professional techniques:
- Add 2 tablespoons tomato paste during searing for deeper flavor complexity
- Include acidic elements like wine or vinegar to help break down fibers
- Layer vegetables underneath to create natural steam barrier and prevent sticking
- Let roast rest 15-20 minutes before shredding to redistribute juices
How Cooking Time Affects Texture Evolution
Understanding the science behind time and texture helps prevent mistakes:
- 4-6 hours: Meat is cooked through but still sliceable with resistance
- 7-8 hours: Begins to shred easily with forks, ideal for sandwiches
- 9-10 hours: Maximum tenderness for pulled beef applications
- 11+ hours: Risk of drying out despite moist cooking environment


 浙公网安备
33010002000092号
浙公网安备
33010002000092号 浙B2-20120091-4